

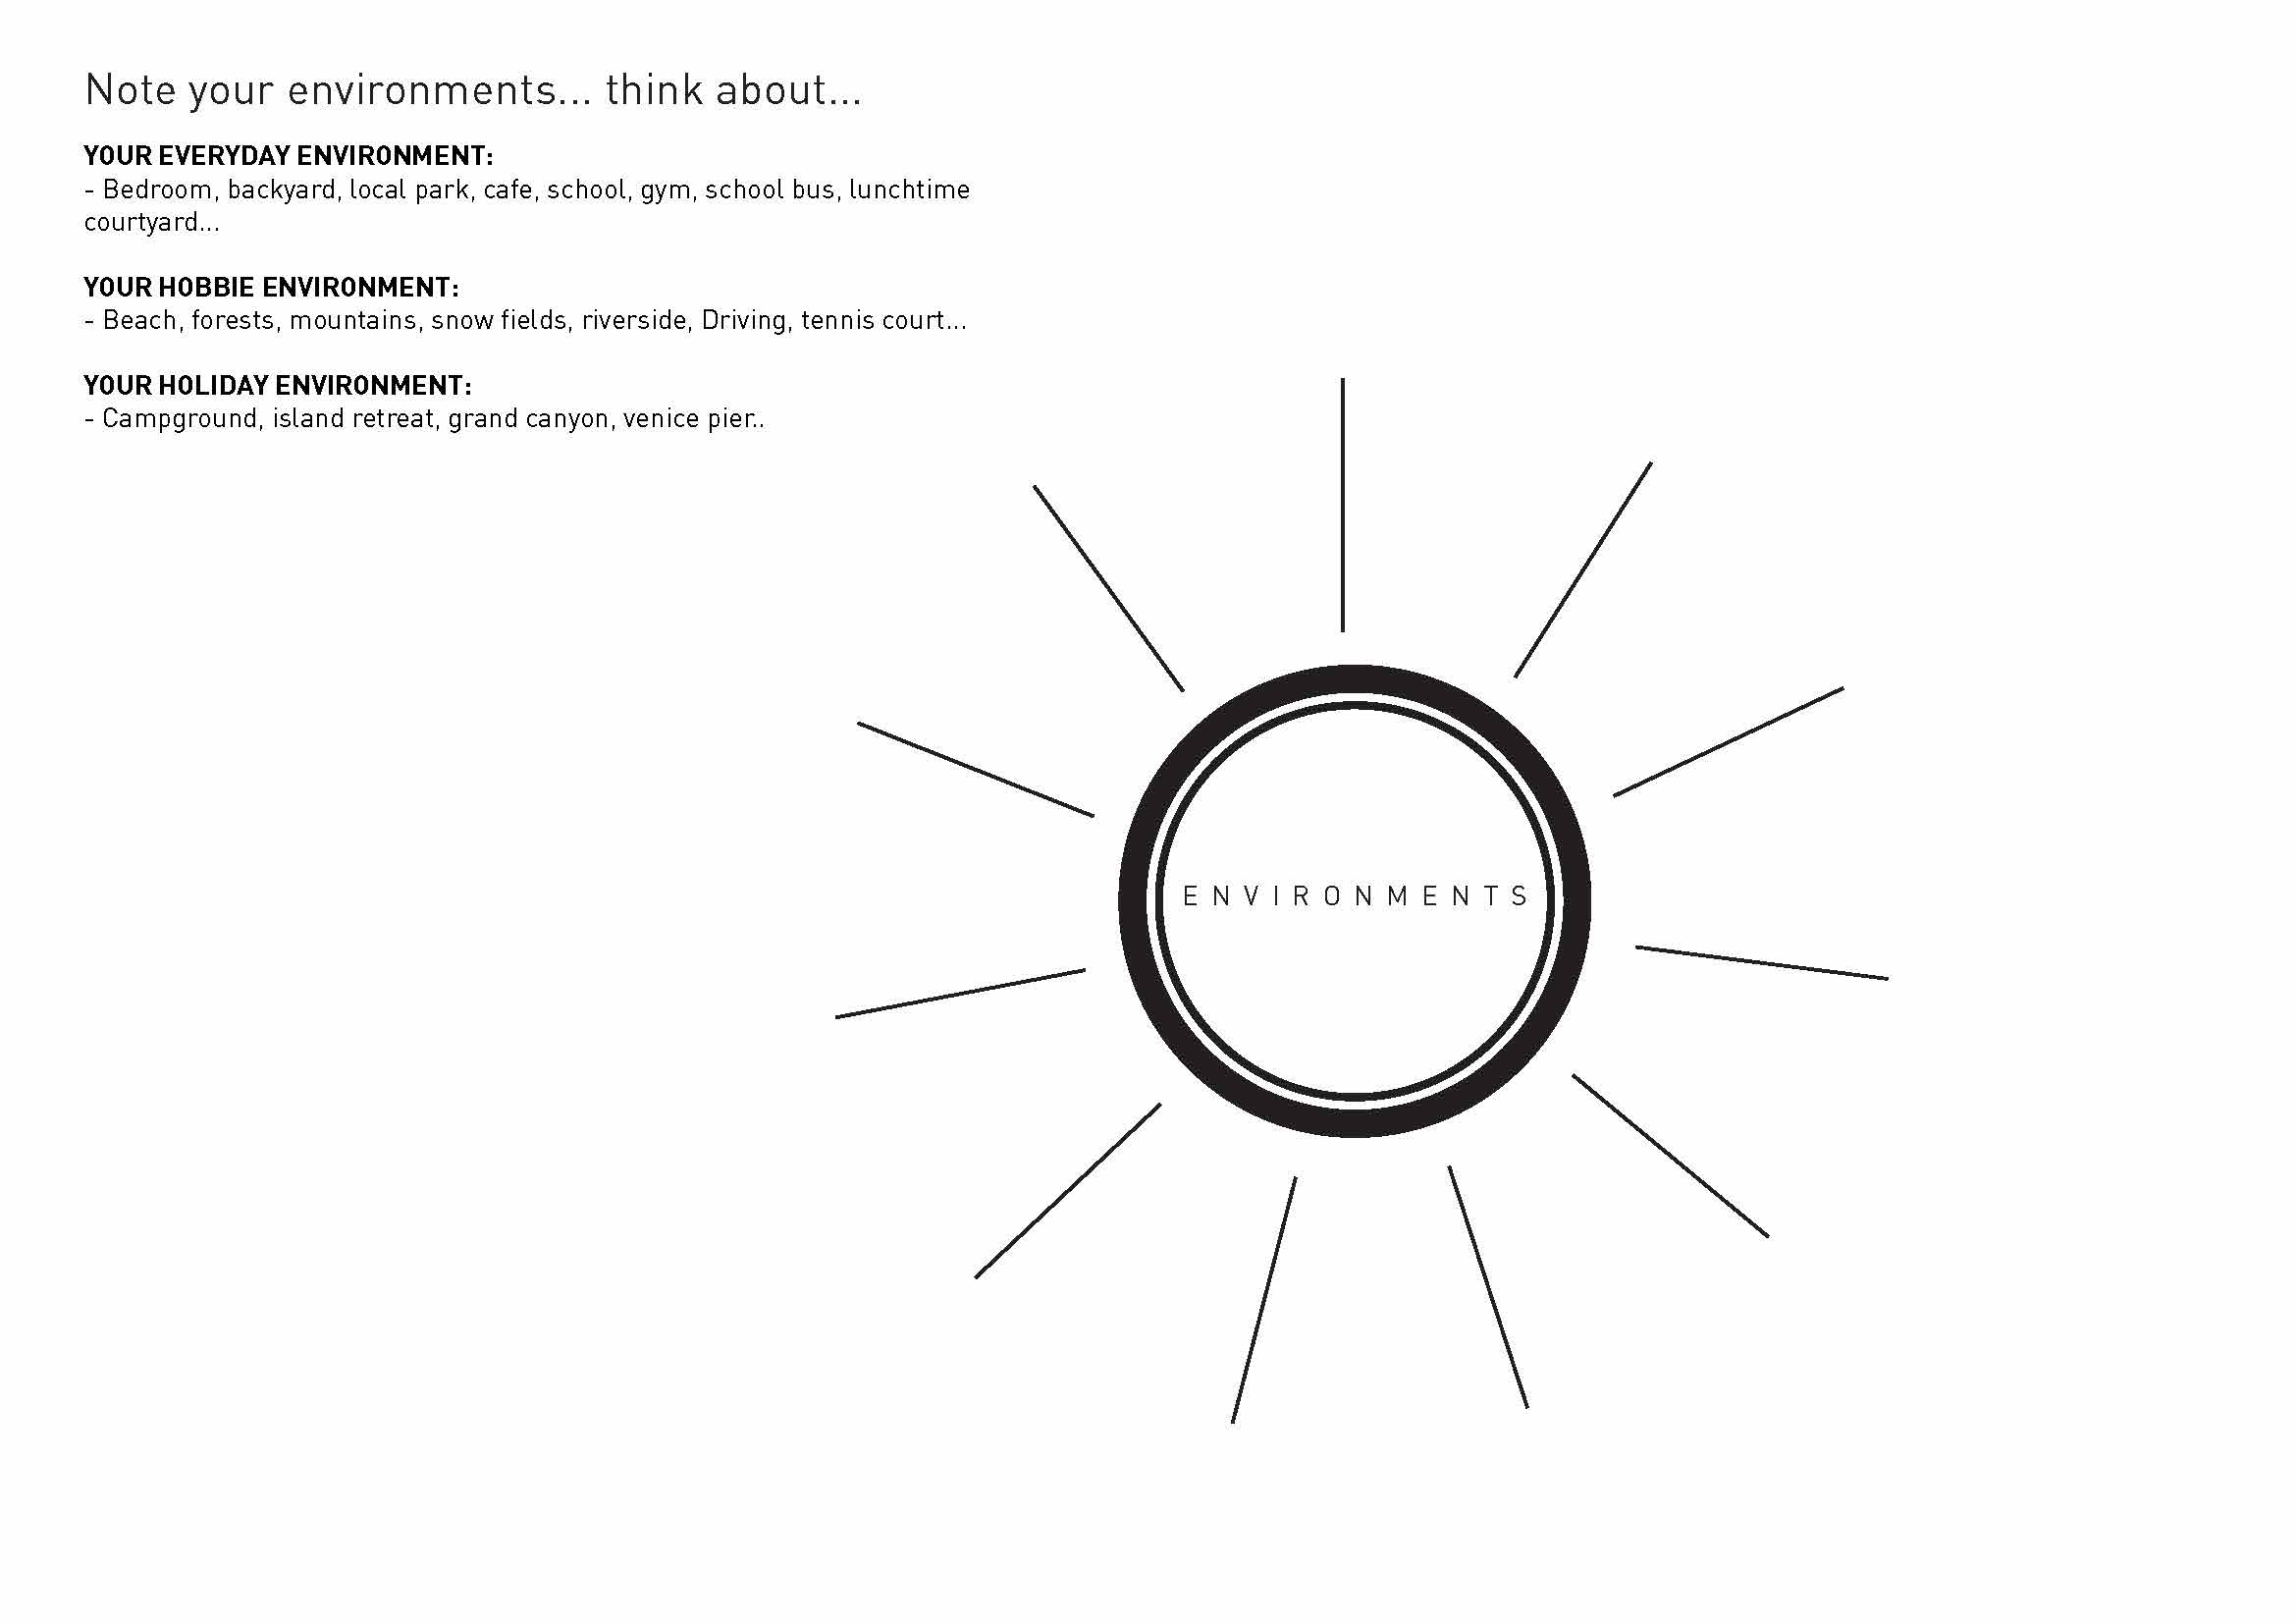
Worksheet 1
|
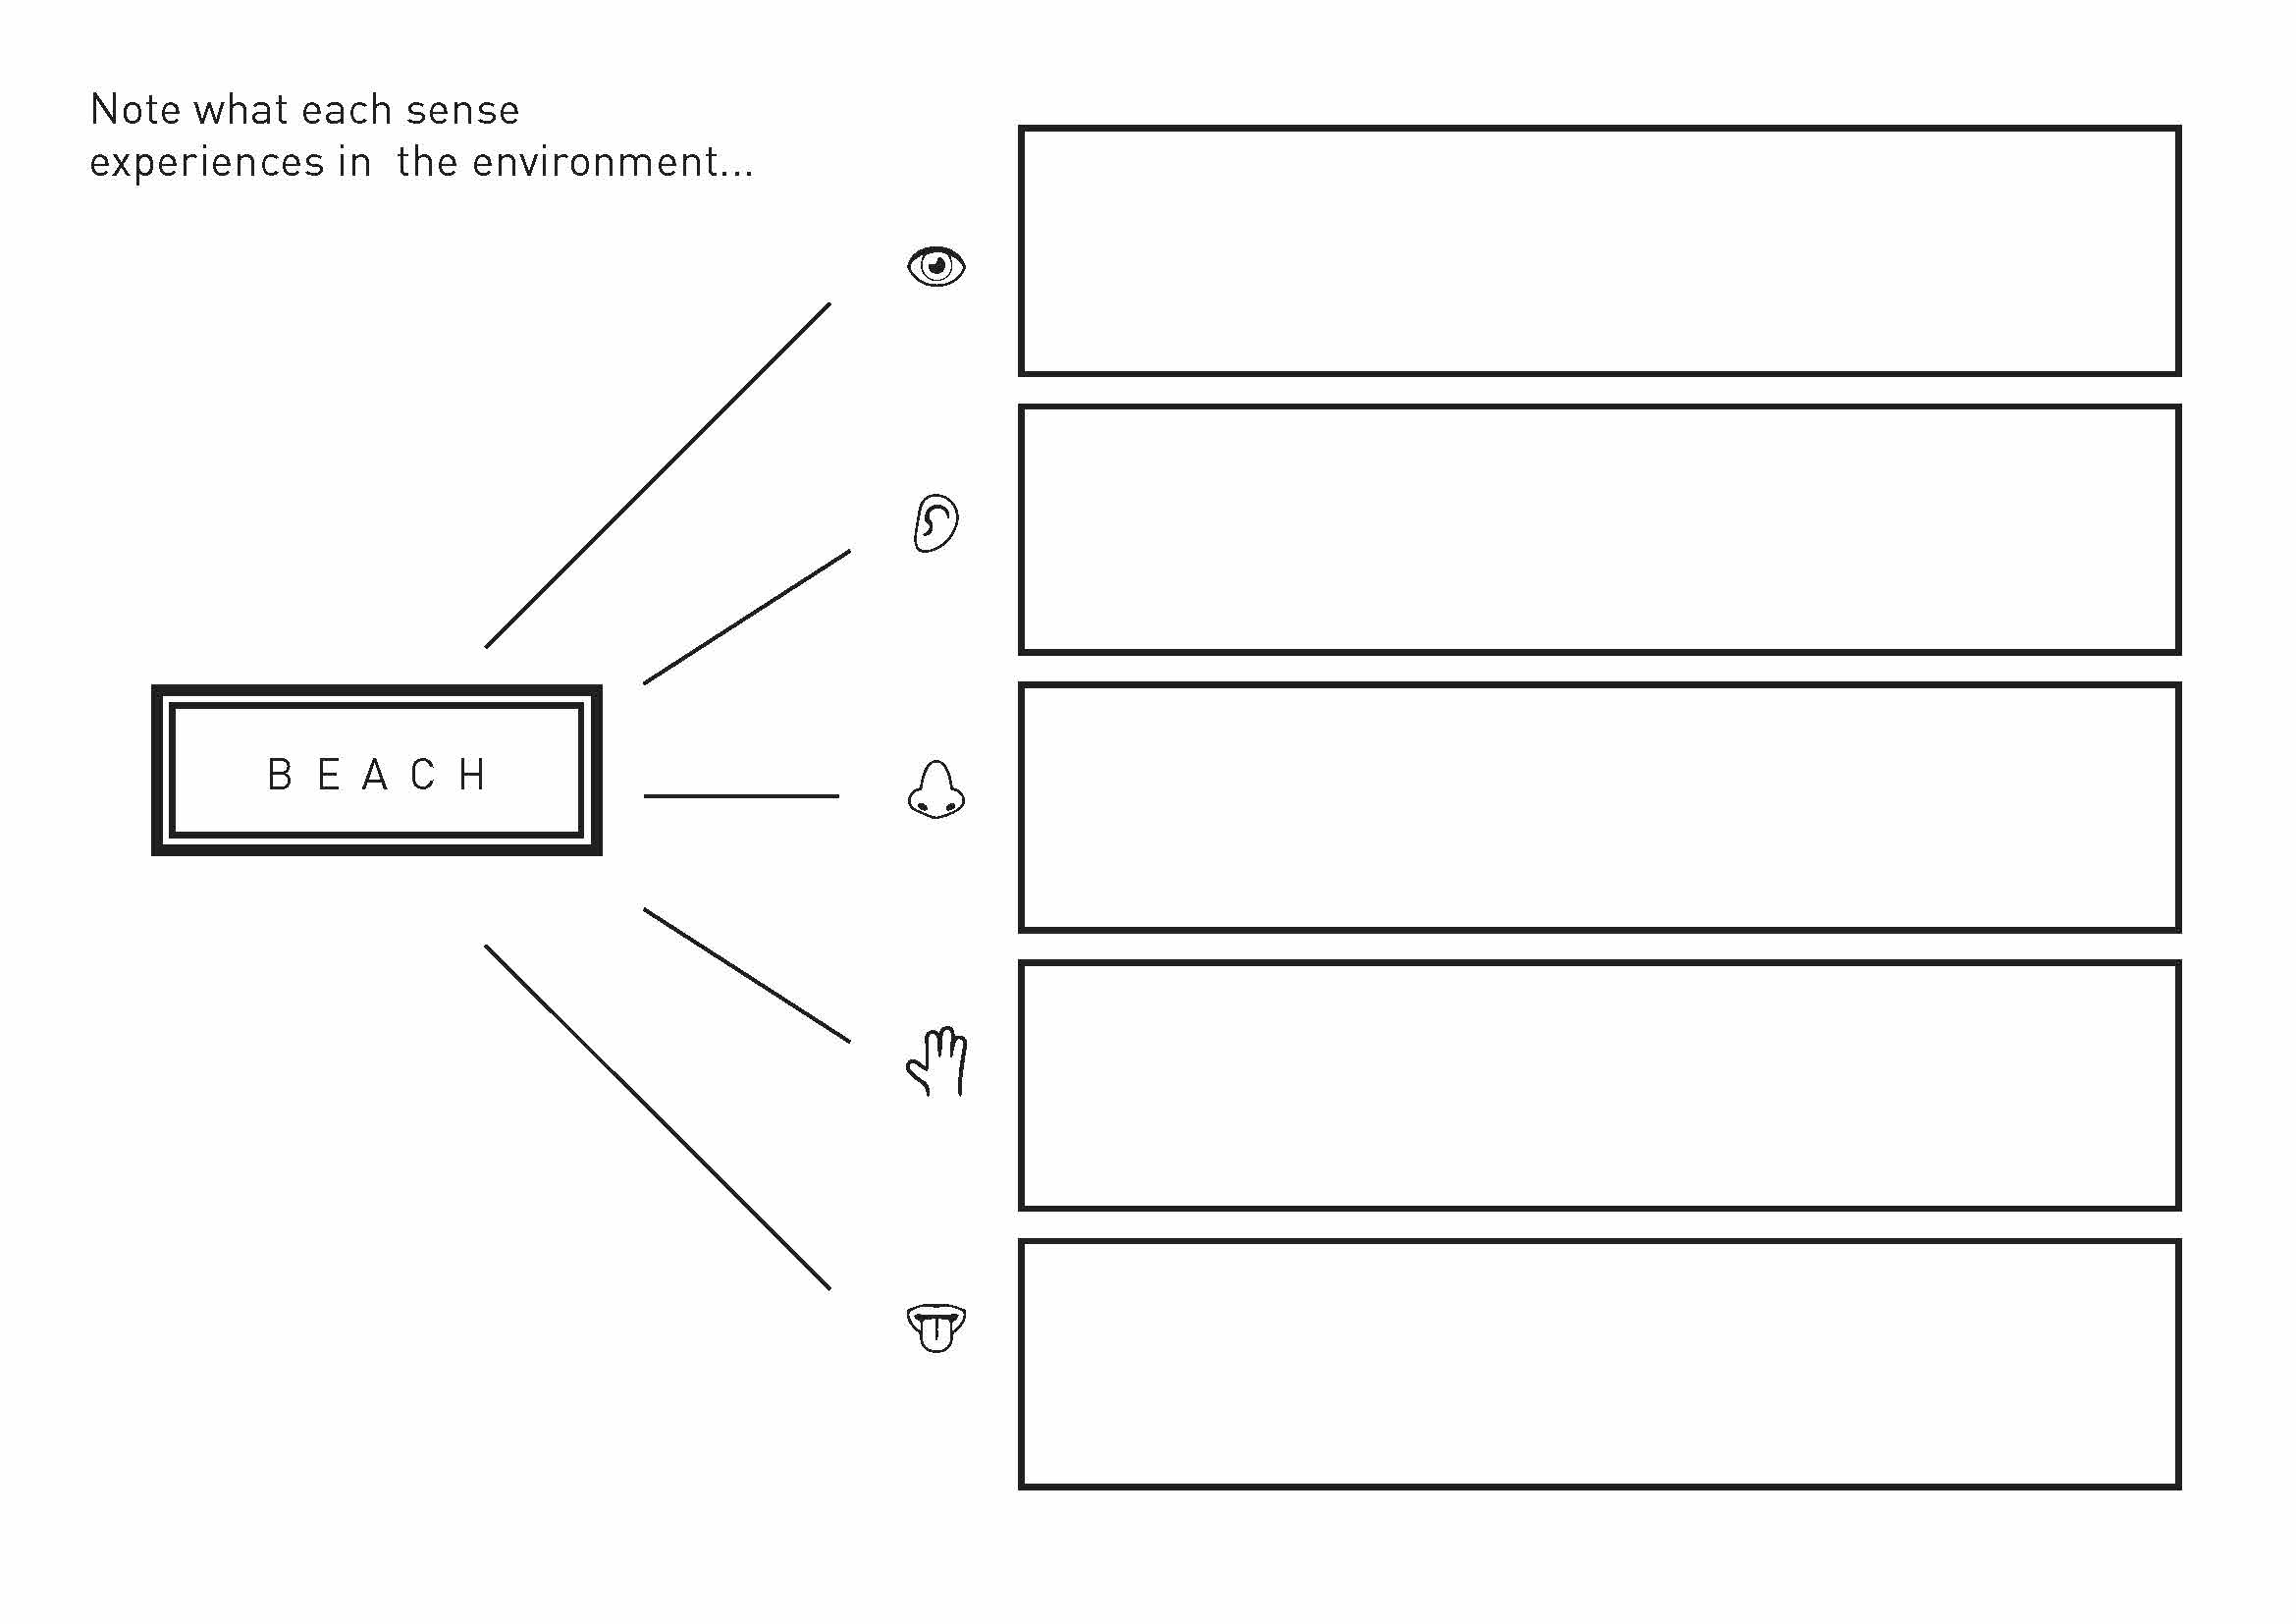
Worksheet 2
|
| research_brainstorm_page_1.jpg |
| research_brainstorm_page_2.jpg |

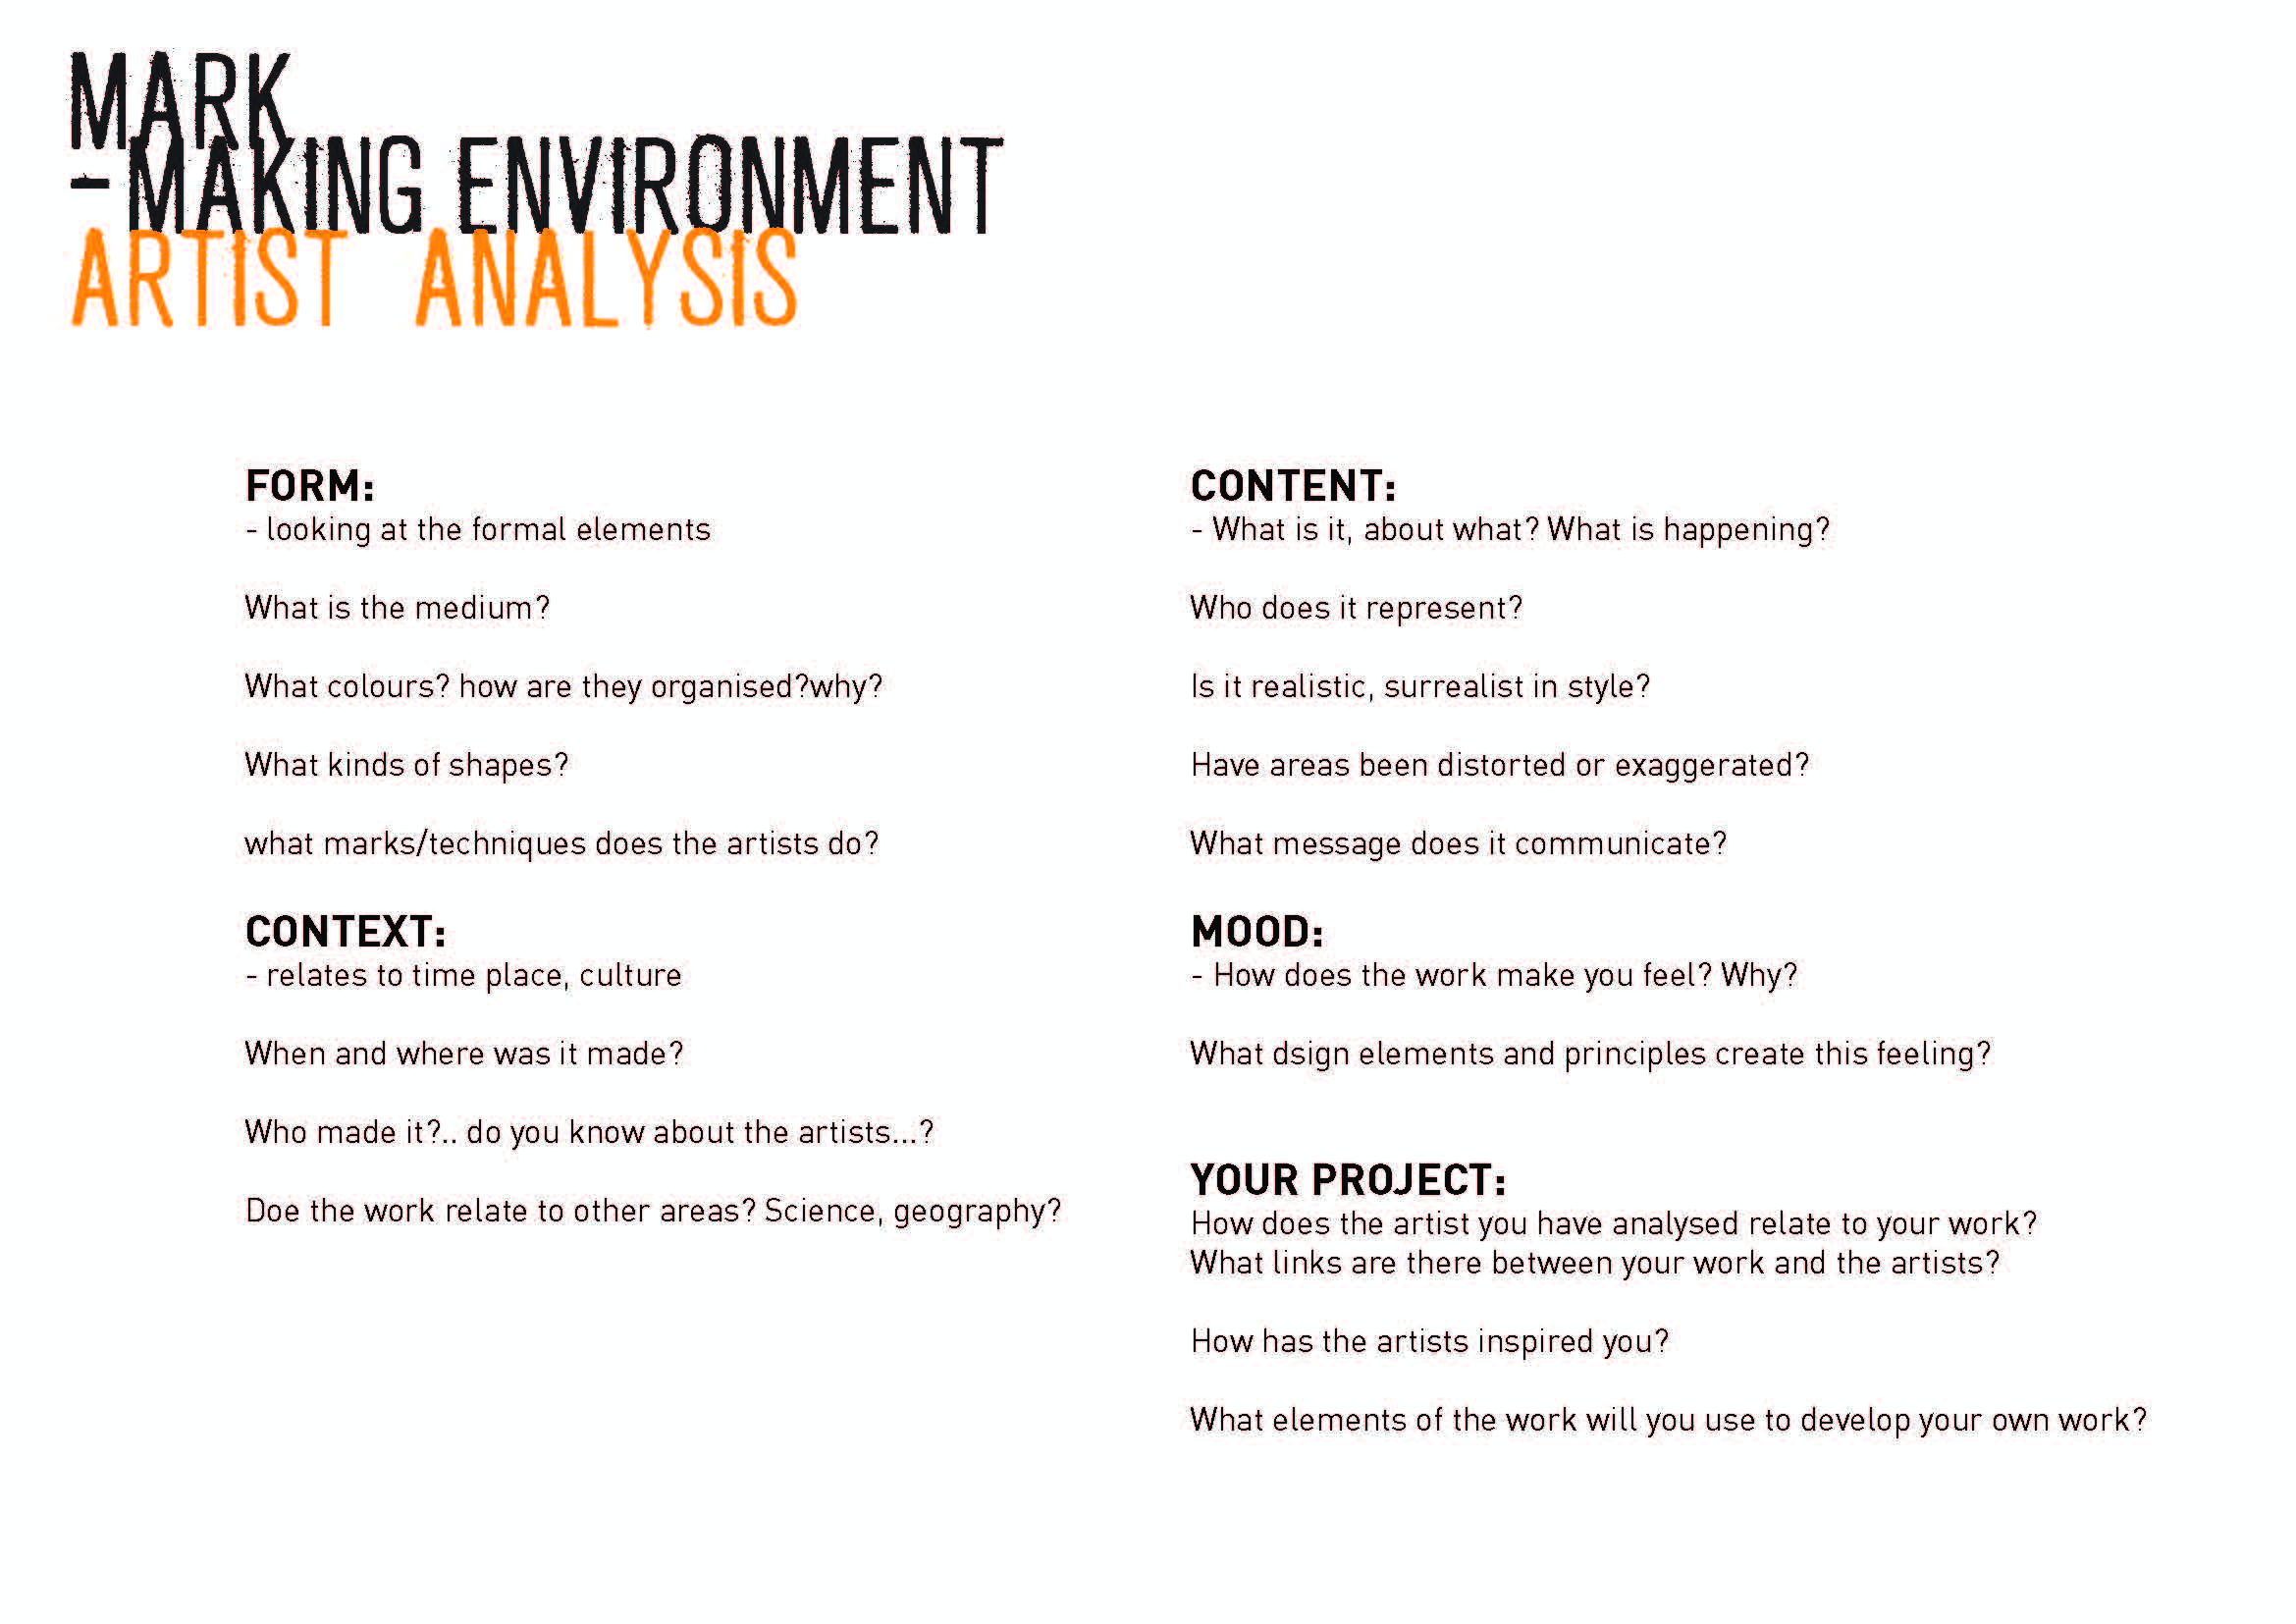
| artist_analysis.jpg |

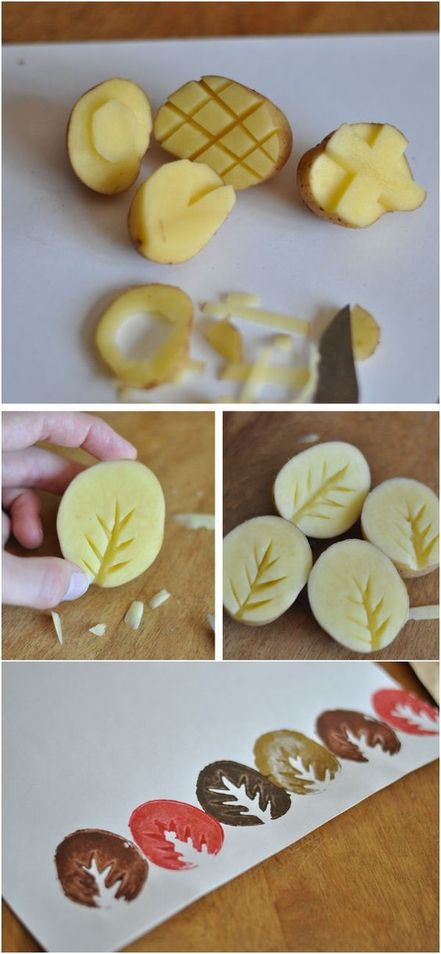
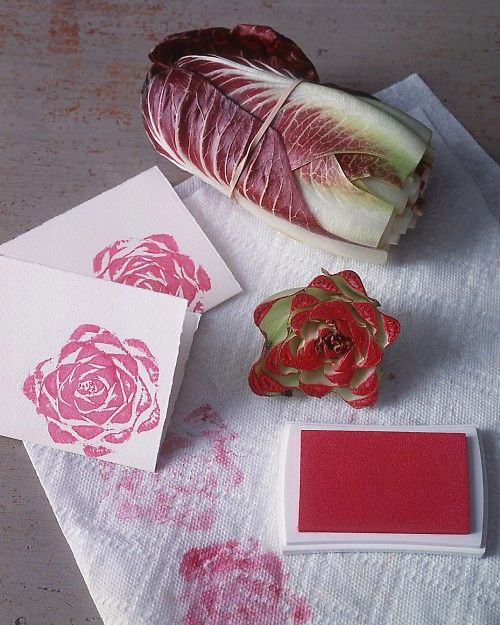
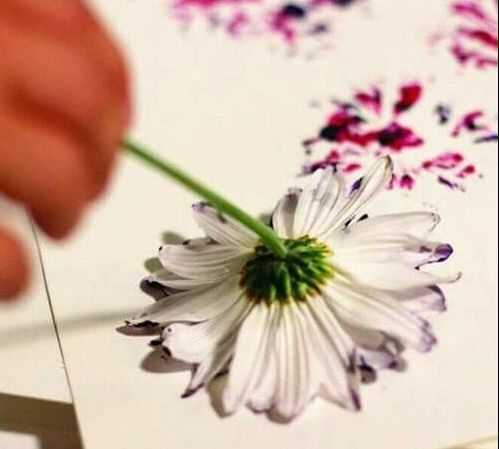
Painting with fruits and vegetables

|
|
|
|
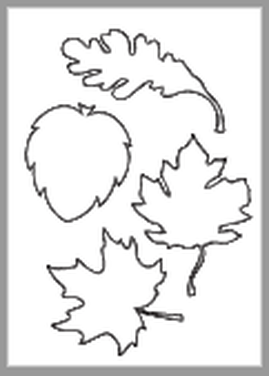
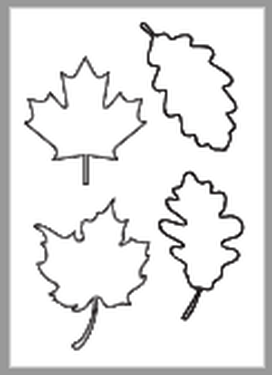
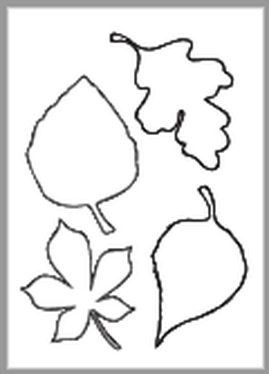
| leaf_templates.pdf |
|
|
|
HOW TO MAKE CUSHIONS
(WITH INVISIBLE ZIPPER)
(WITH INVISIBLE ZIPPER)
|
|
|
> Have your fabric ready and pressed
> Use a block or mark up a pattern (in chalk).
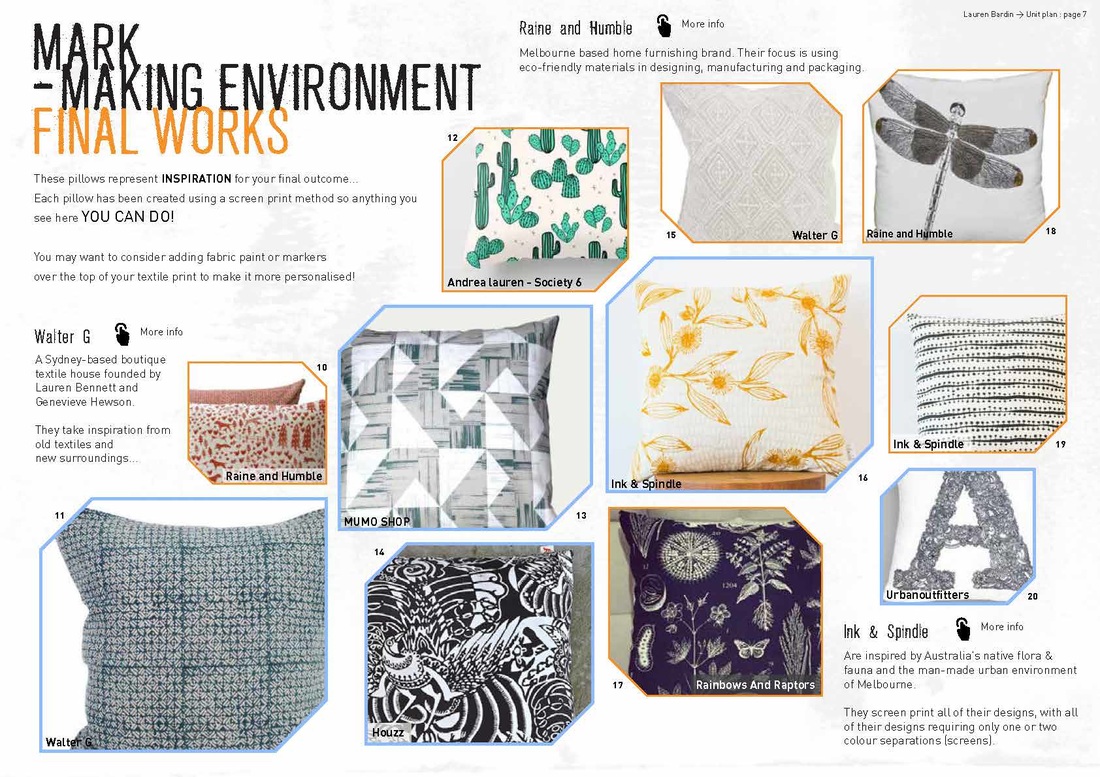
> The size will be approxiamately 45cm x 45cm (up to you)
> Work out the length of your zipper and have them ready
> Mark in two lines for the zipper to go onto (1.5cm s/a)
> Use a block or mark up a pattern (in chalk).
> The size will be approxiamately 45cm x 45cm (up to you)
> Work out the length of your zipper and have them ready
> Mark in two lines for the zipper to go onto (1.5cm s/a)
|
|
|
|
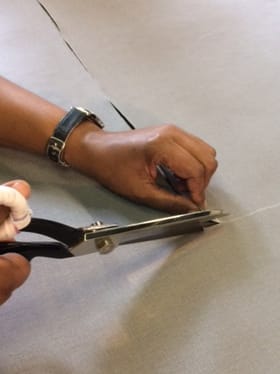
> Cut all panel pieces (with seam allowance)
> Remember to mark notches for where panels meetup and
also mark in where the zipper starts and stops
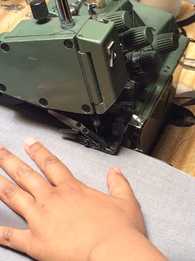
> Overlock the two inside edges where the zipper will go in
> Remember to mark notches for where panels meetup and
also mark in where the zipper starts and stops
> Overlock the two inside edges where the zipper will go in
|

|
|
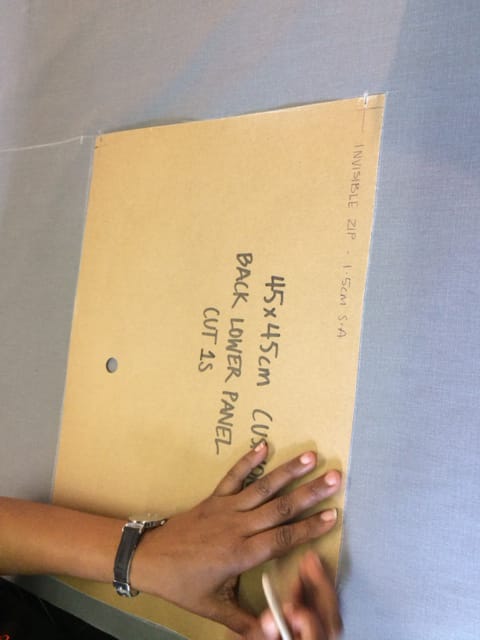
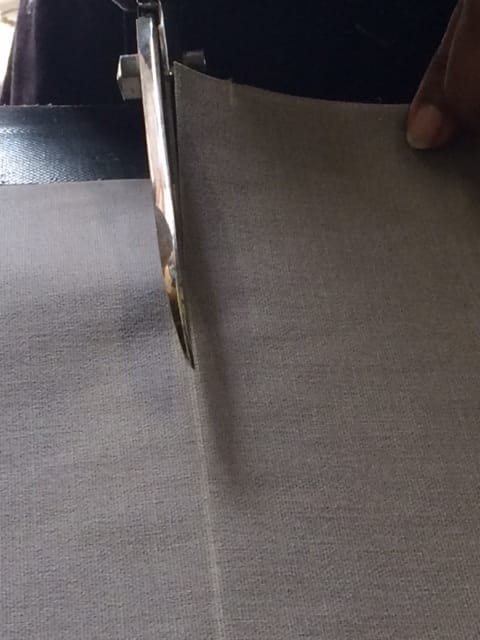
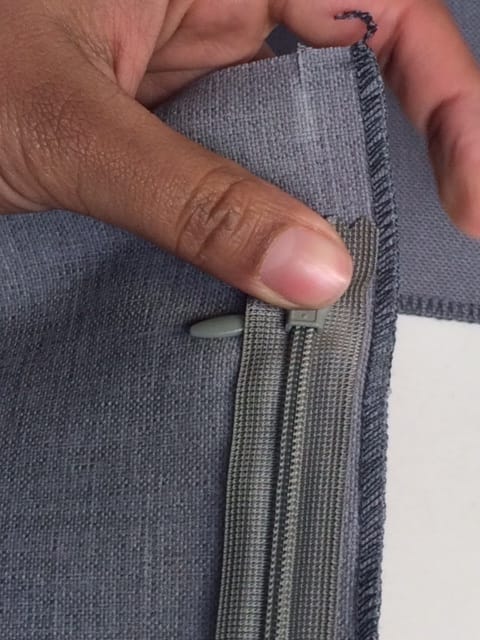
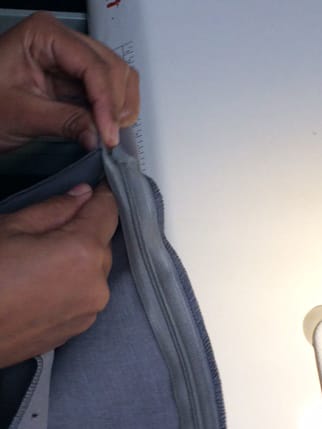
> Place the zipper along the draw lines (aligned with notches)
> Snip the notches on both fabrics and zipper
> Snip the notches on both fabrics and zipper
|
|
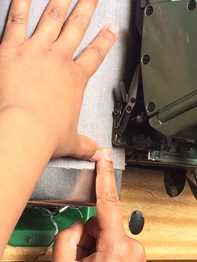
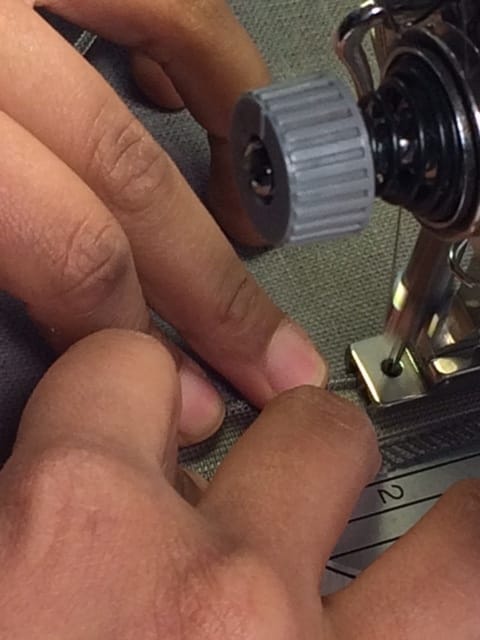
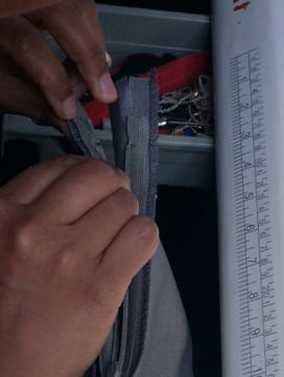
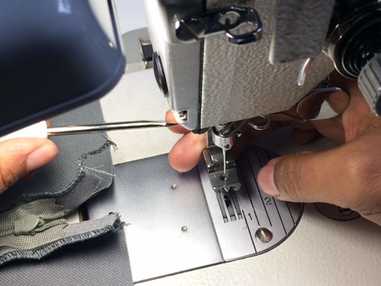
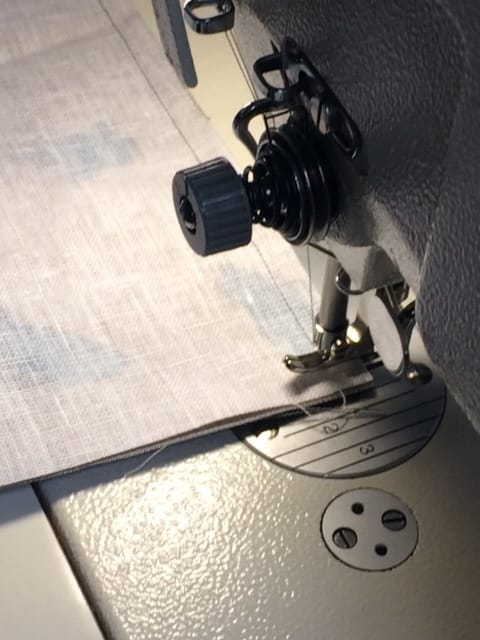
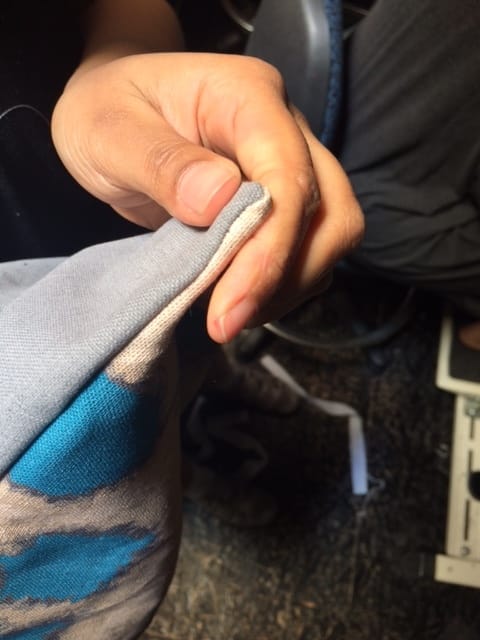
> Change your zipper foot to an 'invisible zipper foot'
> Pin zipper in place if you need
> Sew in the zipper (on marked line) starting from your first notch and finishing to the zipper stopper at the bottom
> REMEMBER to fold open the zipper as you go
> Pin zipper in place if you need
> Sew in the zipper (on marked line) starting from your first notch and finishing to the zipper stopper at the bottom
> REMEMBER to fold open the zipper as you go
|
|
|
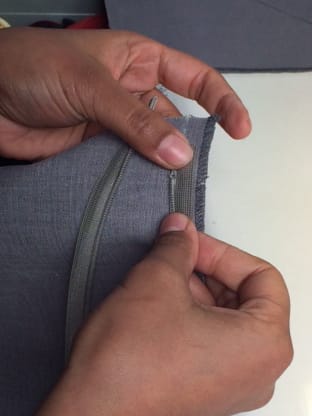
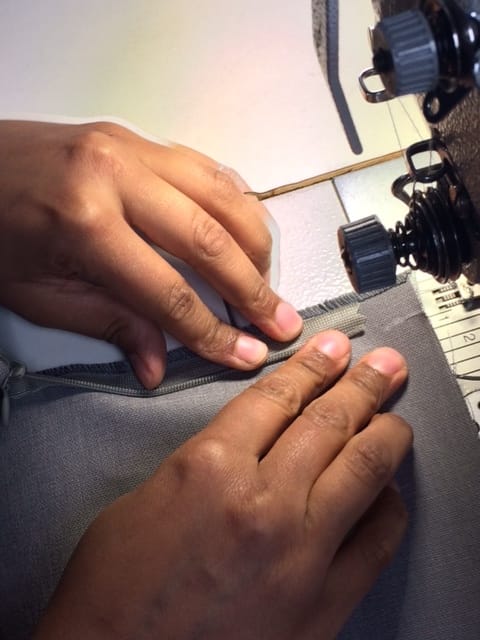
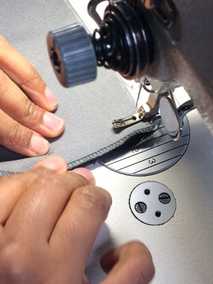
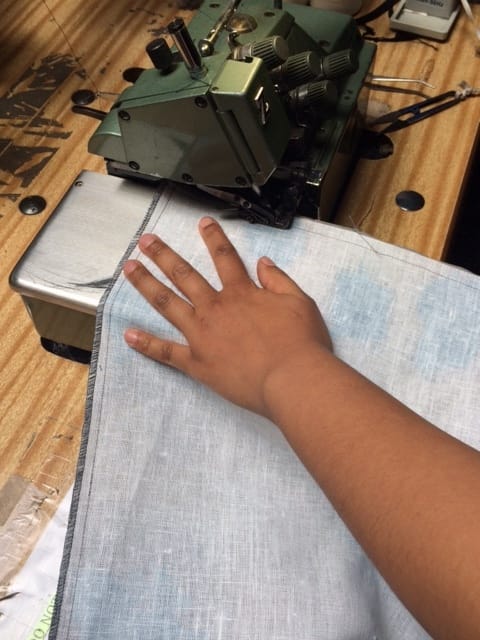
> Align your second piece to the 1st piece (which now has half a zipper sewn to it)
> Pin in place the second panel if you need
> Repeat the process and sew from notch to notch, sewing in the other side of the zipper.
> Pin in place the second panel if you need
> Repeat the process and sew from notch to notch, sewing in the other side of the zipper.
|
|
|
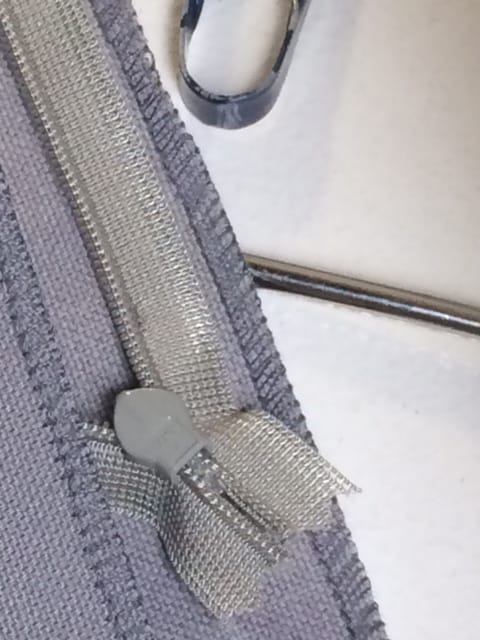
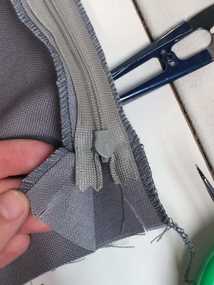
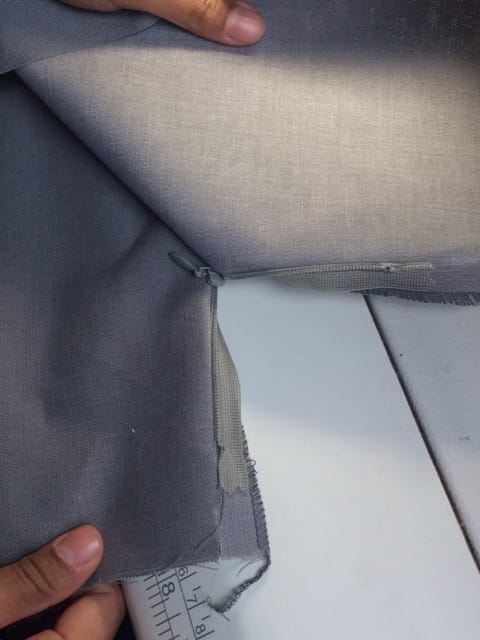
> Check on the ride side that the zipper looks good and your sewing isn't obstructing you ability to pull zipper up & down
> Change Zipper head back to regular foot
> Sew up the end sections (these are the ends on both sides of the zipper which connect to the side seams)
> Change Zipper head back to regular foot
> Sew up the end sections (these are the ends on both sides of the zipper which connect to the side seams)
|
|
|
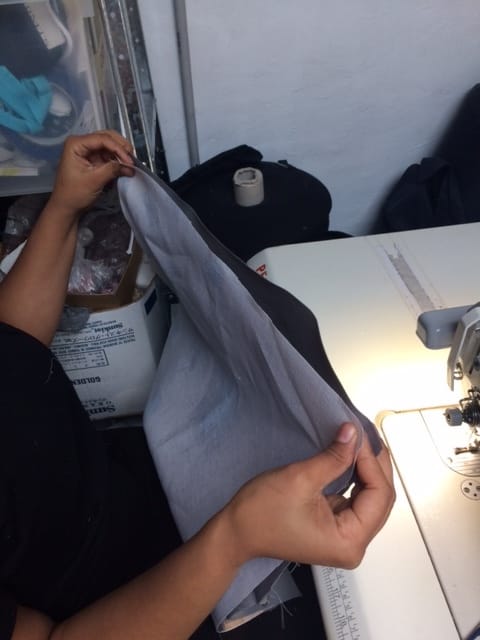
> Check the zipper is running smoothly once more
> Align the other sides of the pillow and sew these together
> REMEMBER to PIVOT on the corners (keep needle in fabric)
> Align the other sides of the pillow and sew these together
> REMEMBER to PIVOT on the corners (keep needle in fabric)
|

|
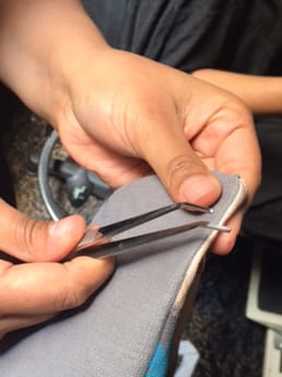
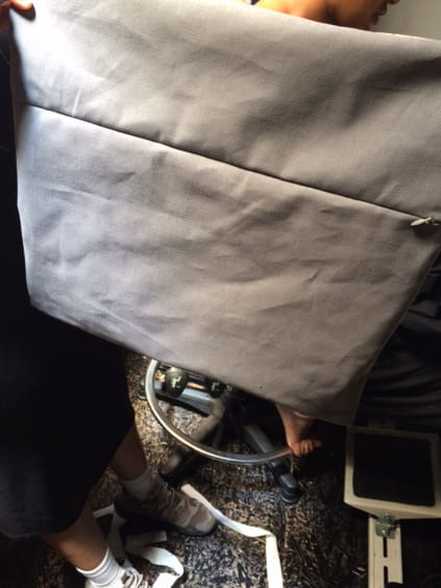
> Overlock all the edges once you have sew all 4 corners of the pillow together
> Turn your pillow inside out
> Turn your pillow inside out
|
|
|
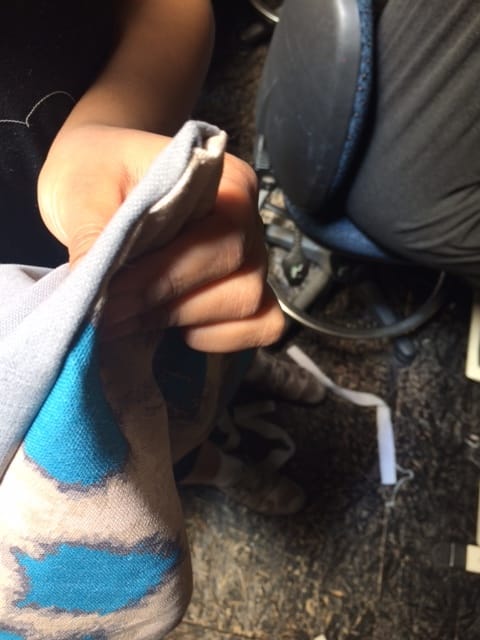
> Use a 'bagging out tool' like above to press out the corners
> Keep pressing the corner out til you get a pointed finish
> Keep pressing the corner out til you get a pointed finish
|
|
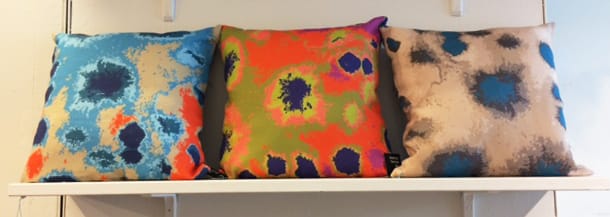
AND you are done!
Have a final check on the back and front, cutting off any lose ends/threads. Also iron your pillow before you add the pillow insert.
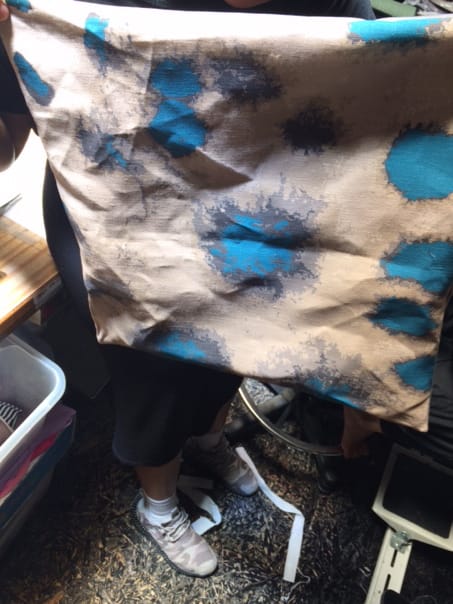
The final product may look something like thse cushions!
|
SUPPORT ETHICAL PRODUCTS....
USE INNERGREEN. |

|
CUSHION INSERTS CAN BE BOUGHT AT:
https://www.innergreen.com.au/
SEE THEIR PRICELIST AT:
https://www.innergreen.com.au/pdf/inserts_price_list.pdf
| inserts_price_list.pdf |
| tips_for_presenting.docx |

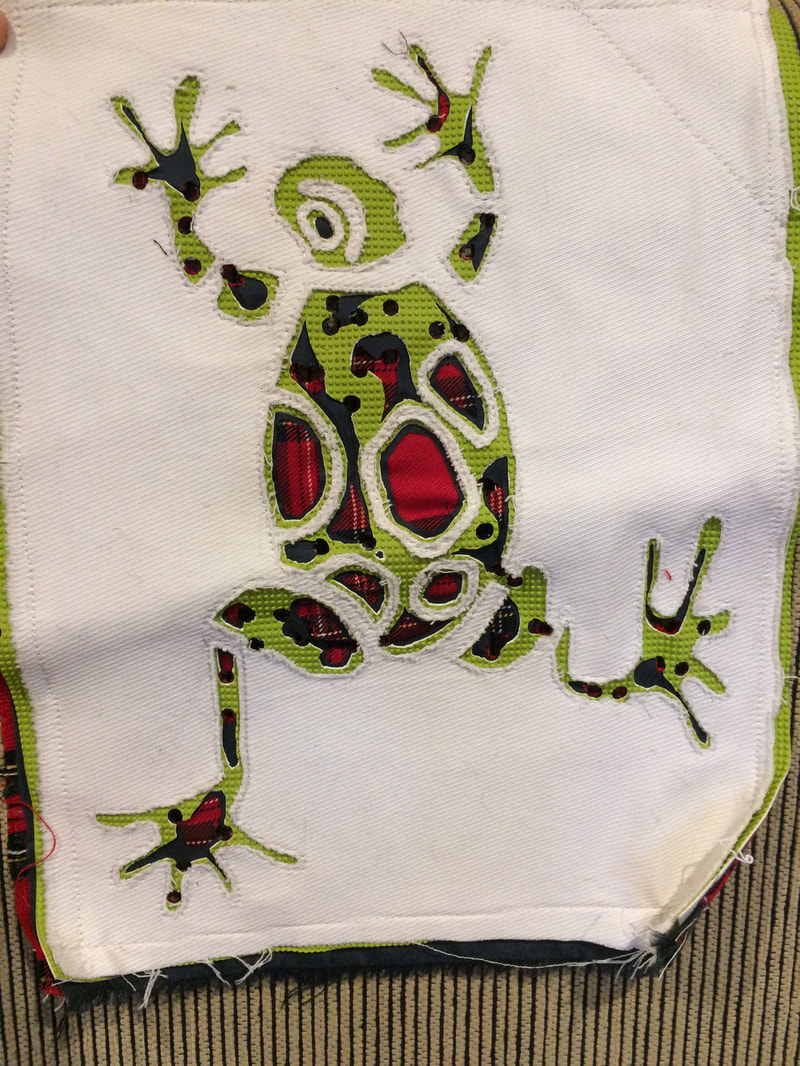
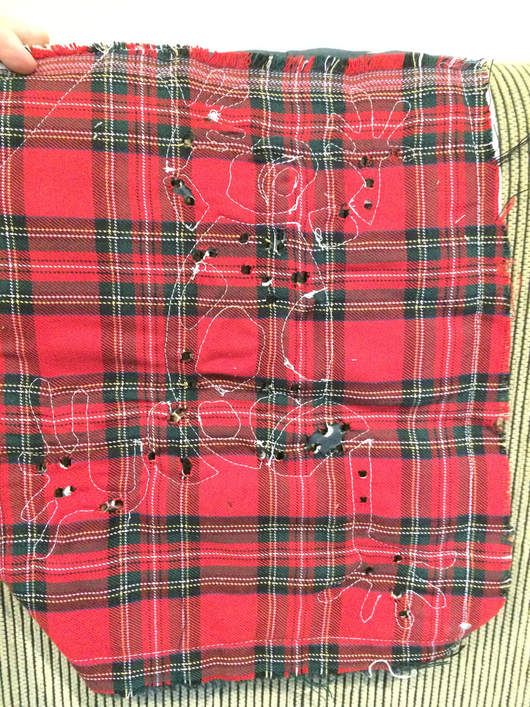
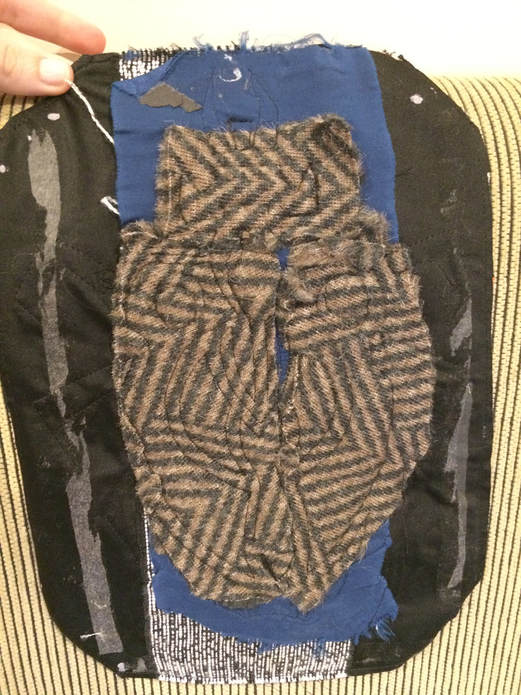
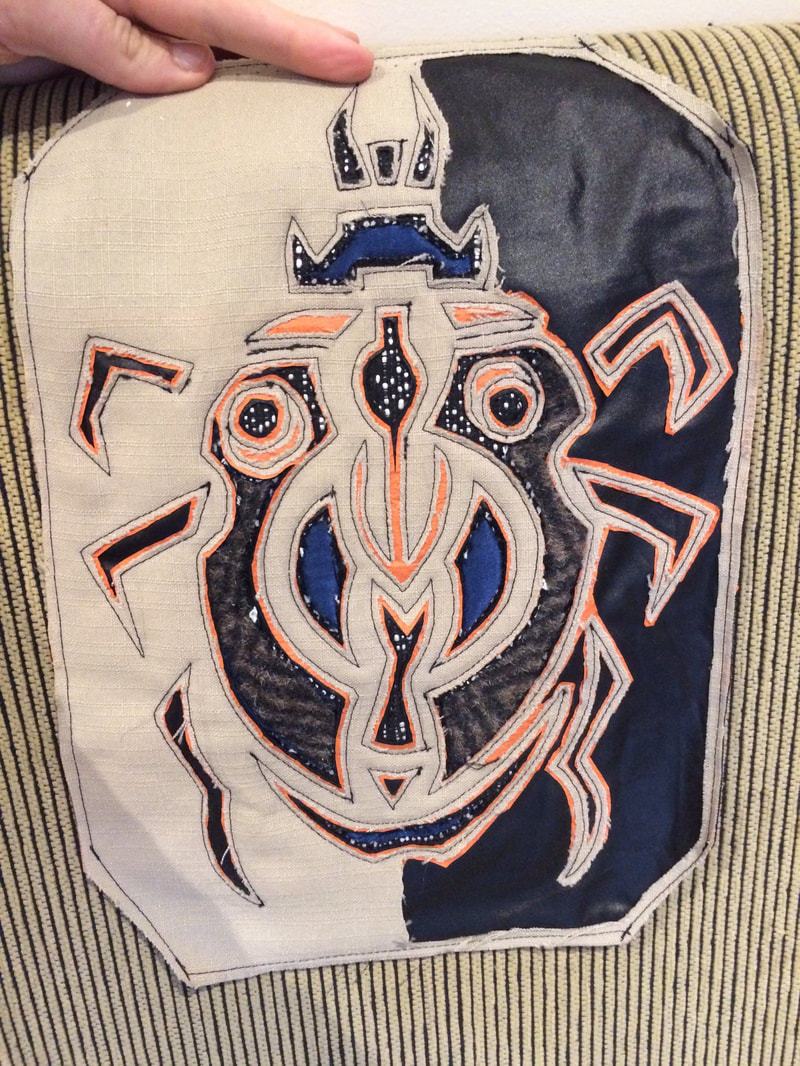
Mola technique
|
|
