3D TYPOGRAPHY
Inspiration below...
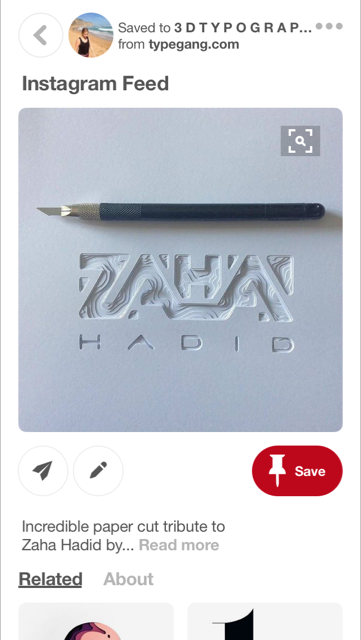
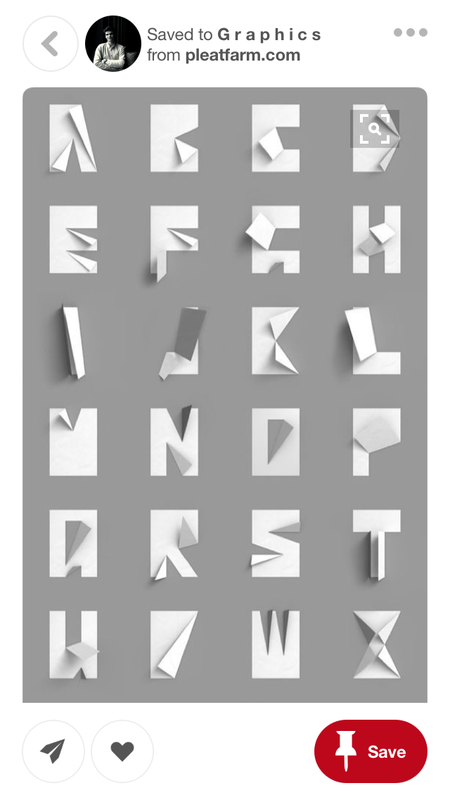
Below you can see the main pictures which formed the inspiration for my work.
I made a pinterest board and did some hand sketching.
I made a pinterest board and did some hand sketching.

YOU MIGHT come up with a design and consider how you will make it.
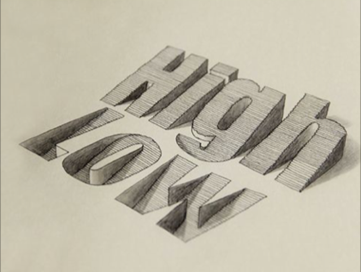
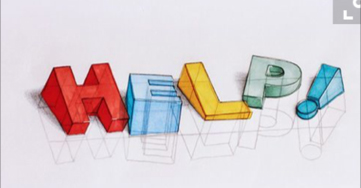
I did some sketching on paper and later used illustrator to alter my font and work through the delivery of my design.
I did some sketching on paper and later used illustrator to alter my font and work through the delivery of my design.
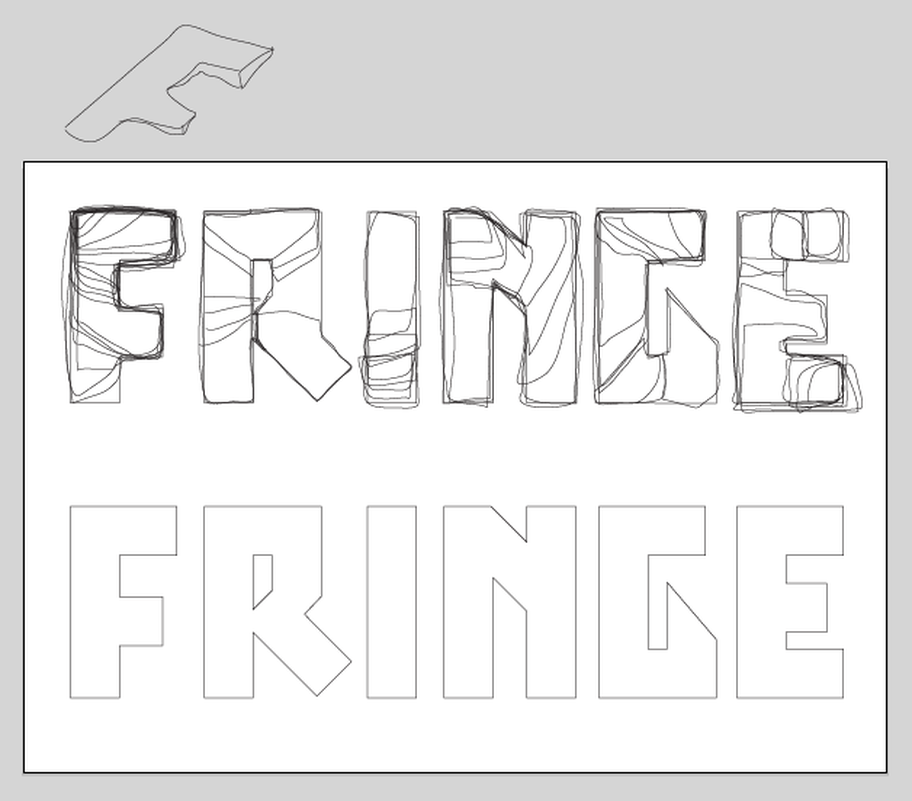
Screenshot of my Illustrator design - font made with rectangular blocks
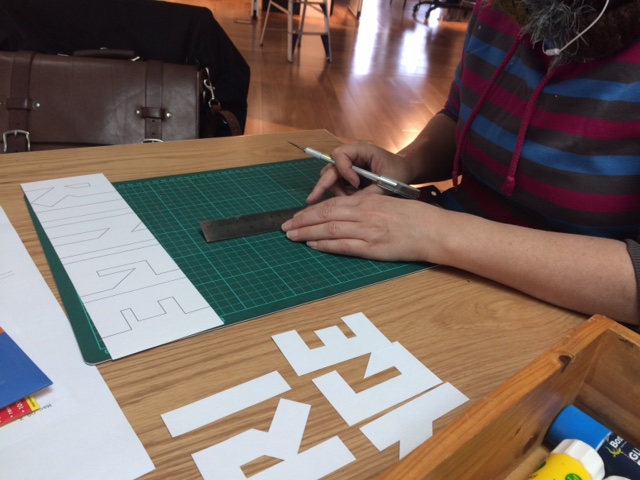
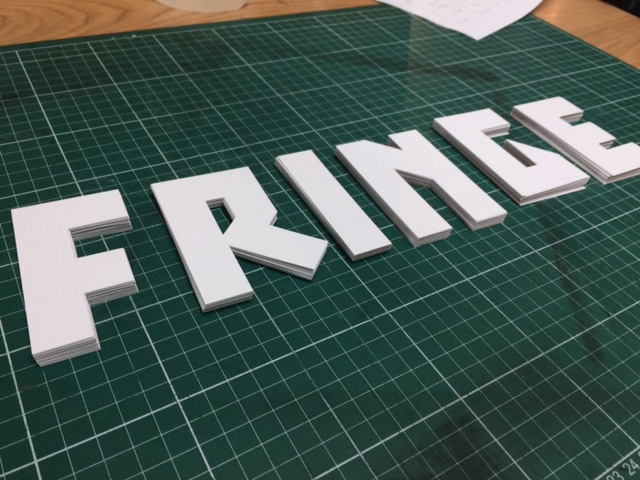
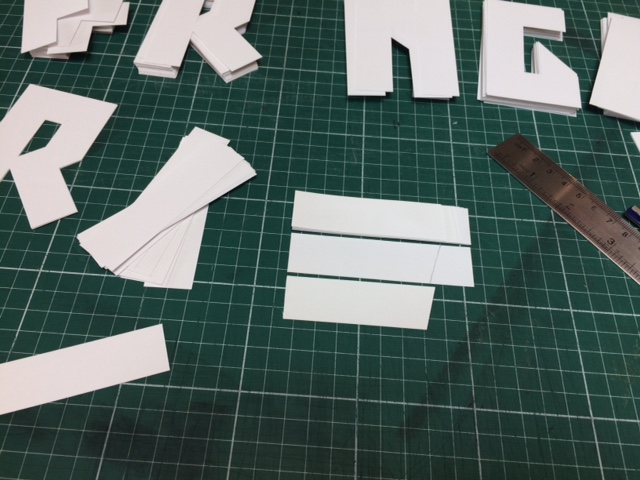
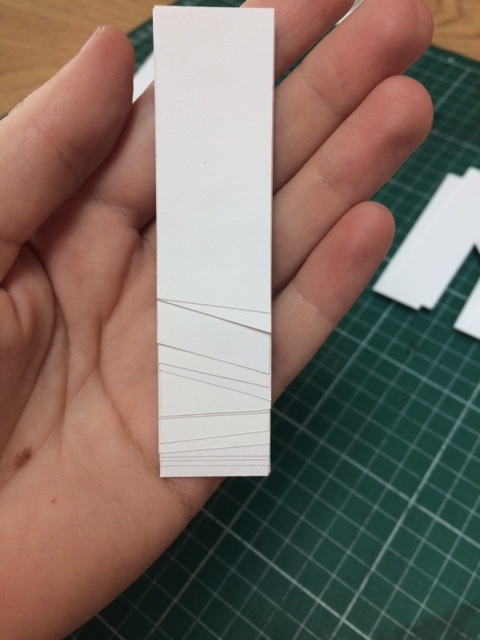
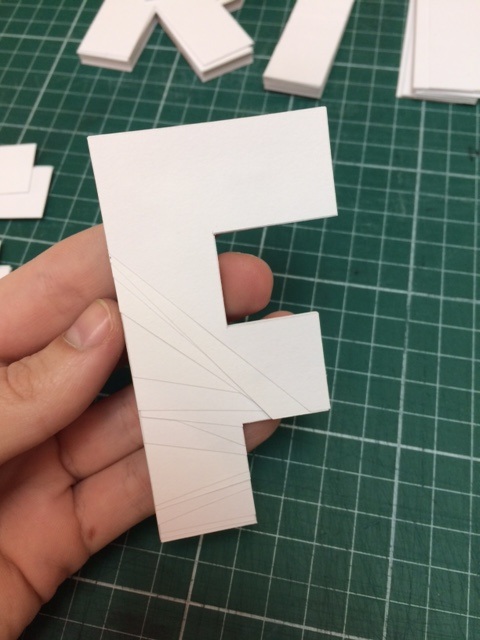
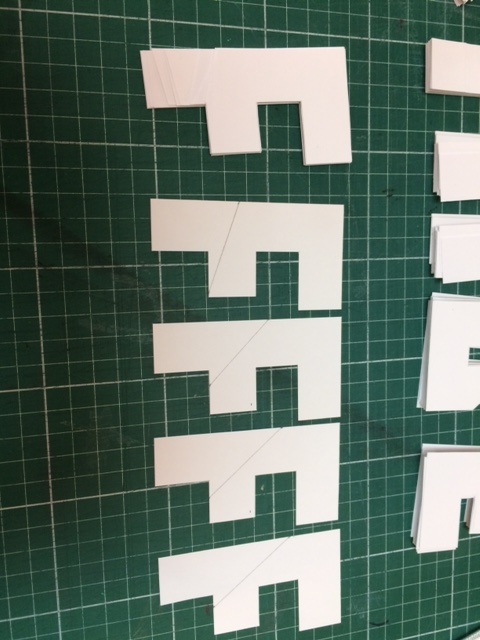
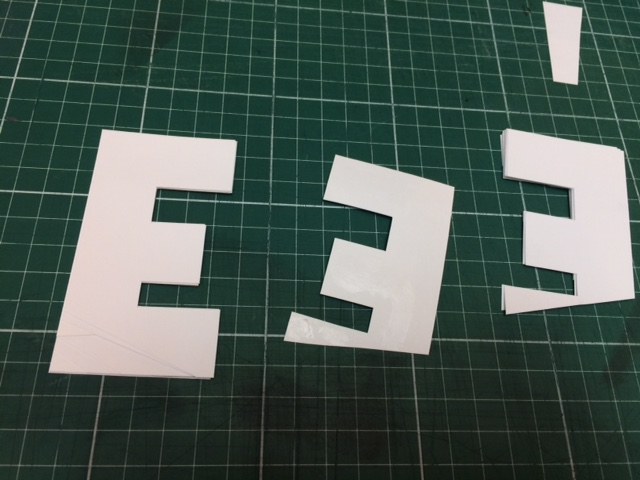
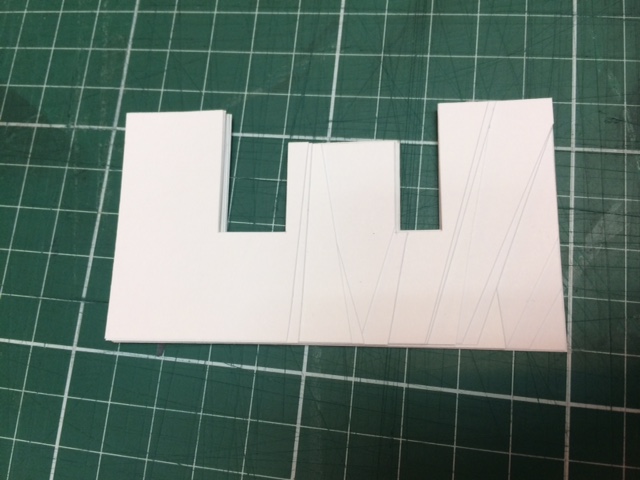
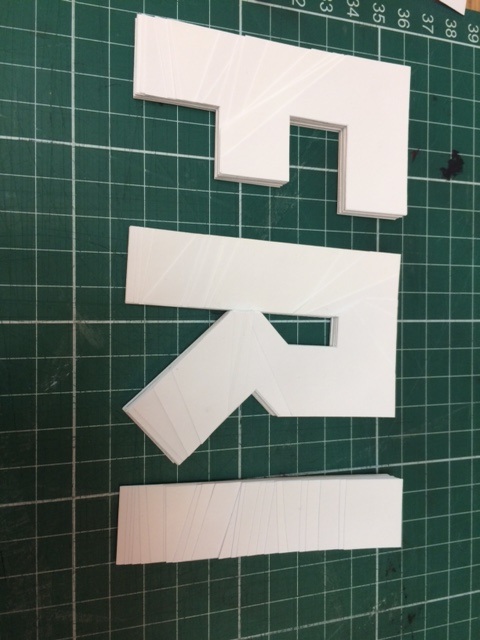
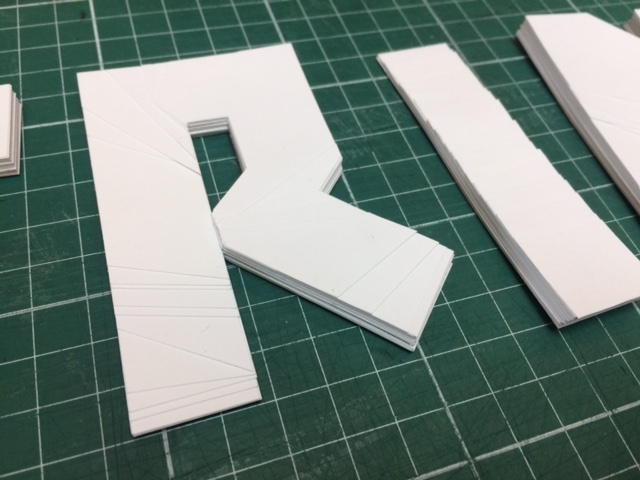
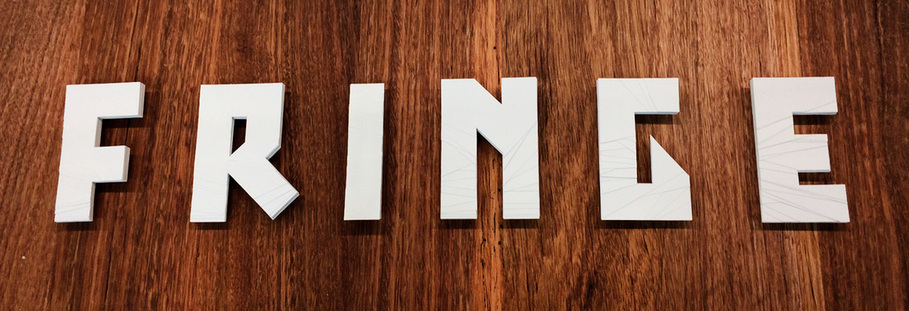
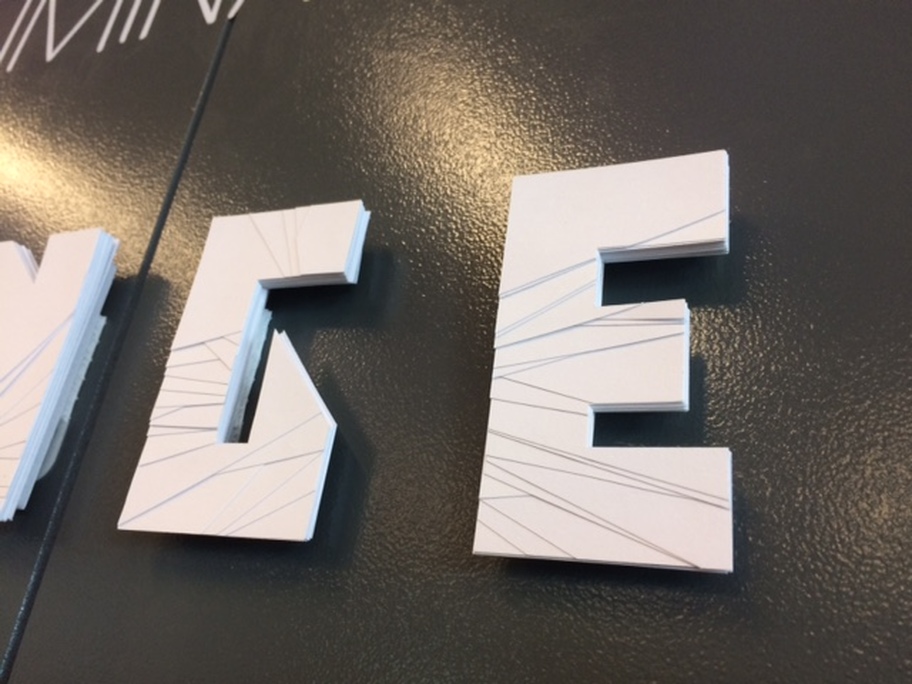
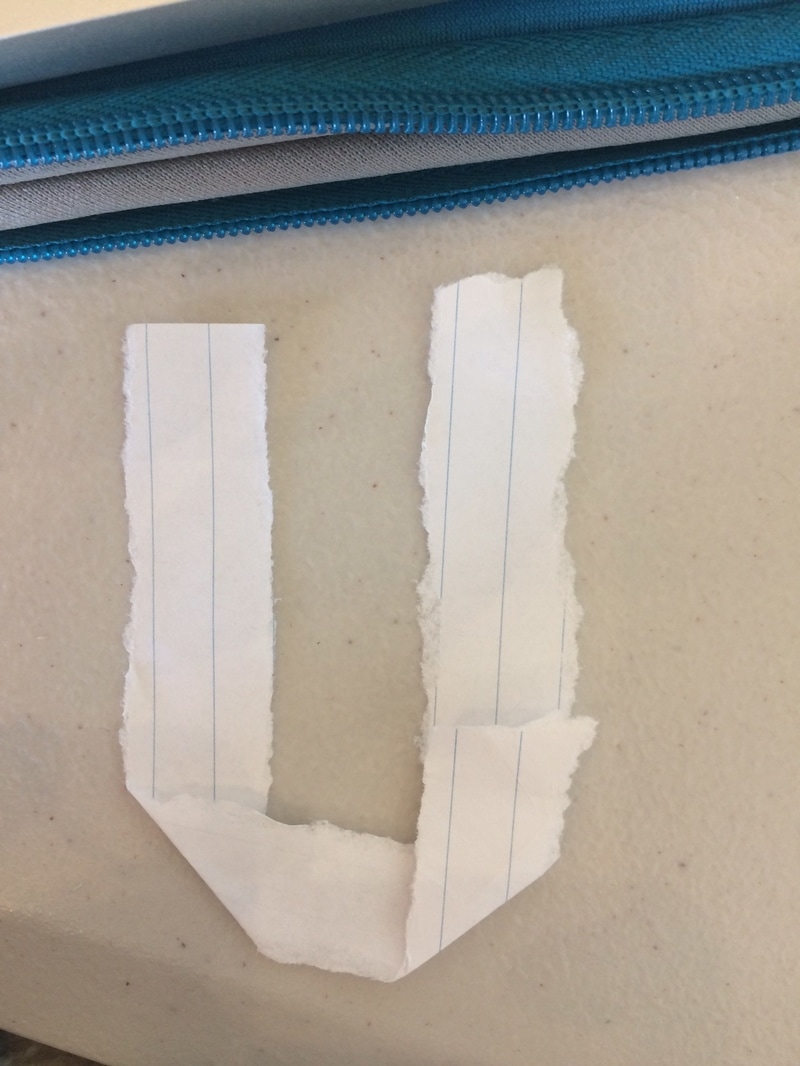
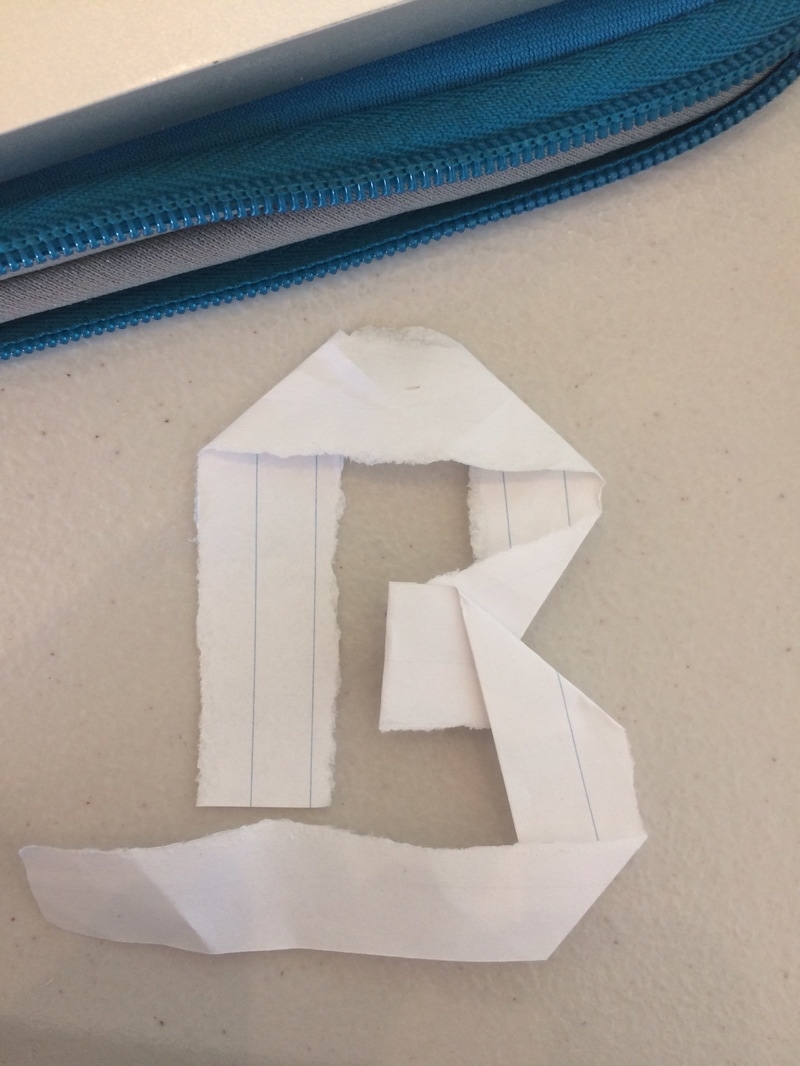
The Process... cut out your letters.
|
|
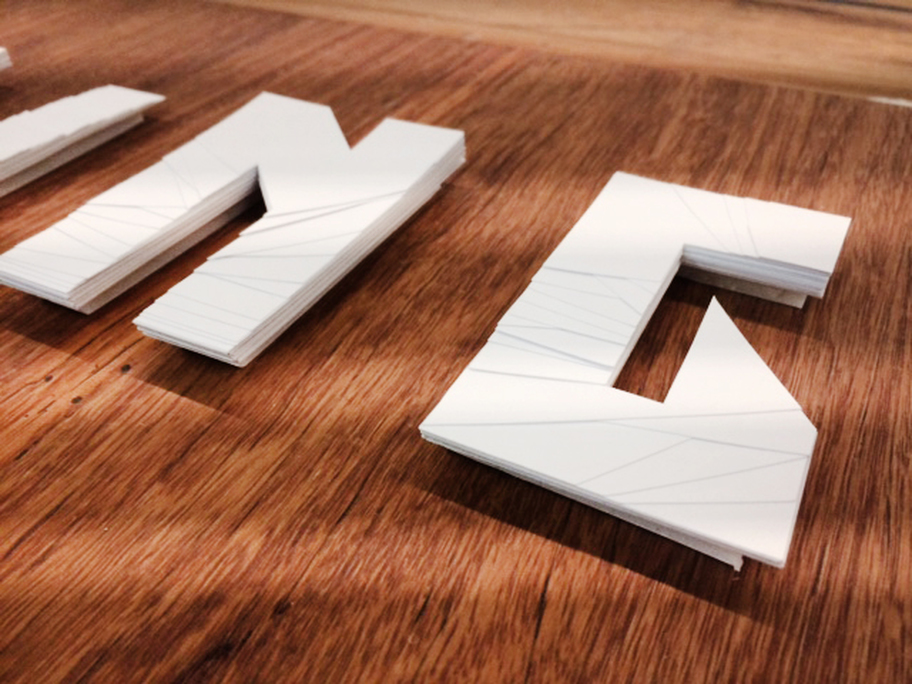
For my process... I used a lot of trial and error to work out what aesthetic I liked.
I tried curved shapes, straight edges and a combination of both. Attached below are some ideas on how I created the final result.
See if you can work out any tricks I have used...
I tried curved shapes, straight edges and a combination of both. Attached below are some ideas on how I created the final result.
See if you can work out any tricks I have used...
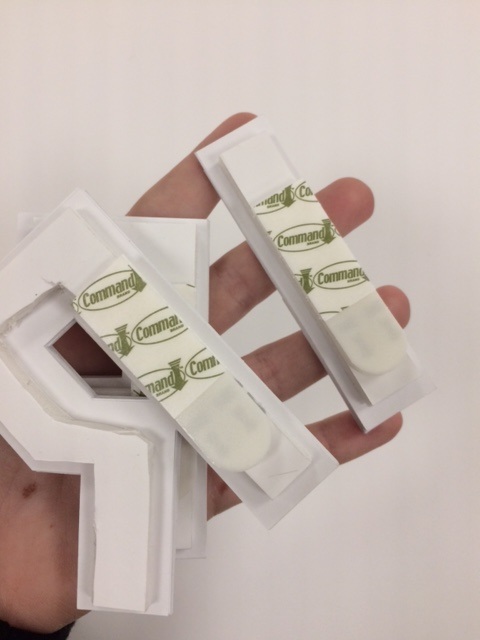
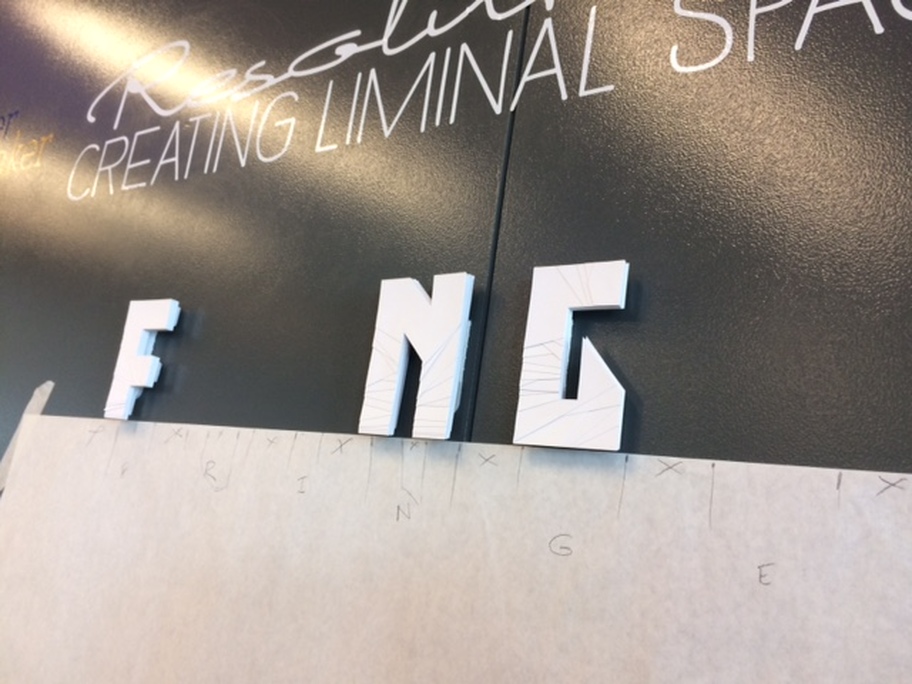
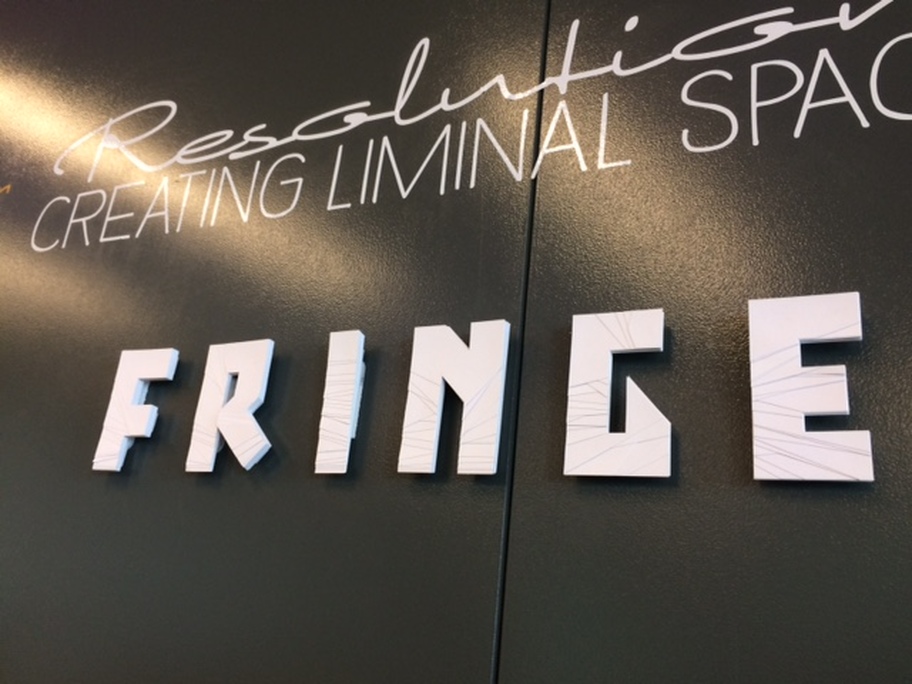
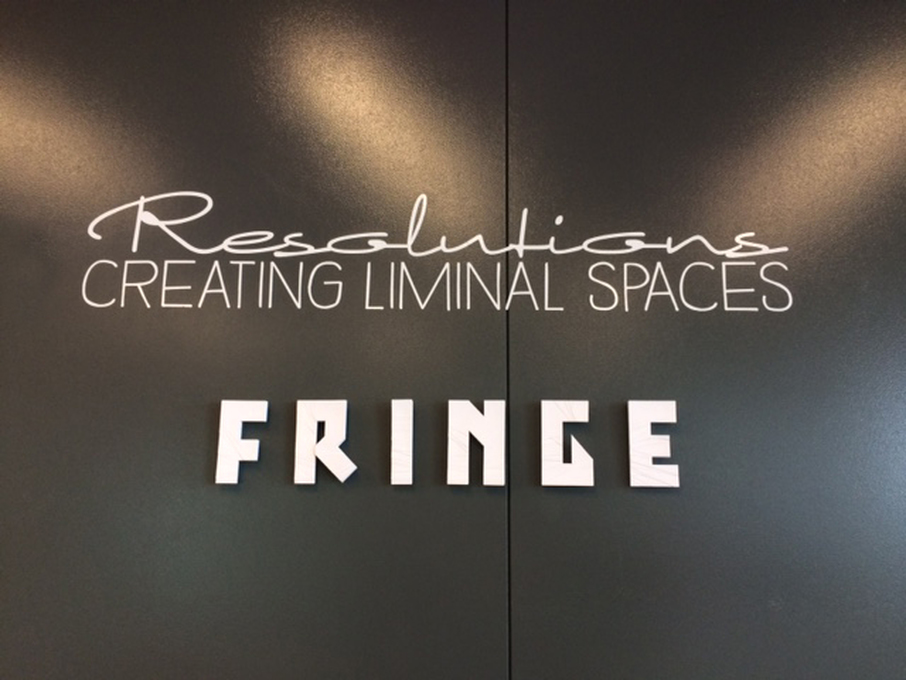
Consider how you will display your work
|
I used foam core to elevate my work and then added commandit tape strips to attach me work to the wall This allowed the letter to appear even more elevated |
Consider how you will display your work
How will you make sure it is centered?
Straight?
The lettering is evenly spaced?
Each letter is the same height and width?
Take photos of the combinations you trial.
How will you make sure it is centered?
Straight?
The lettering is evenly spaced?
Each letter is the same height and width?
Take photos of the combinations you trial.
Another example how how you might approach the task...
3D TYPOGRAPHY in Illustrator
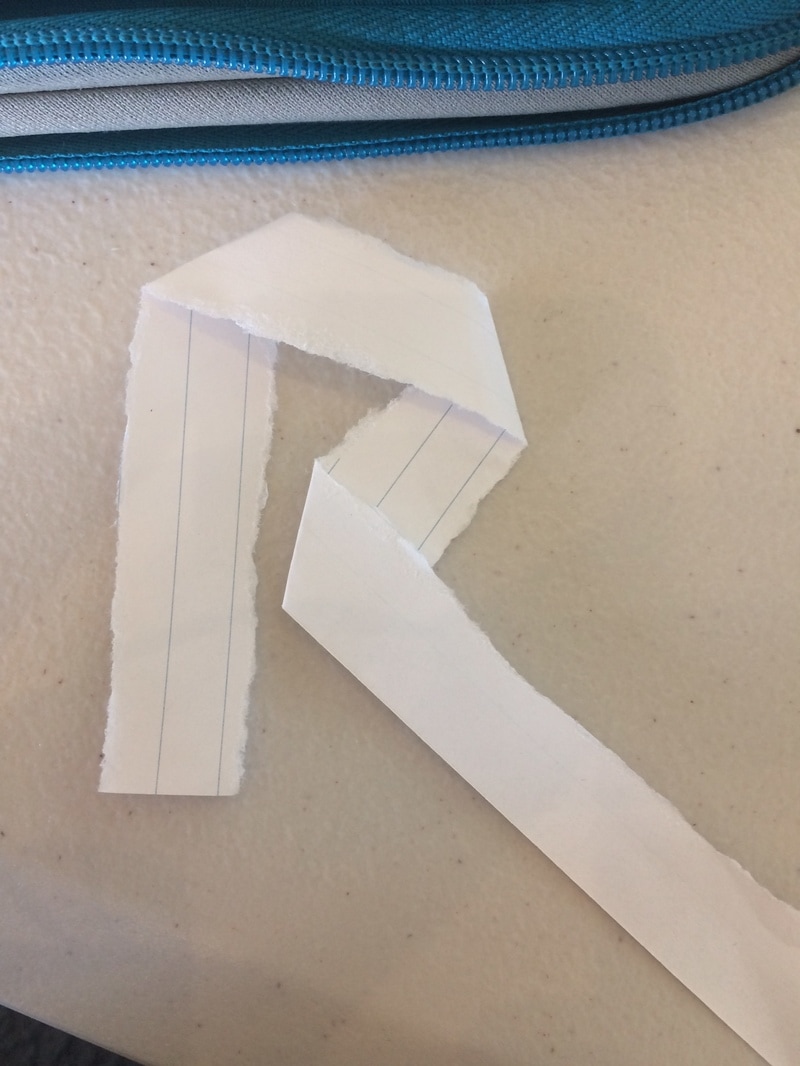
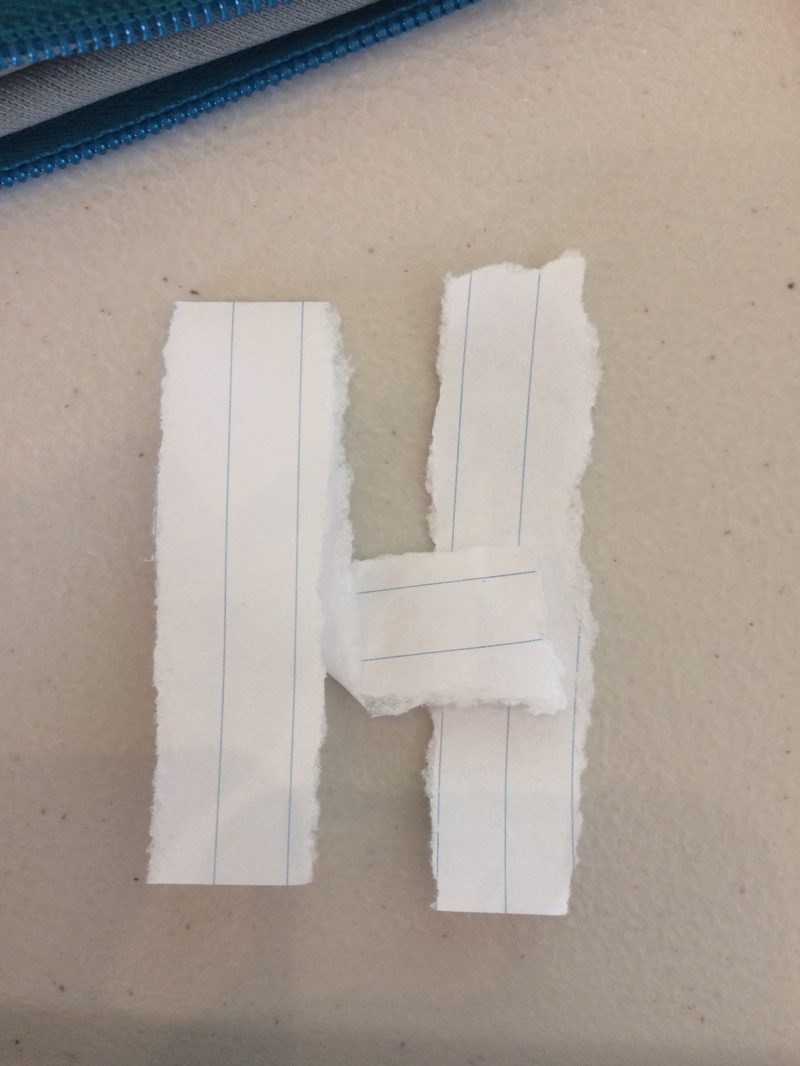
Start by drawing or creating your letters in 3D like shown...
I wanted to create a folded letter effect where the letters might look like twisted ribbon or paper.
I wanted to create a folded letter effect where the letters might look like twisted ribbon or paper.
|
|
|
|
Firstly, create a new file in illustrator and add your pictures...
WATCH the first video to see how I used the pen tool to create some outlines (warning these videos are sped up!)
The last video is using the gradient tool to add colour
and a 3D effect.
