CARBON TRACING - Illustrated name
|
Equipment:
PAPER>> tracing paper Watercolour paper Visual diary - 2 pages at least Pencil>> 6B if you press lightly 2B if you press hard |
PROCESS>> Draw Flip page Shade Flip page ... Draw over lines - this is when it transfers! |
STEPS
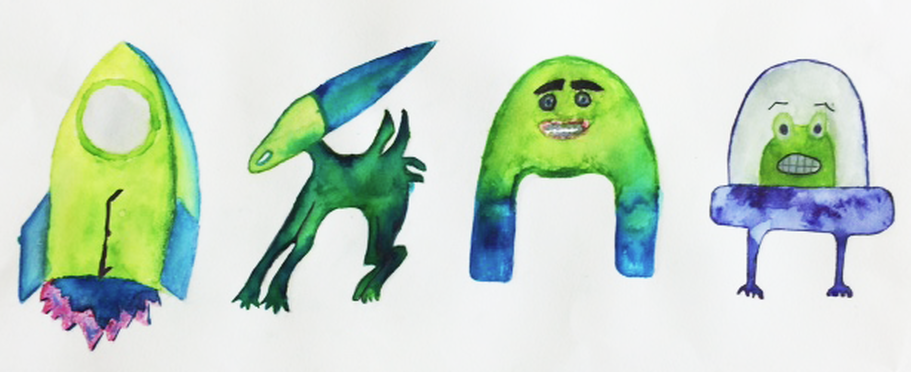
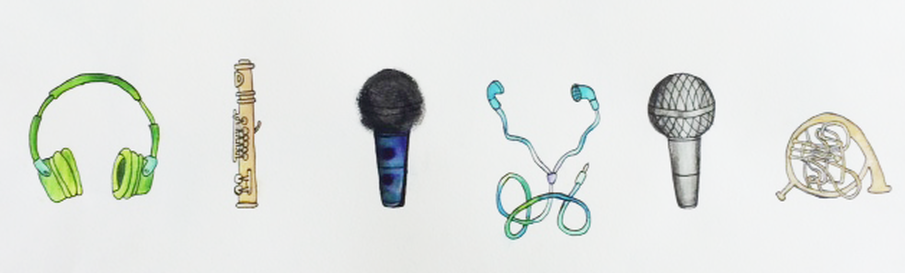
- student examples
|
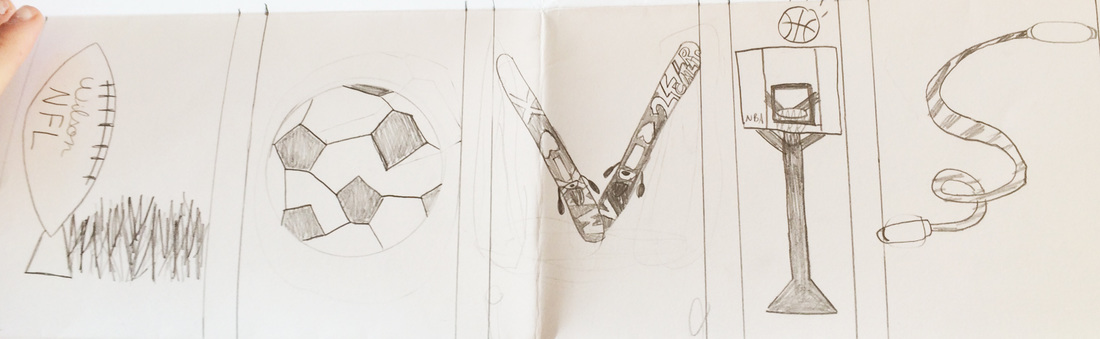
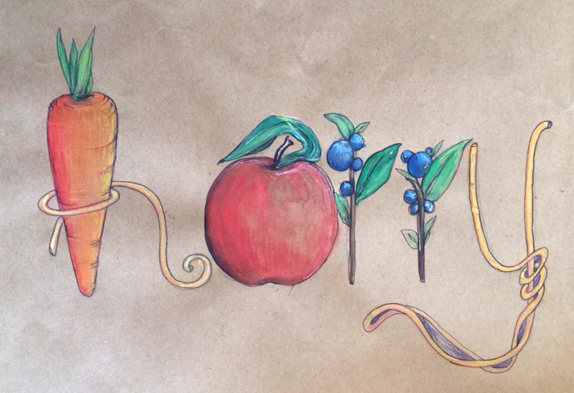
Step 1 - Draw out your letters like to the left (in theme!)
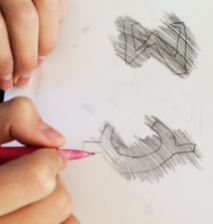
Step 2 - Flip your page over Step 3 - Shade over the lines of your drawing like image Step 4 - Flip your page over to the front side again Step 5 - Trace over your lines like video shows... REMEMBER!! check the transfer is ok - can be seen easily - not too dark - keep page clean!! |
CARBoN TRACING - ILLUSTRATED NAME
the task
This task requires students to produce a themed illustration of their name...
They may want to consider themes such as..
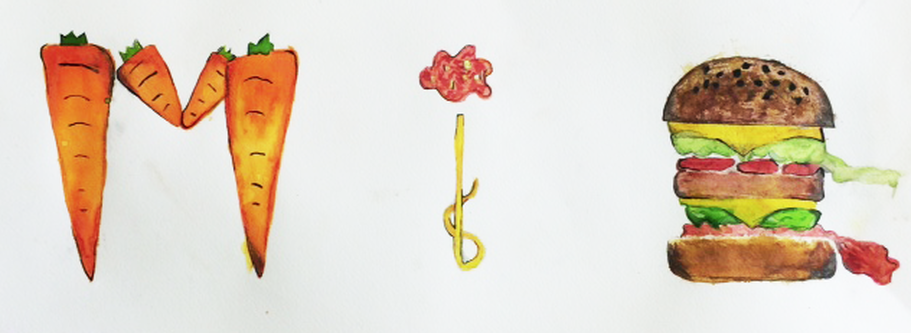
FOOD
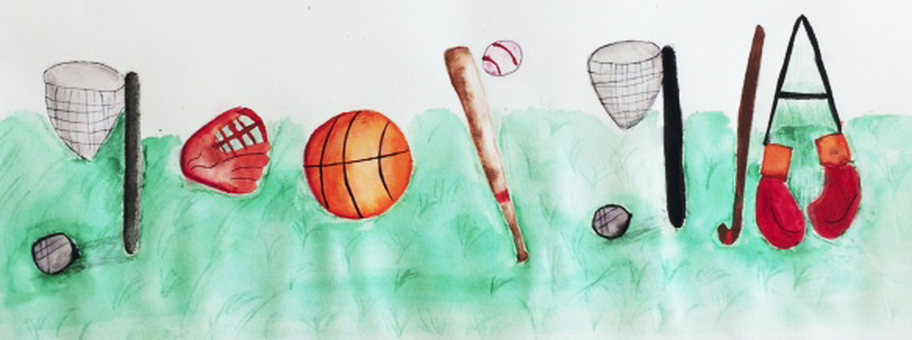
SPORT
POKEMON
Whatever they have a passion or interest in
STEP 1 - they need to research their theme and collect images which might inspire their illustration
No copying allowed
STEP 2 - students create their illustration by drawing their images into the letters of their name
(see example at top of page)
STEP 3 - students must then transfer their design 3 times including one copy which should be on watercolour paper
STEP 4 - students then begin the watercolour process to render their work...
Class 1 - Bleeding
Class 2 - Blending
Class 3 - Glazing
Class 4 - Dry brush and finalise other techniques
Each class should be broken up into 3 parts..
i) Watch video and experiement with skill
ii) Trial skill one one letter and practise on one copy
iii) Complete skill on final watercolour paper in one letter of
name
This process ensures students focus on one skill at a time and implement the skill on the final illustration
They may want to consider themes such as..
FOOD
SPORT
POKEMON
Whatever they have a passion or interest in
STEP 1 - they need to research their theme and collect images which might inspire their illustration
No copying allowed
STEP 2 - students create their illustration by drawing their images into the letters of their name
(see example at top of page)
STEP 3 - students must then transfer their design 3 times including one copy which should be on watercolour paper
STEP 4 - students then begin the watercolour process to render their work...
Class 1 - Bleeding
Class 2 - Blending
Class 3 - Glazing
Class 4 - Dry brush and finalise other techniques
Each class should be broken up into 3 parts..
i) Watch video and experiement with skill
ii) Trial skill one one letter and practise on one copy
iii) Complete skill on final watercolour paper in one letter of
name
This process ensures students focus on one skill at a time and implement the skill on the final illustration
CARBON TRACING
- example final product
Student work...
All techniques covered
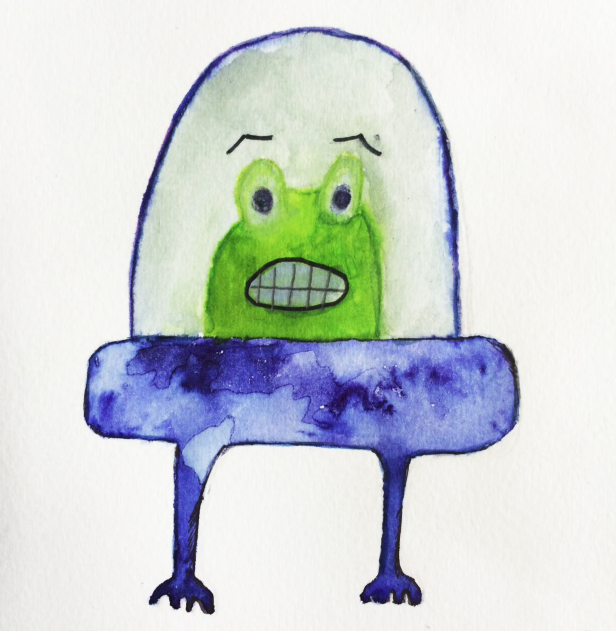
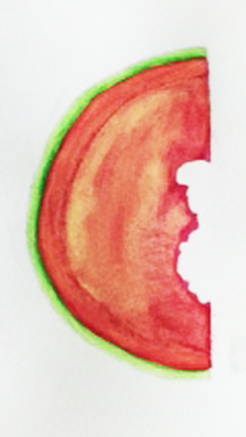
Great example of 'bleeding' technique

Nice use of colour and pencil work
Example of fineliner detailing
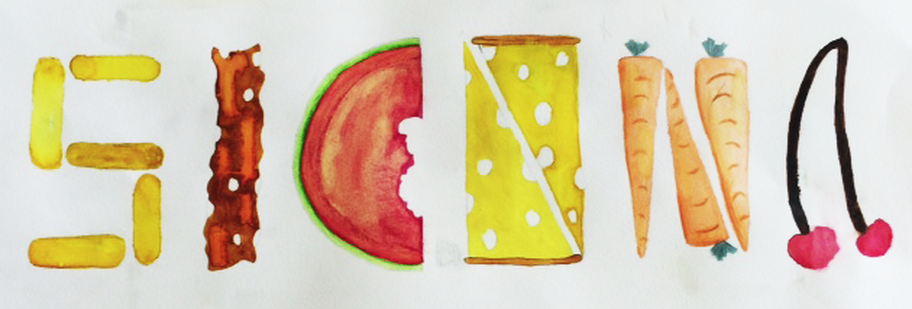
Very clear lettering
Strong execution of a 'glaze'
Example of an added background and touches of fineliner
Use of 'dry brush' illustrated cleverly

Name can be clearly read
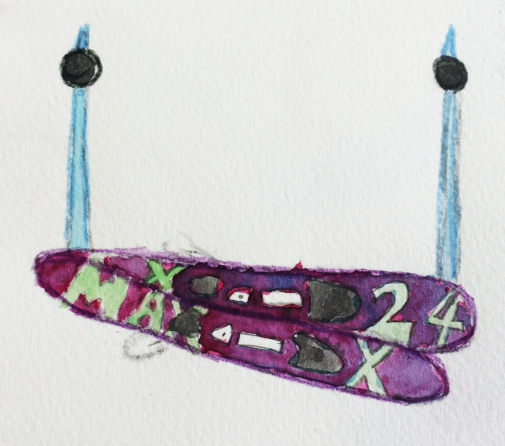
Glaze and blending shown here
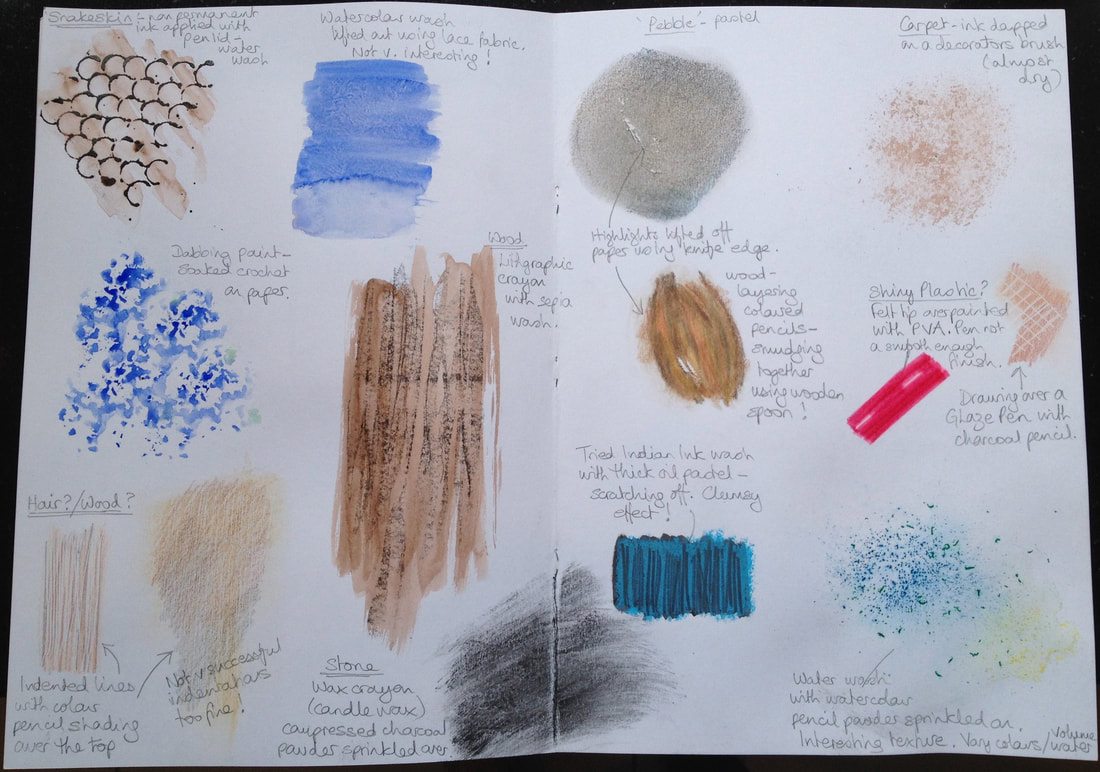
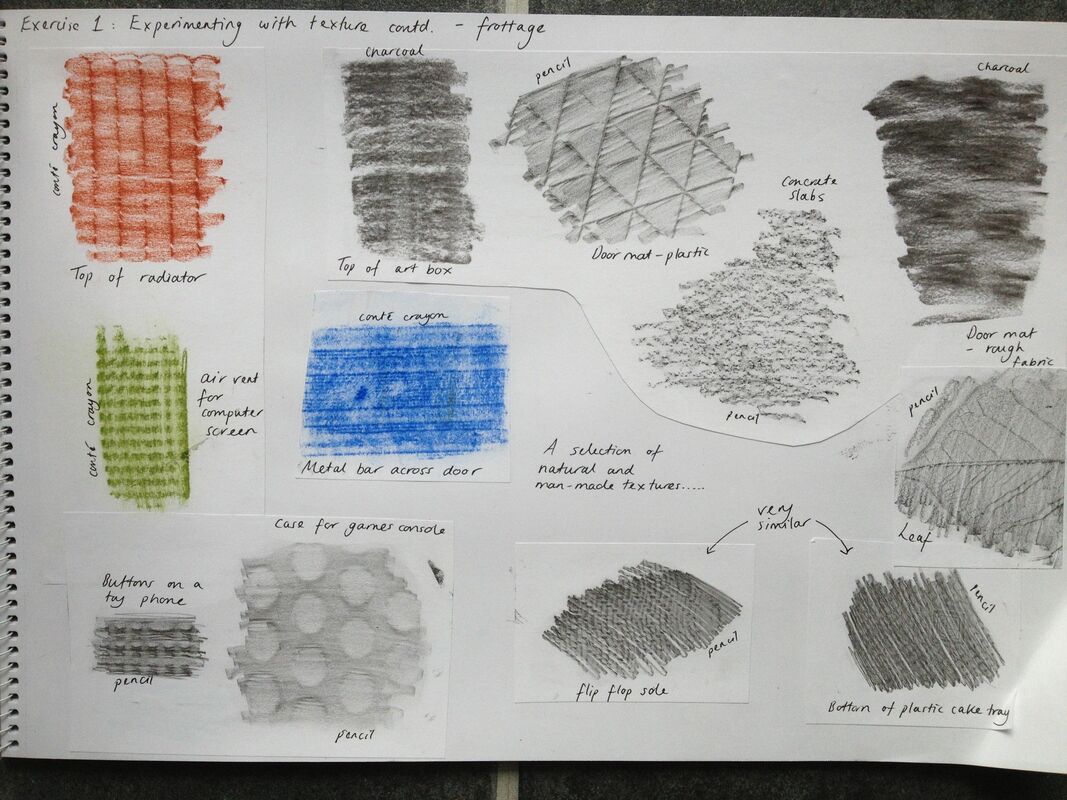
FROTTAGE
The technique or process of taking a rubbing from an uneven surface to form the basis of a work of art.
See student examples below...
See student examples below...