Hand EMBROIDERY
Embroidery is the method used for decorating fabrics with a needle and a thread.
The stitches are grouped into four types, each offering different effects and uses for embroidery:
•Outline – Used for outlining the elements of your design
•Border – Used to secure edges and to add textural
dimension to your design
•Detached – Used to create decorative details or in mass to
fill in open areas of the design
•Filling – Used to create shading or to solidly fill in a
design area
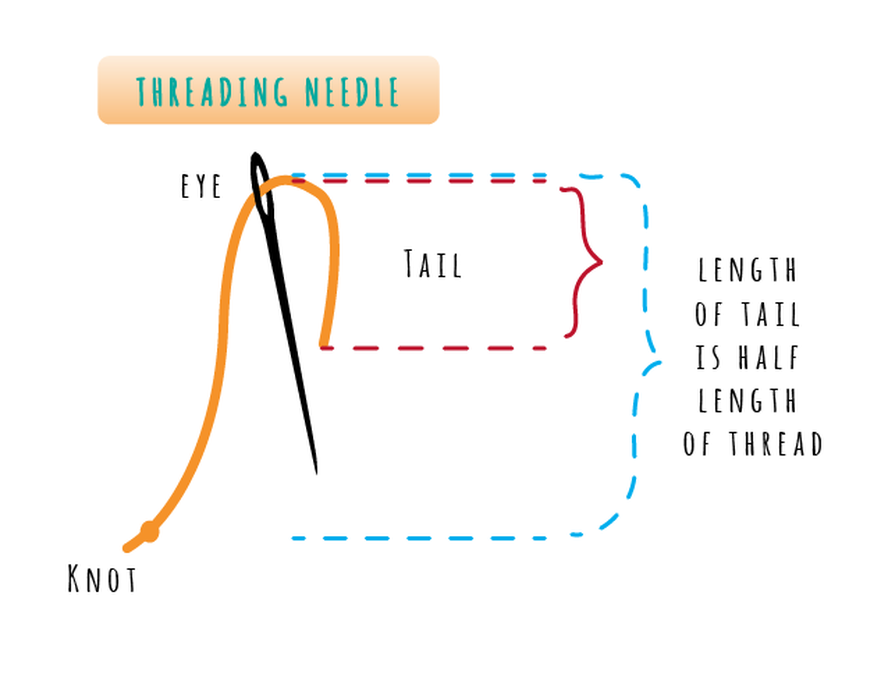
the basics... threading needle and knots
|
|
Watch the video and see live demonstration in class.
> Thread needle by looking at the needle front on (loop is visible to you) > Lick end of thread to make fine point > make sure the tail of your thread (bit that is through the needle) is half the full length of your thread. *** this ensures it's less likely to come out |
The Task: Hand EMBROIDERY
STEP 1:
Draw lines in pencil on your calico using ice cream sticks as a guide for spacing (about 1cm apart)
STEP 2:
Put your name at the top right hand side of the calico
Draw lines in pencil on your calico using ice cream sticks as a guide for spacing (about 1cm apart)
STEP 2:
Put your name at the top right hand side of the calico
See below an outline of what stitches are needed on each line and videos/info on how to complete these!
There are BONUS stitches at the end if you are racing ahead!
There are BONUS stitches at the end if you are racing ahead!
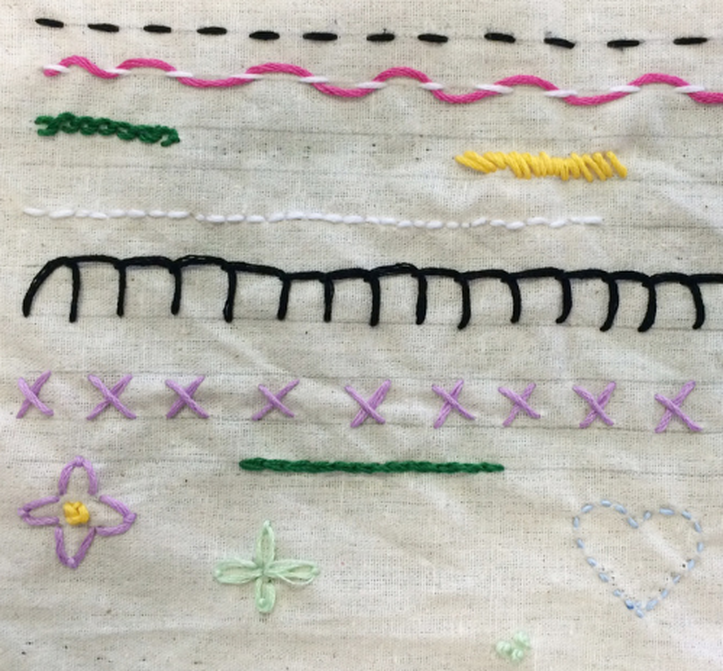
This is an example of your fabric and which stitches need to be sewn on each line
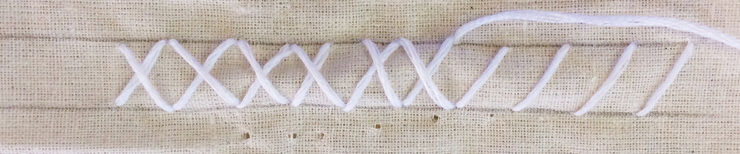
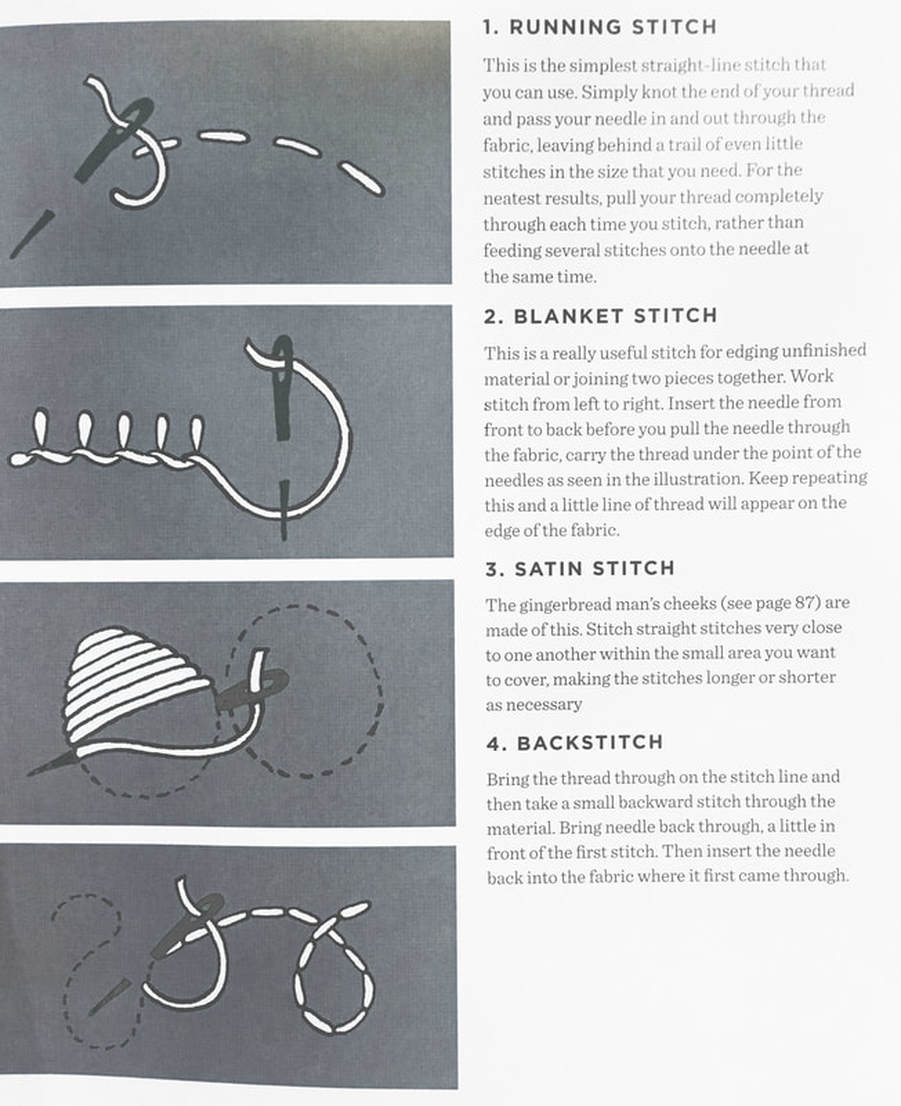
RUNNING stitch
|
|
LINE 1: Create a running stitch USES: any lines - outlining effect > Work from right to left > The spaces between the stitches can be the same length as the stitches or shorter for a different look. Simple - watch video! |

Student work
BACK stitch
|
|
LINE 2: Create a back stitch Simple - watch video! USES: any lines - dashed effect REMEMBER > knot the back of your thread |

Student work
split stitch
|
|
LINE 3: Create a split stitch USES: any lines - thicker effect Instead of coming up away from your last stitch (like usual)... you come up right in the middle of your stitch! See image below |

Student work
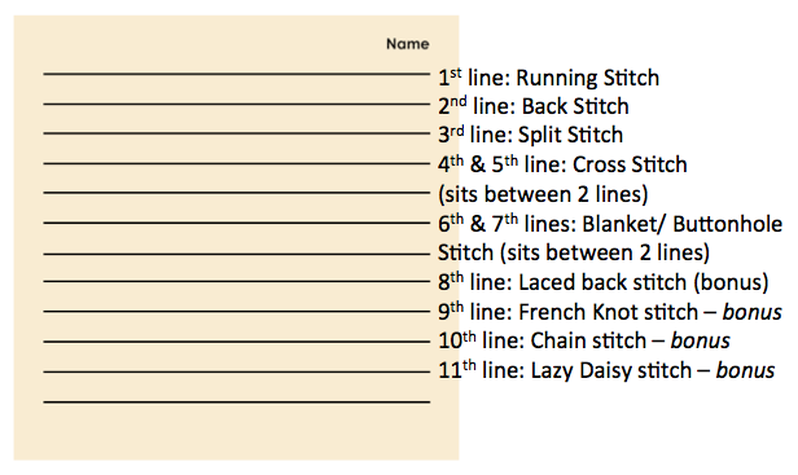
CROSS stitch

|
LINE 4 & 5: Create a cross stitch USES:borders, filling in > This sits between the two lines > Stitching from left to right, bring needle up at 1, down at 2, then up at 3... and down at 4. > Continue stitching across to end of line > Start back stitching from right to left, make crosses by bringing the needle up at 5 and down at 6.... cont. |
Student work
Example student layout of stitches
Student work in stages
|
|
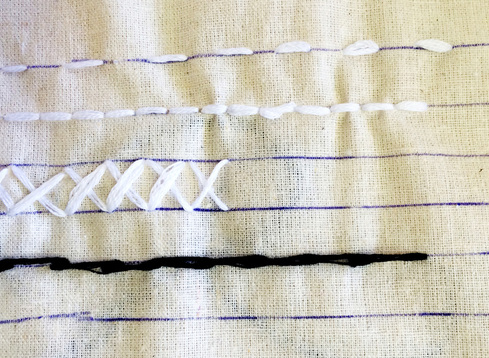
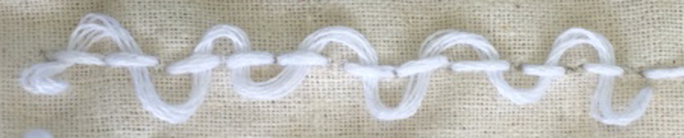
BUTTONHOLE/ BLANKET STITCH
|
|
LINE 6 & 7: Create a blanket/buttonhole USES:outlining of straight and/or gently curved lines also borders/finishes > This sits between the two lines > Bring needle up at 1, down at 2 and up at 3, keeping the thread looped under the needle. > Pull thread through and shape stitch as desired. |

Student work
LACED BACK STITCH
|
|
LINE 8:>>> BONUS Create a laced back stitch USES:pattern, irregular edge PROCESS: > the needle passes under a line of previously stitched backstitches... > Instead of always passing under the stitches in the same direction, the laced backstitch passes under in alternate directions from stitch to stitch. |

Student work
Student work
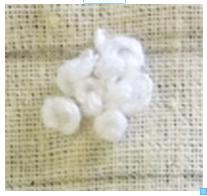
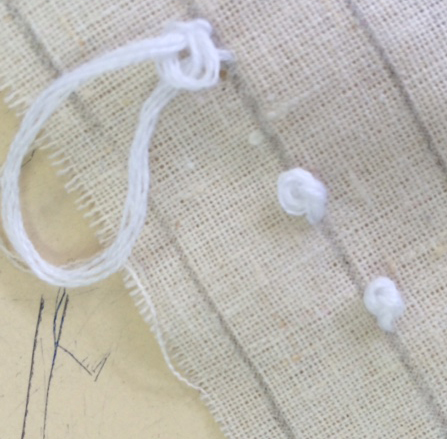
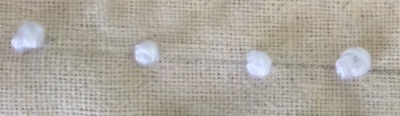
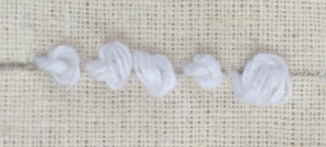
FRENCH KNOT STITCH
|
|
LINE 9:>>> BONUS Create a French knot stitch USES:Texture, dot effect too wordy to explain - watch the video! |
CHAIN STITCH
|
|
LINE 10:>>> BONUS Create a chain stitch USES:outlining straight/curved lines > Bring needle up at 1 and then reinsert needle in same hole, forming a loop. > Bring needle up at 2 and pull thread to tighten loop until desired shape is achieved. > To end the row make a small stitch over the last loop to hold it in place to secure |

Student work
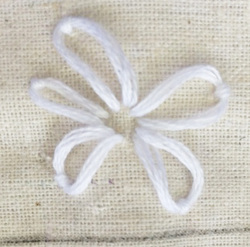
LAZY DAISY STITCH
Student work
|
LINE 11:>>> BONUS Create a Lazy daisy stitch or ANY OTHER you like! USES:circles, flowers, leaves > Come up at 1 and back down in the same hole or right next to point 1, forming a loop on the front side. > Bring needle up at 2 and pull thread to shape loop into desired shape. > Pulling tighter creates a straighter looking stitch, while a looser thread creates a more rounded loop. |
sample final result!
student work
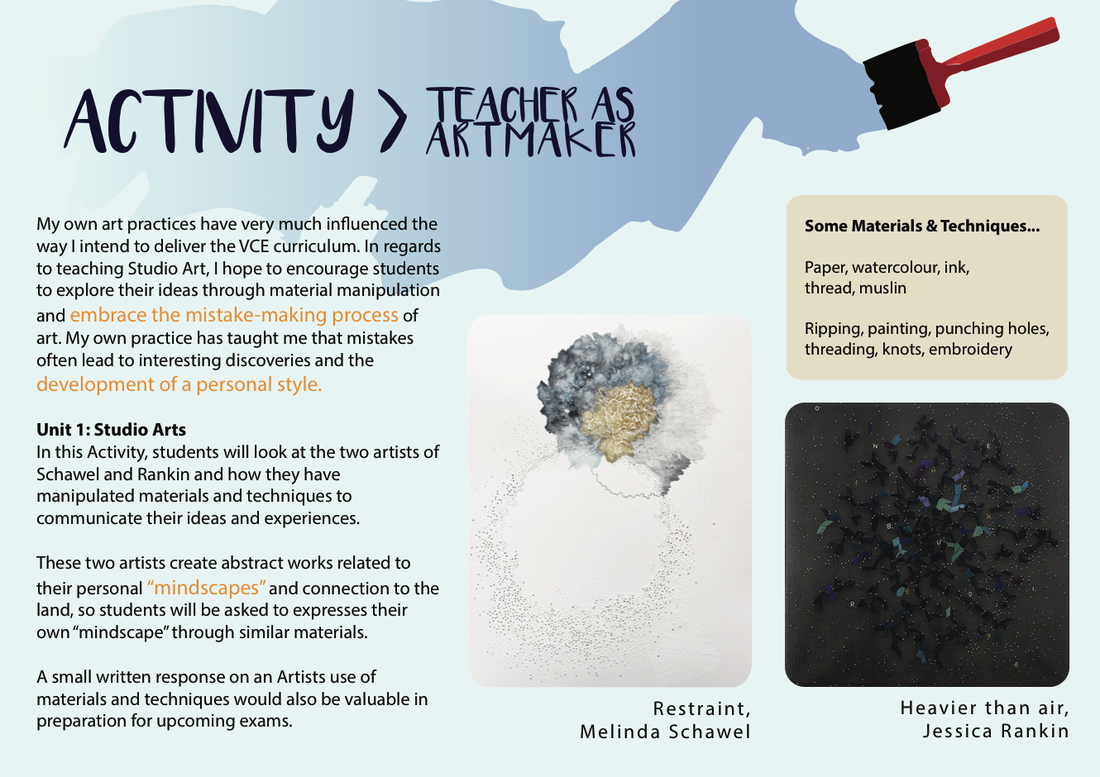
EMBROIDERY ARTISTS:
KNITTING
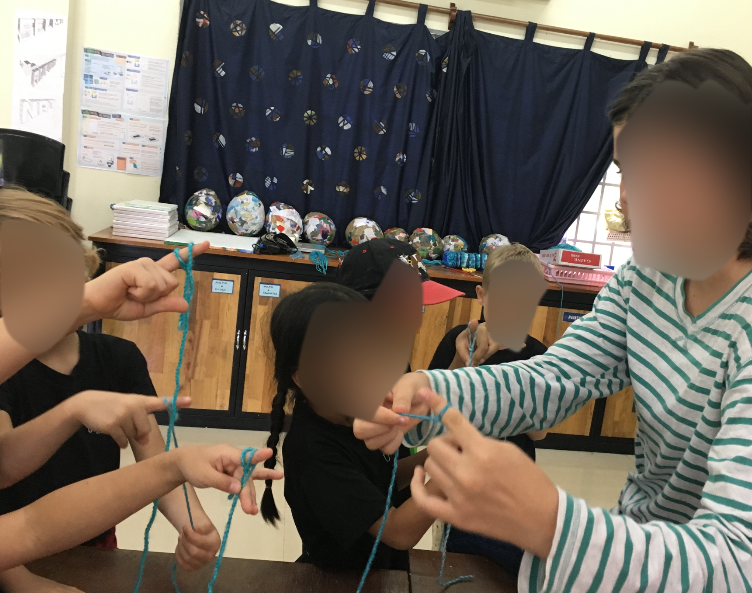
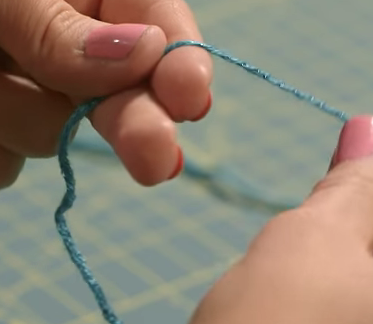
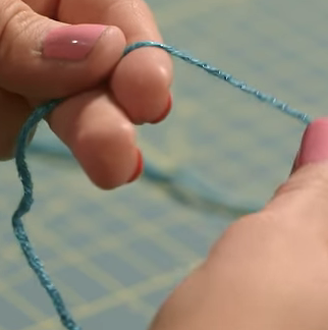
FINGER KNITTING
Create a loop on index finger with long end behind index finger and short end held between middle finger and thumb.
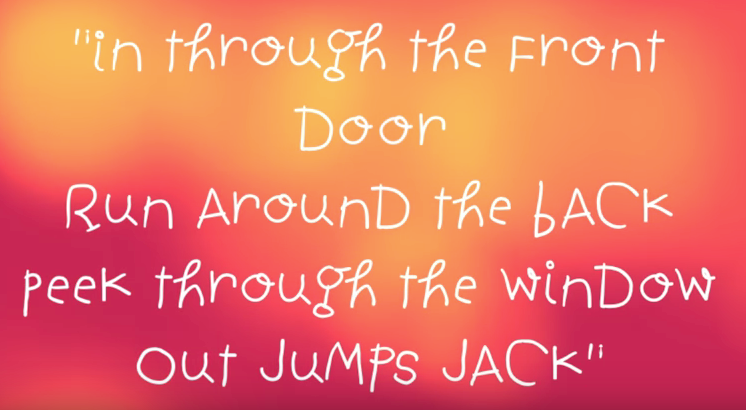
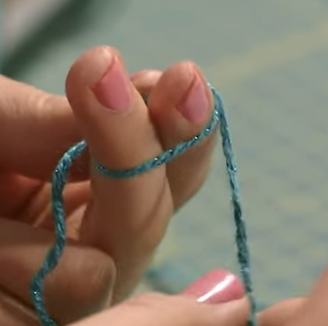
"Dog runs around the BACKyard
and
JUMPS over the fence"...
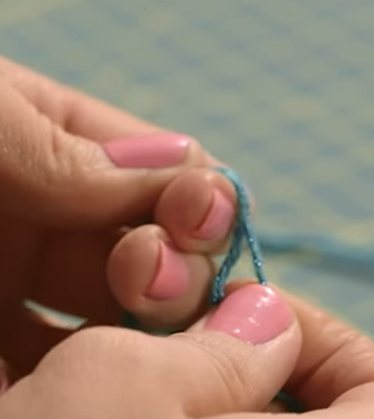
(aca pull string to back of finger to create second loop, pull first loop over second loop)
Create a loop on index finger with long end behind index finger and short end held between middle finger and thumb.
"Dog runs around the BACKyard
and
JUMPS over the fence"...
(aca pull string to back of finger to create second loop, pull first loop over second loop)

A handy story to remember...
TWO TYPES:
Knit stitch & Pearl Stitch

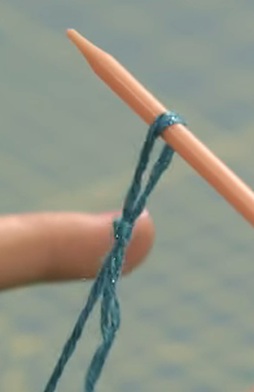
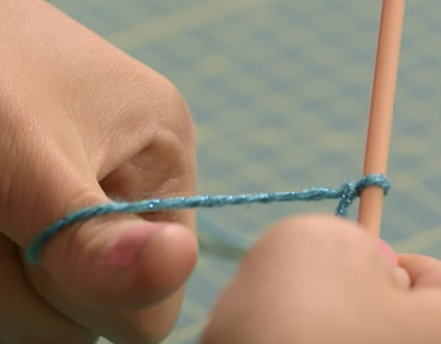
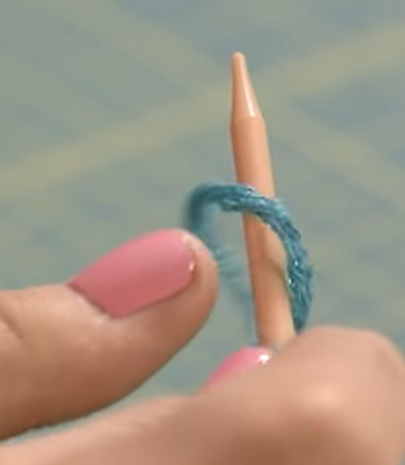
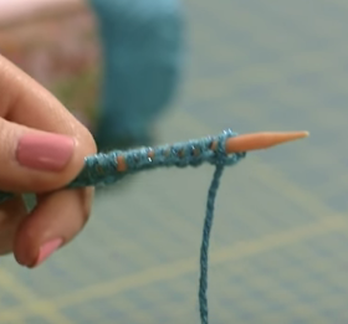
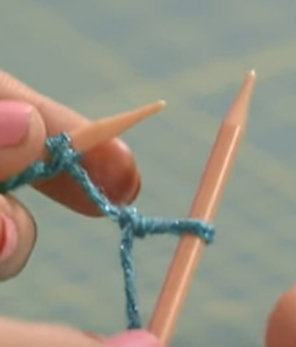
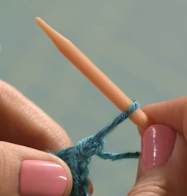
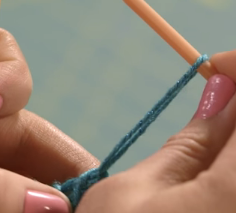
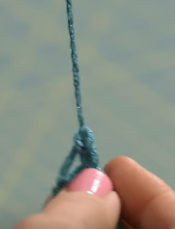
'Casting on' - to start
Create a slip knot
1) Thread over two fingers, wrap around
2) Put yarn through loop - pull through
3) Add knitting needle to loop and pull string to tighten
|
|
|
|
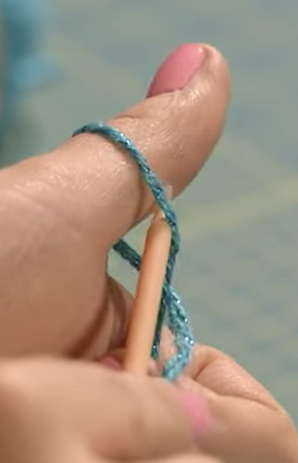
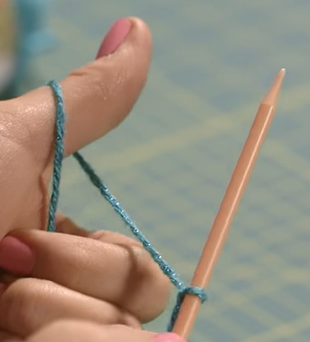
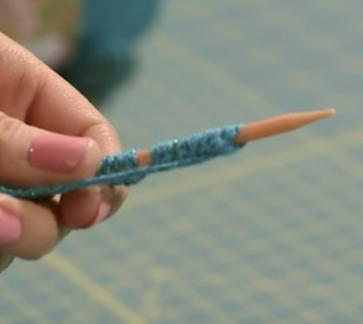
4) Place thumb under thread
5) Place needle in loop and pull thread off finger
Repeat.... scoop, rotate, loop, release ..... repeat
5) Place needle in loop and pull thread off finger
Repeat.... scoop, rotate, loop, release ..... repeat
|
|

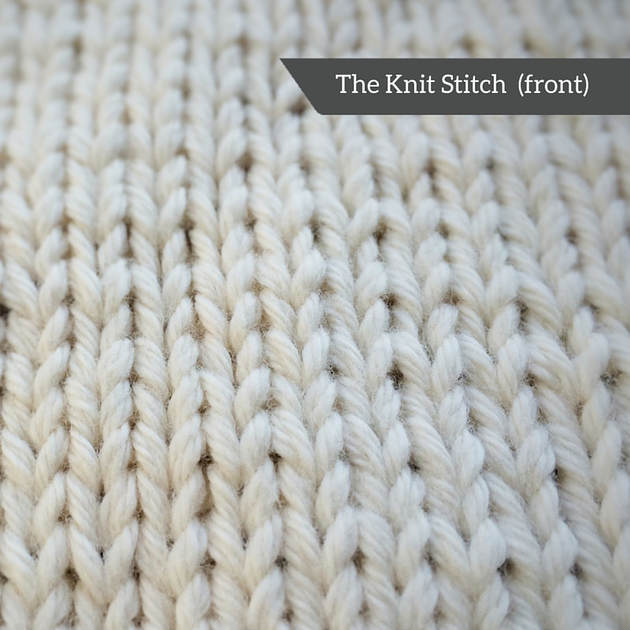
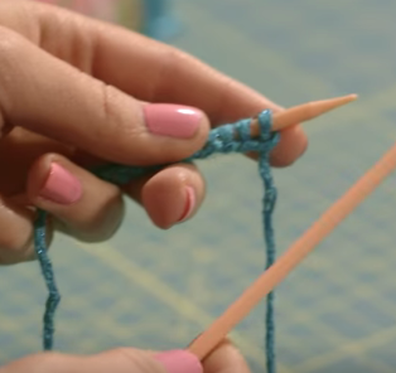
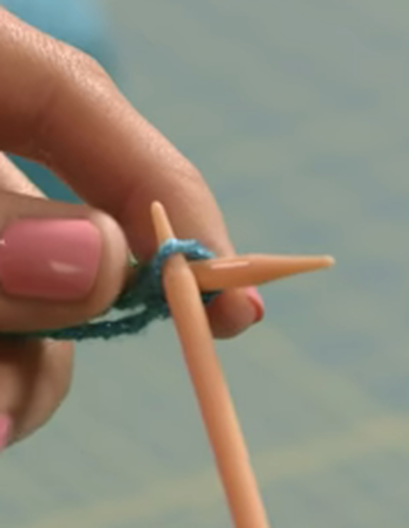
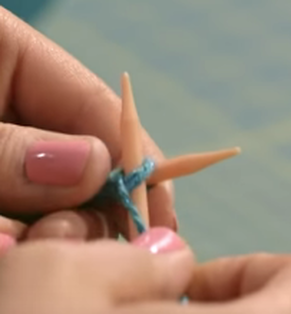
KNIT stitch
**Start with stitches cast on already
1) Make 'x' with your needles by placing needle 2 in loop
|

|
|
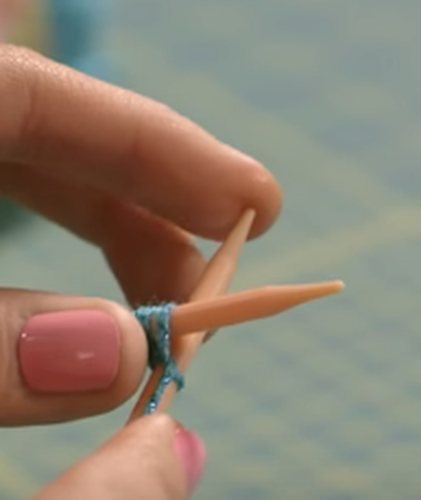
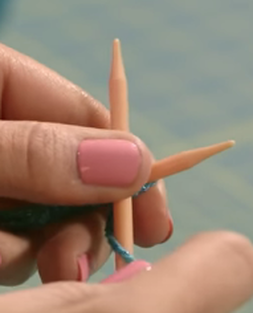
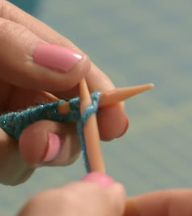
2) Wrap thread around back of needle |
|
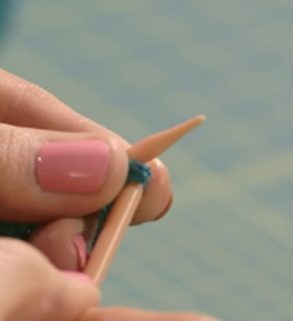
3) Pull needle downwards to begin to release loop |

|
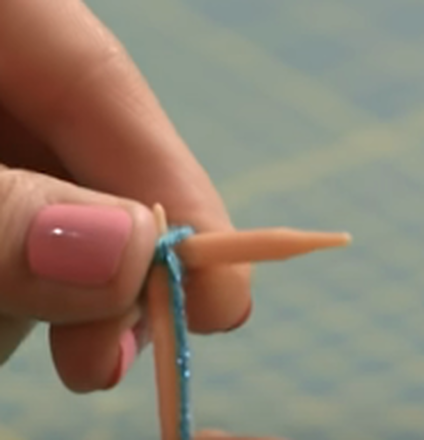
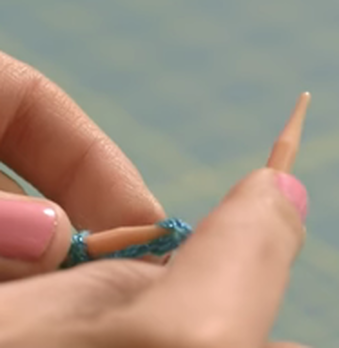
4) Push needle back in towards window |

|
5) Slip the top stitch off the needle |
PEARL Stitch
**Start with stitches cast on already
|
|
1) Bring yarn to front side |
|
2) Insert needle from front to left |
|
|
2) Wrap around from right to left |
|
|
3) pull through the loop but push wool towards the back |
|
|
4) Slip stitch off |
'Binding off' - to end
Create a nice clean finished edge that wont unravel
1) START with a regular knit stitch - needle into loop towards back, wool wound around, pull loop off
REPEAT FOR TWO STITCHES
2) Needle into 1st stitch and pull it up and over the 2nd stitch. There will be only one stitch left on needle.
3) When 1 stitch left... repeat basic step then right into left needle (like normal knitting process)
Too hard to write... just watch the video!

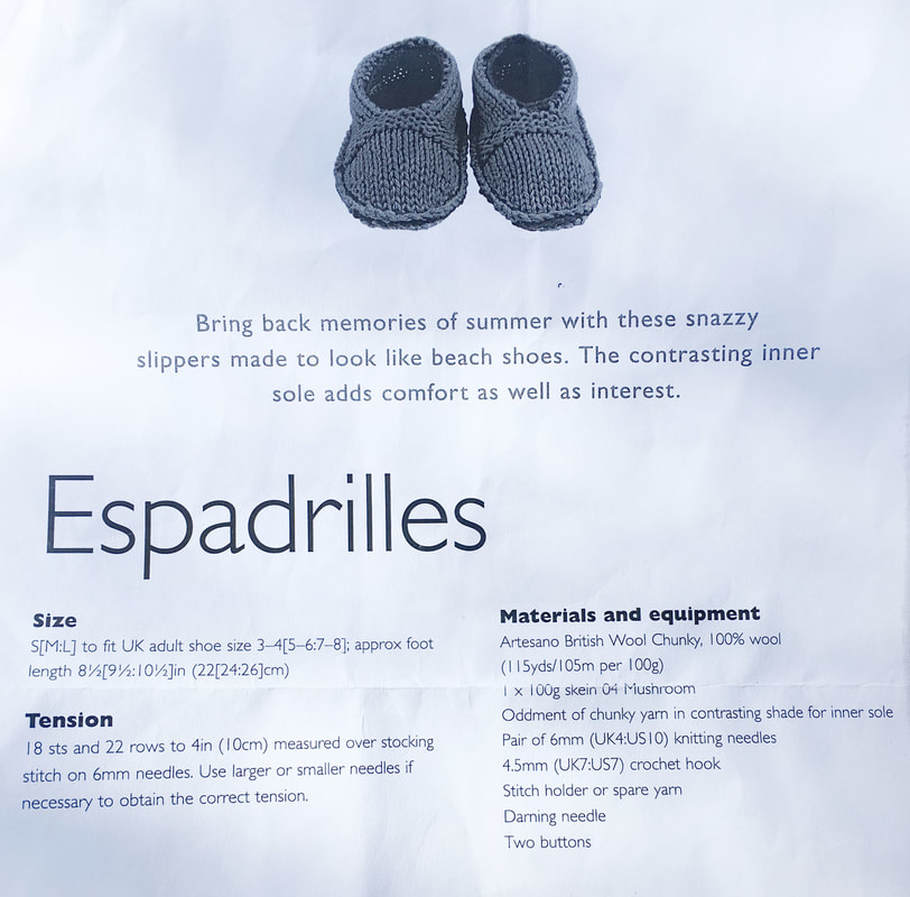
KNITTING ESPADRILLES