WATERCOLOUR KEY SKILLS - TOP 5
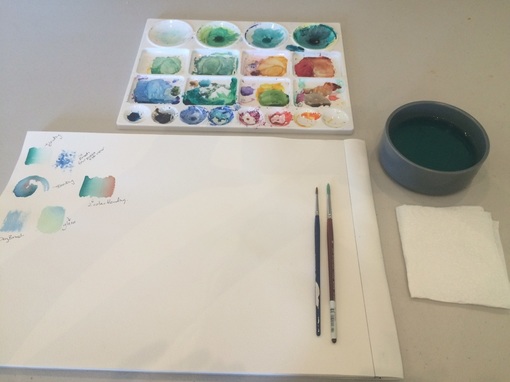
SETUP OF EQUIPMENT
|
CONSIDER the position of your materials so your workspace is EFFECTIVE.
Equipment needed: (grab for your group!) 1) Paper towel 2) Brushes 3) Watercolour paint 4) Water (one container per 3) ALL Get your workspace ready! |
TIP - remember to dab your brush on the cloth regularly so you can control the paint.
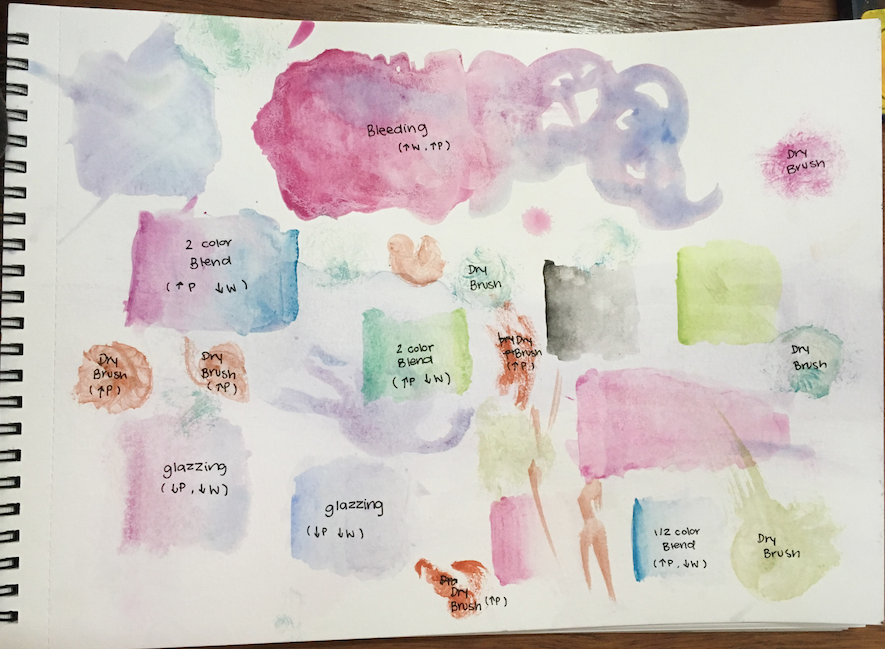
1 COLOUR BLEND
> add colour to one area
> clean brush completely
> add clear water to another area
>blend this clear water towards the pigmented colour.
> clean brush completely
> add clear water to another area
>blend this clear water towards the pigmented colour.
2 COLOUR BLEND
> add colour to one area
> add another colour to a different area (with clean brush)
> add clear water to the first colour and blend it towards the second colour
>Increase blending by moving the brush over the colours
(See what happens when you do this a lot.... how does the colour change and what happens to the paper?? )
> add another colour to a different area (with clean brush)
> add clear water to the first colour and blend it towards the second colour
>Increase blending by moving the brush over the colours
(See what happens when you do this a lot.... how does the colour change and what happens to the paper?? )
GLAZE
> Waterdown your 1st colour so it becomes light
> Paint an area and let it dry
> Choose another colour and also water it down to be light
> Once your 1st colour is dry, paint over it with your 2nd light colour.
(What happens to your first colour? This technique is subtle and is used to slightly lighten/darken or saturate your 1st colour)
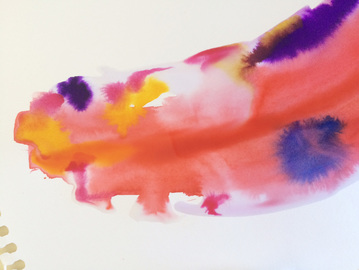
BLEEDING - ALSO ADDING COLOURS
> add colour to one area
> clean brush completely and load it with a lot of water
> Tap the brush into the colour & don't brush over the area
> Keep dropping in colour and water to create a
'bleeding effect'
> clean brush completely and load it with a lot of water
> Tap the brush into the colour & don't brush over the area
> Keep dropping in colour and water to create a
'bleeding effect'
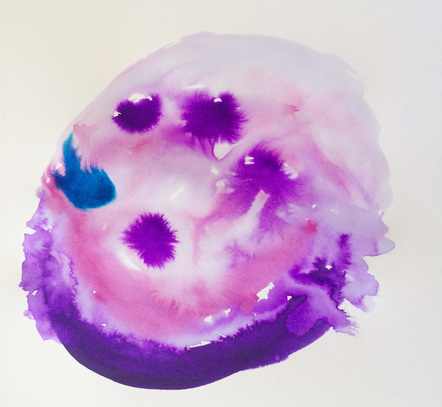
all student work
|
|
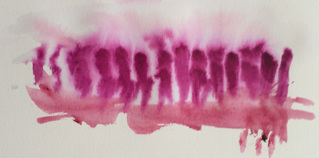
DRY BRUSH - CONSIDER ANGLE OF PAINTBRUSH
> add colour to your brush and dab it onto the cloth to remove the paint
> move the brush across the area until the paint becomes sketchy
> Consider the angle of your brush
(What effect does this give your work?
This technique is great in creating texture!)
> move the brush across the area until the paint becomes sketchy
> Consider the angle of your brush
(What effect does this give your work?
This technique is great in creating texture!)
LETTER EXAMPLE - A = alligator
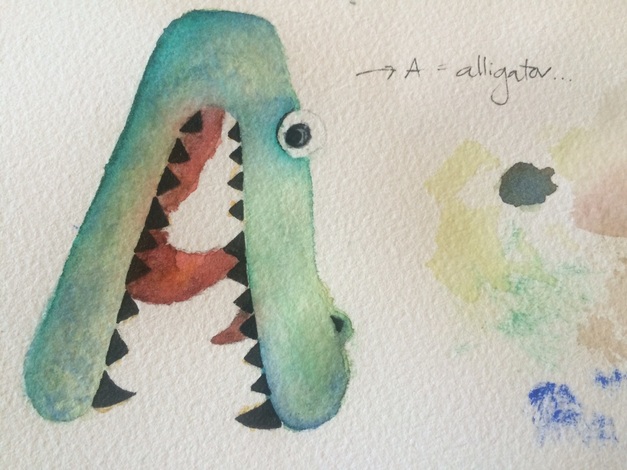
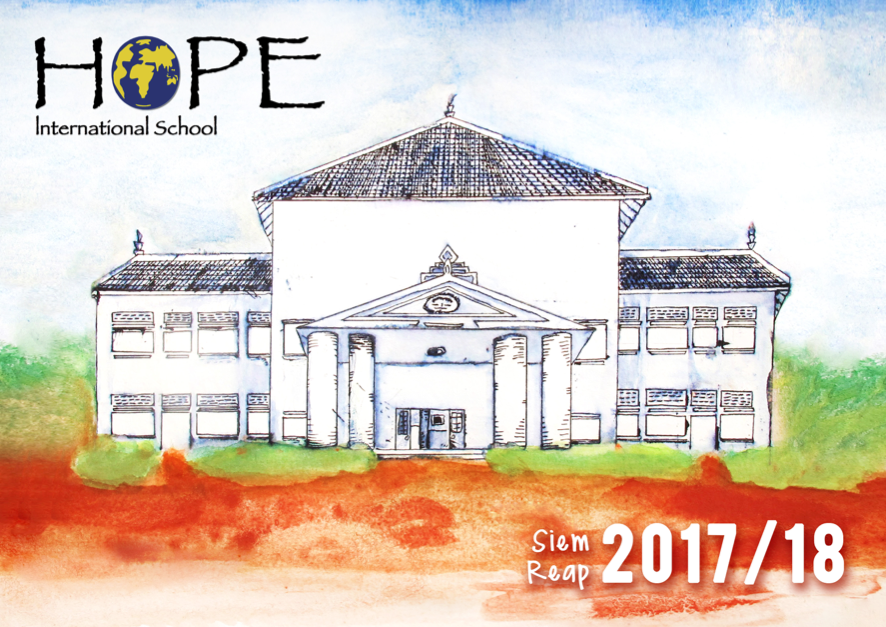
So this is the final product...
As you can see, I coloured in the teeth black (fineliner) as they yellow teeth were not quite working
I have used more than one tone of green and blue to build up colour on the alligator skin
You can spot little areas of texture and bleeding
I have tested colours on the right hand side
(use separate page for this!)
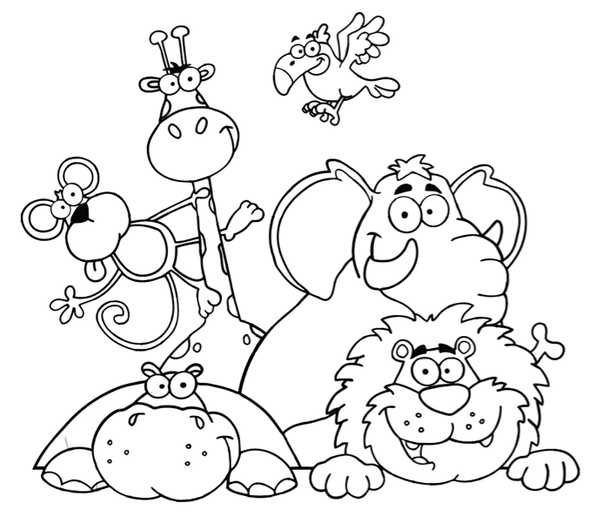
Pre/K Artwork
|
| ||
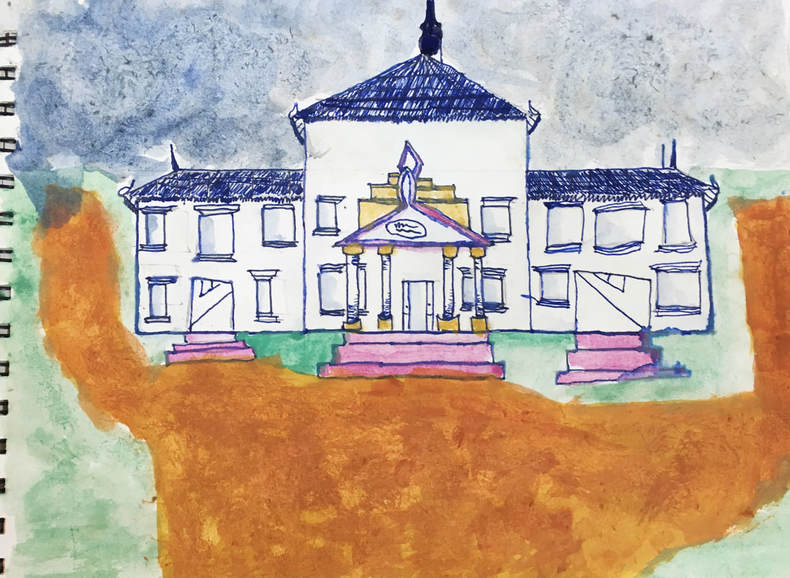
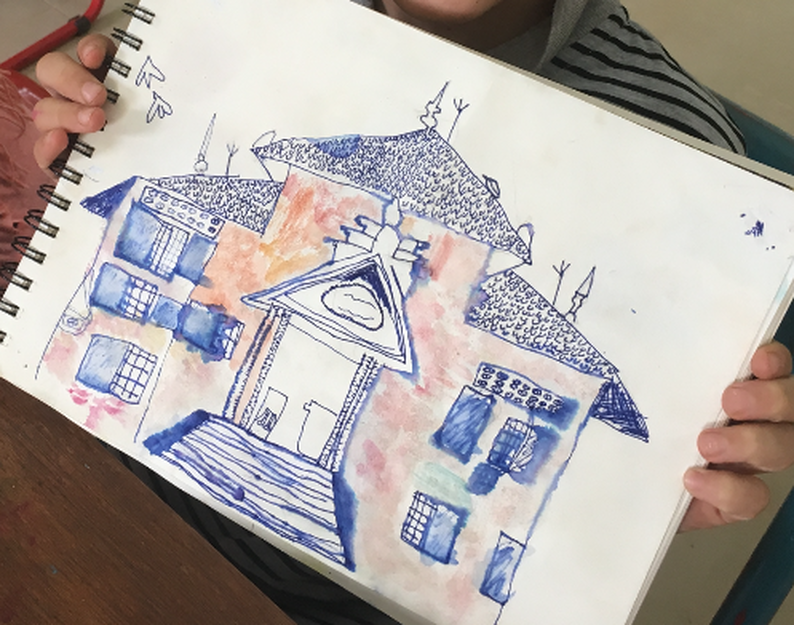
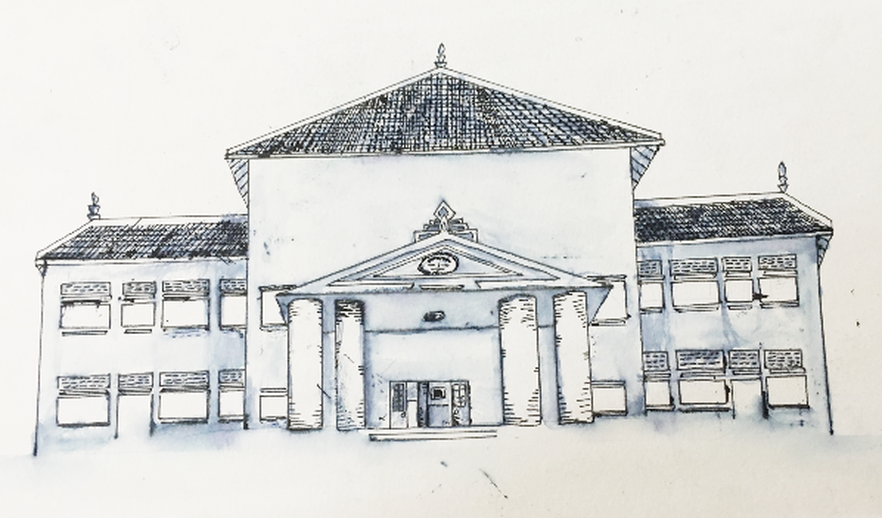
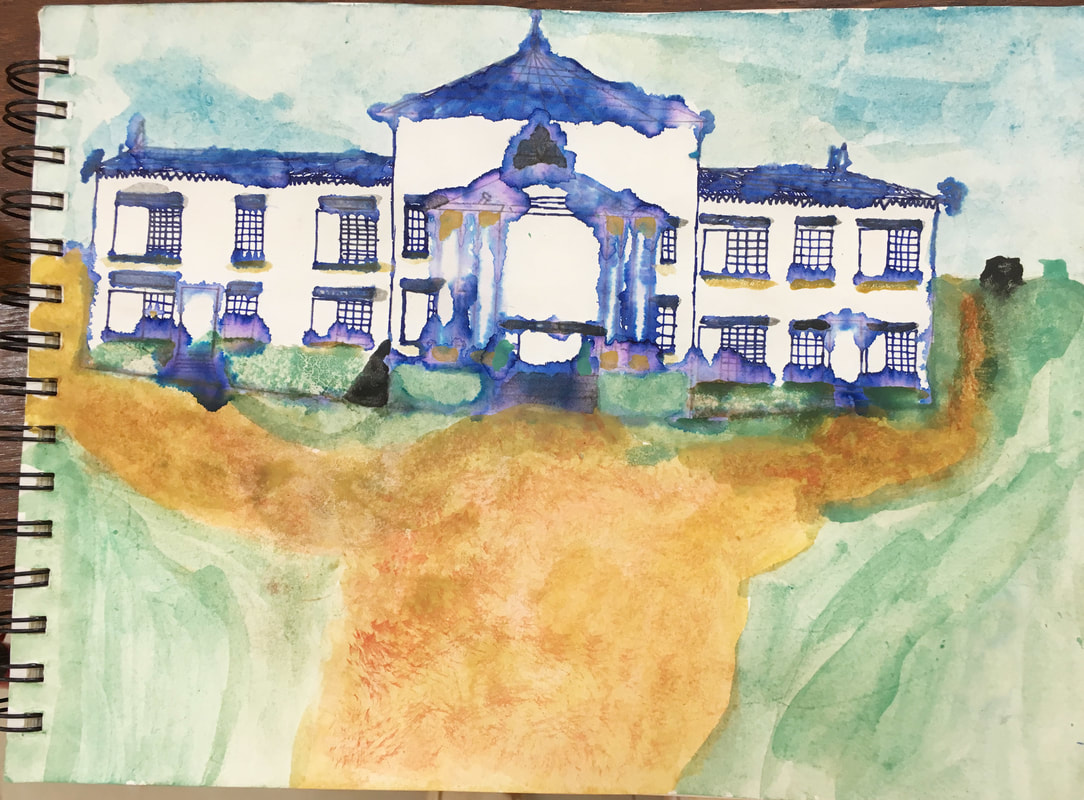
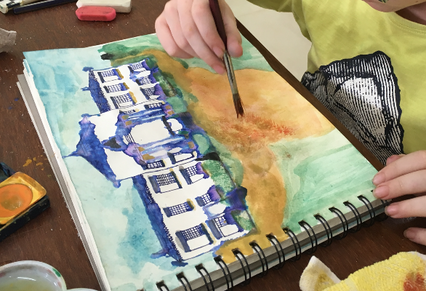
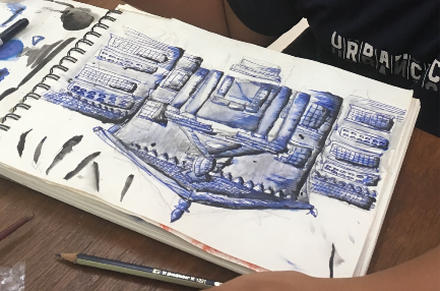
STUDENT EXAMPLES
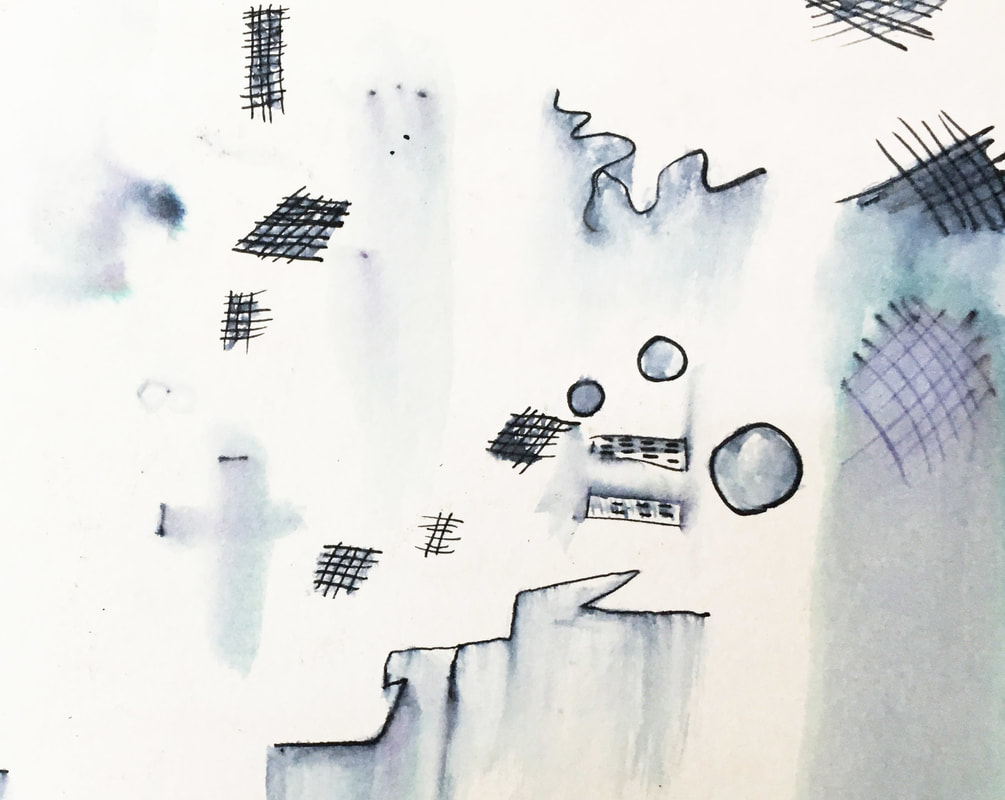
WATER AND PEN ONLY

theartofed.com
KAHOOT Quiz!

|
|
EXAMPLE STUDENT WORK
|
|