LINO printing
What is it?
Linocut is one of the oldest forms of printmaking. It is done by using a sharp tool to cut into the Lino surface.
Ink is later applied to the lino surface, ready for printing!
*REMEMBER - The ink will print on the lino areas which have not been removed by the tools.
Linocut is one of the oldest forms of printmaking. It is done by using a sharp tool to cut into the Lino surface.
Ink is later applied to the lino surface, ready for printing!
*REMEMBER - The ink will print on the lino areas which have not been removed by the tools.
|
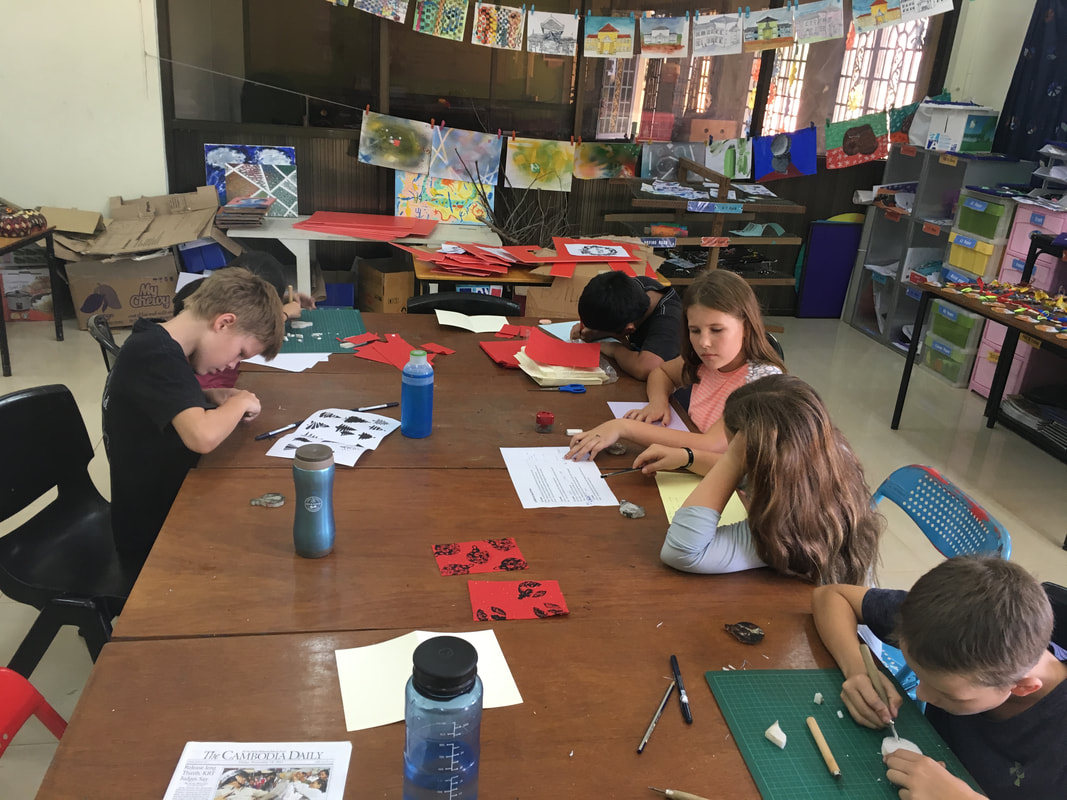
Prep before starting lino: Prepared materials Frottage drawings cutouts of fonts (these had already been reflected) Carbon paper Wooden Board on which to cutout Lino material on which to create our print Lino tools - variety is best (see bottom on image) Printing equipment Paint Rollers Newspaper Press |
safety in regards to cutting should be considered
- blades away from body
- use a cutting wooden block
- try to only use sharp blades
- blades away from body
- use a cutting wooden block
- try to only use sharp blades
ACTIVITY 1 -
Watch a demonstration or Video
Just before we start to do the Lino cut process, I think it is best watch a video of the steps.
This allows you to prepare your artwork accordingly,
consider safety
&
plan your image considering the time we have.
Below is a 2 min explanation of how the process works.
Watch a demonstration or Video
Just before we start to do the Lino cut process, I think it is best watch a video of the steps.
This allows you to prepare your artwork accordingly,
consider safety
&
plan your image considering the time we have.
Below is a 2 min explanation of how the process works.
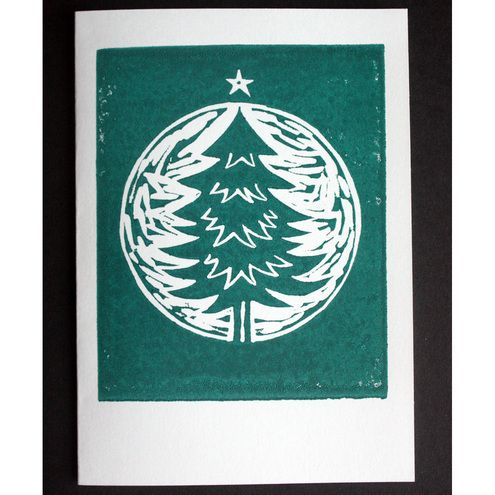
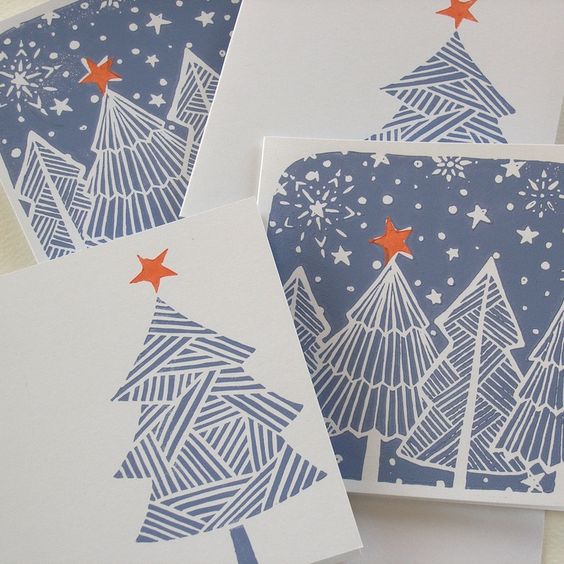
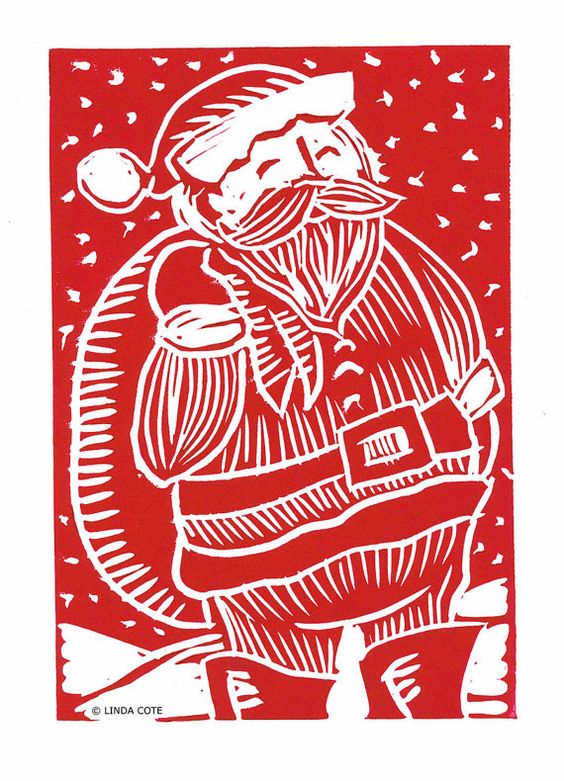
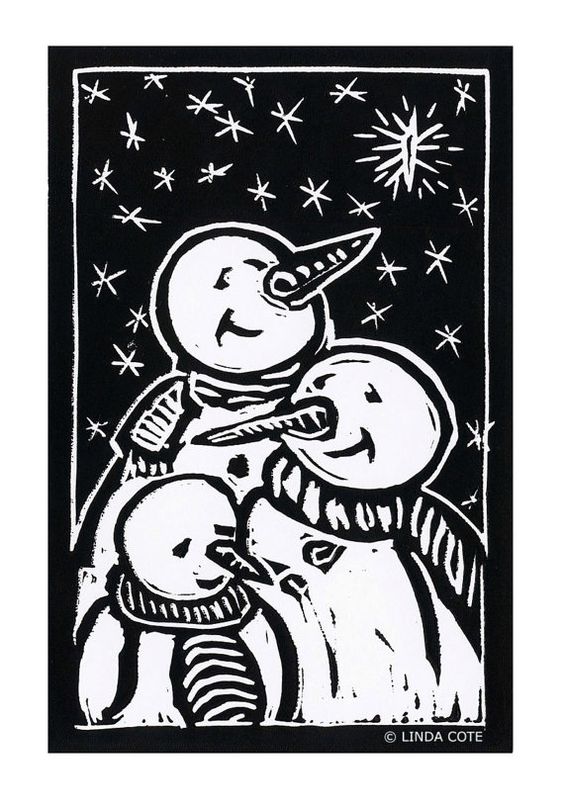
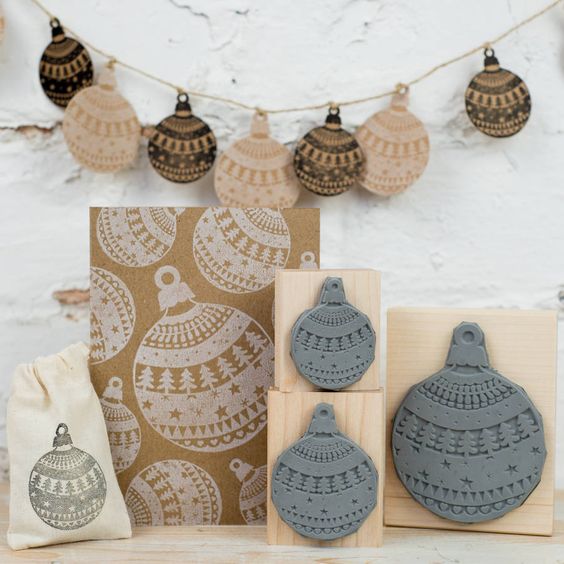
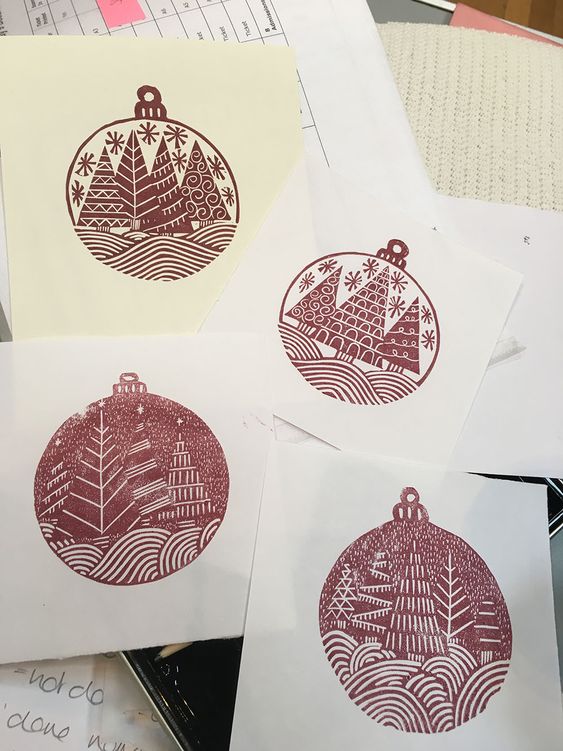
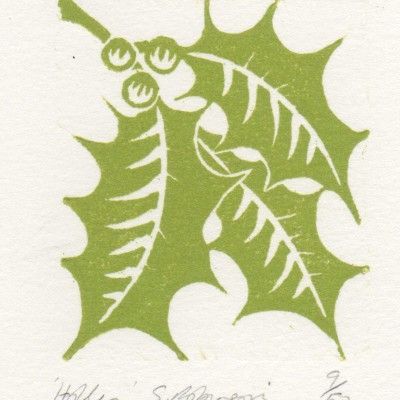
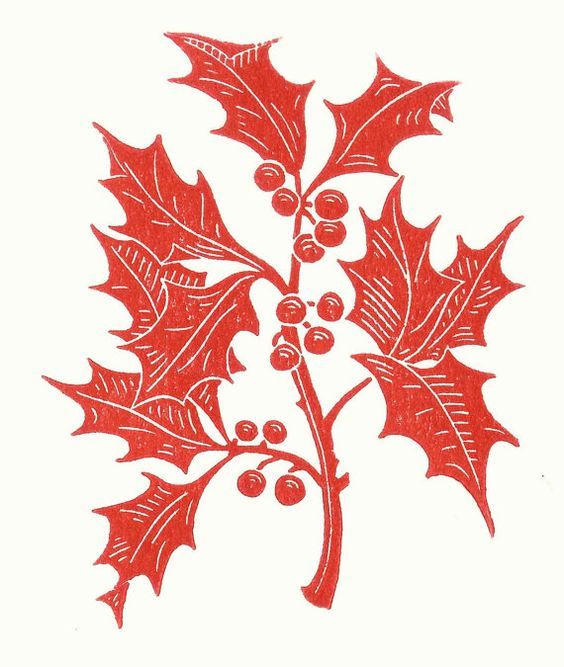
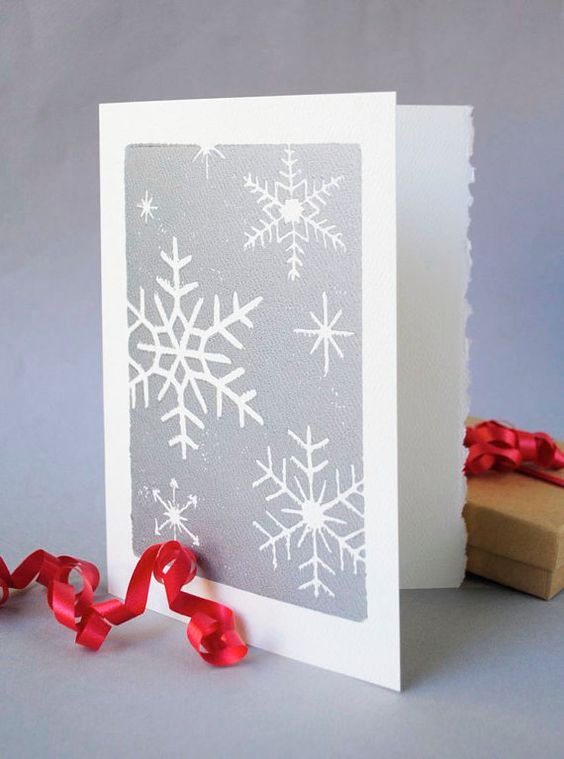
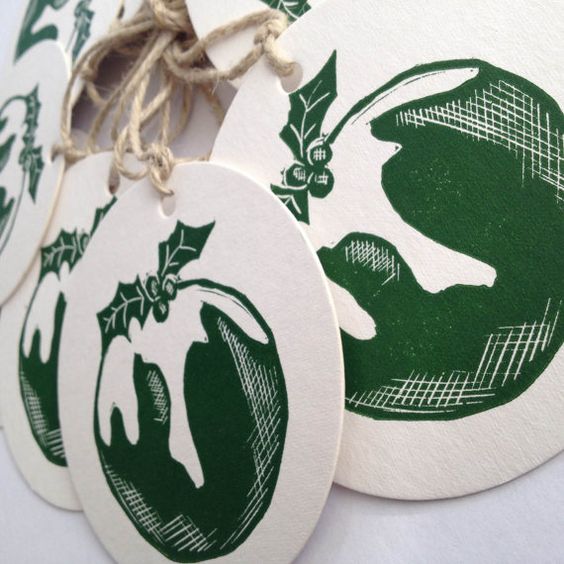
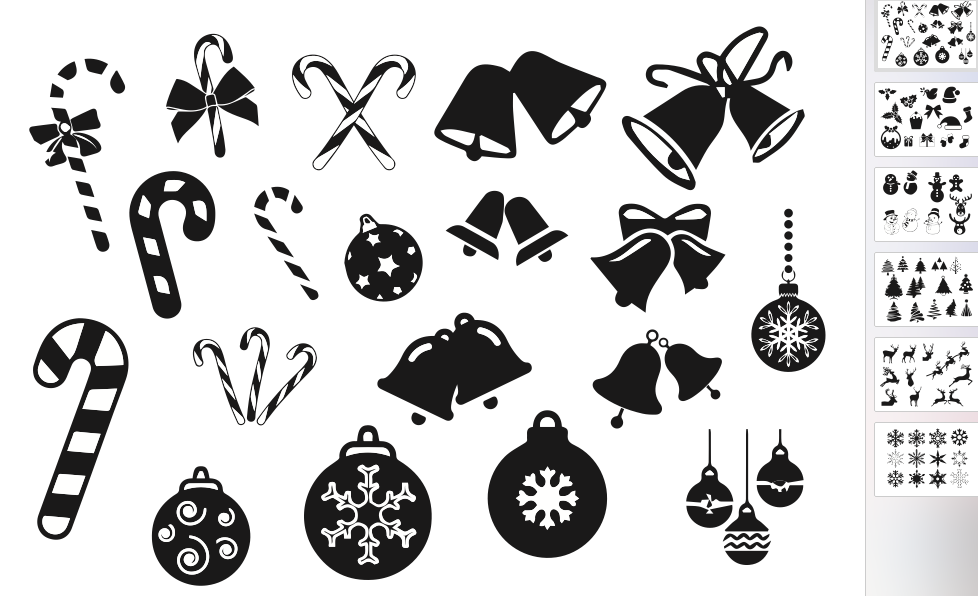
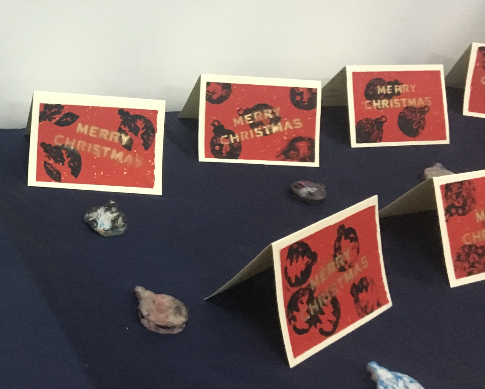
INSPIRATION!
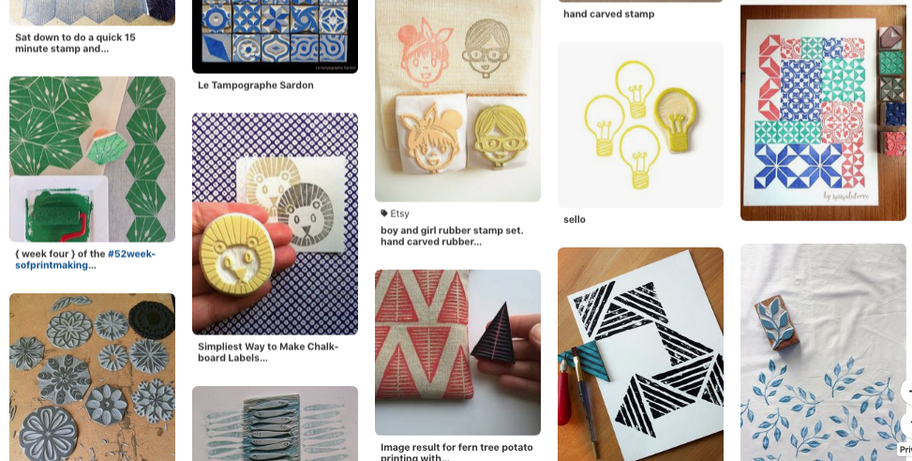
CHRISTMAS THEME
|
| ||||
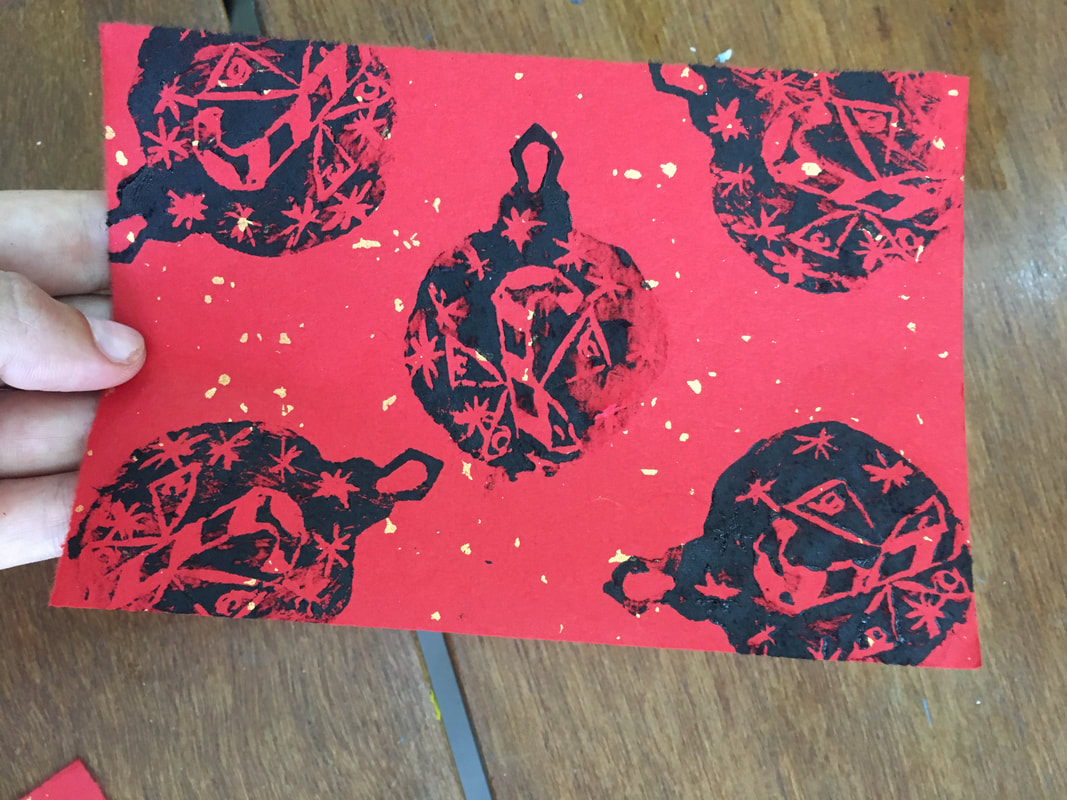
ACTIVITY 2
Come up with two images which then would be turned into a lino print and combined into a booklet.
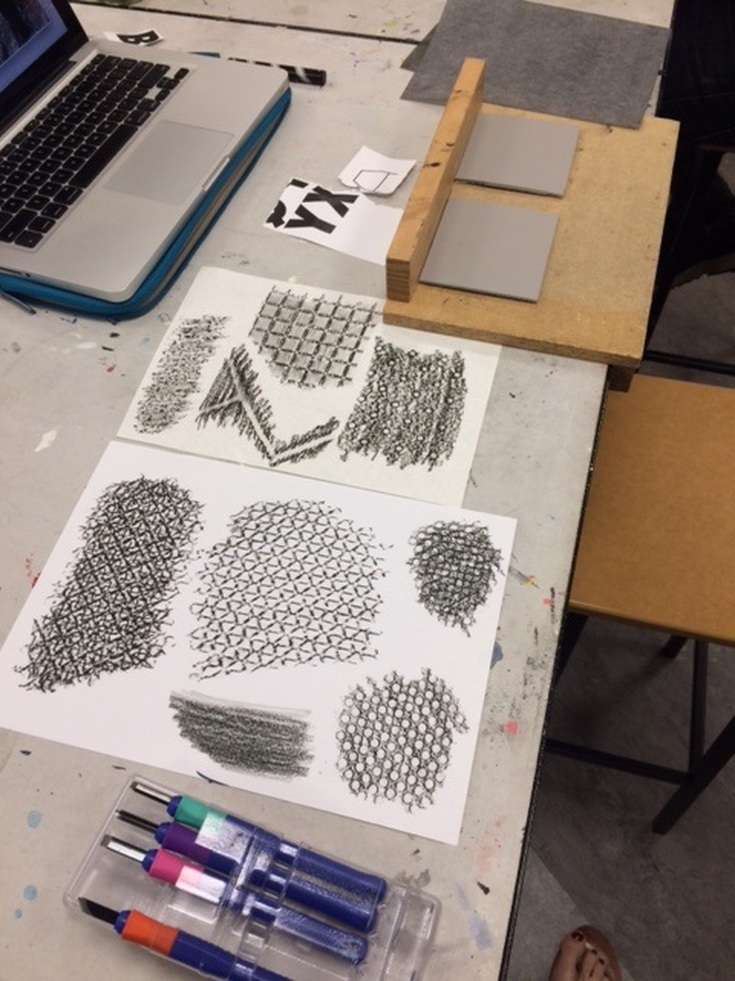
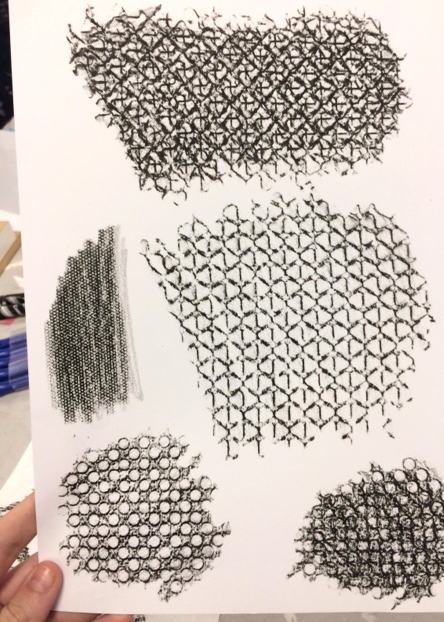
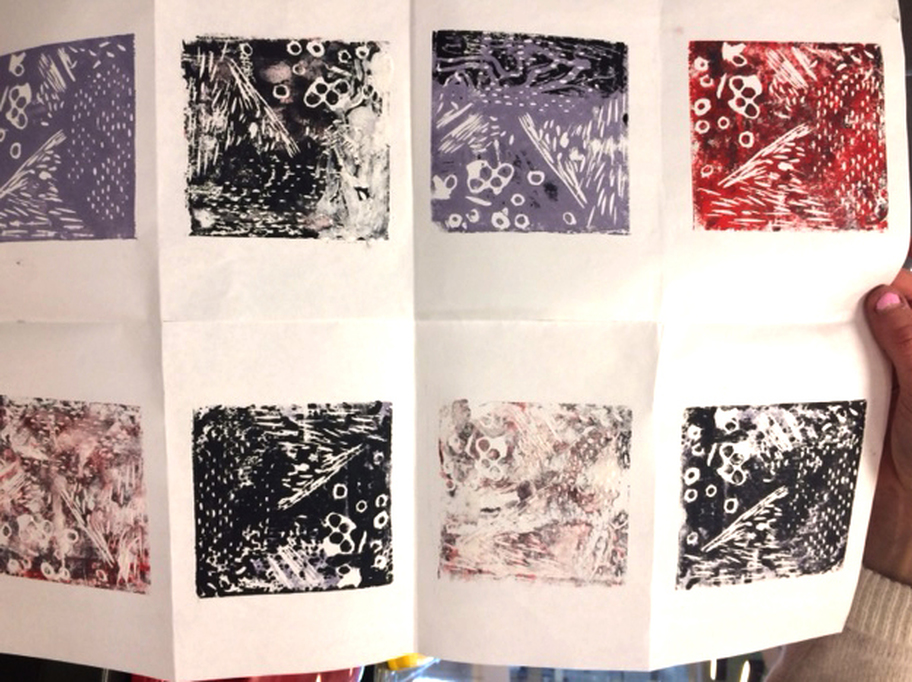
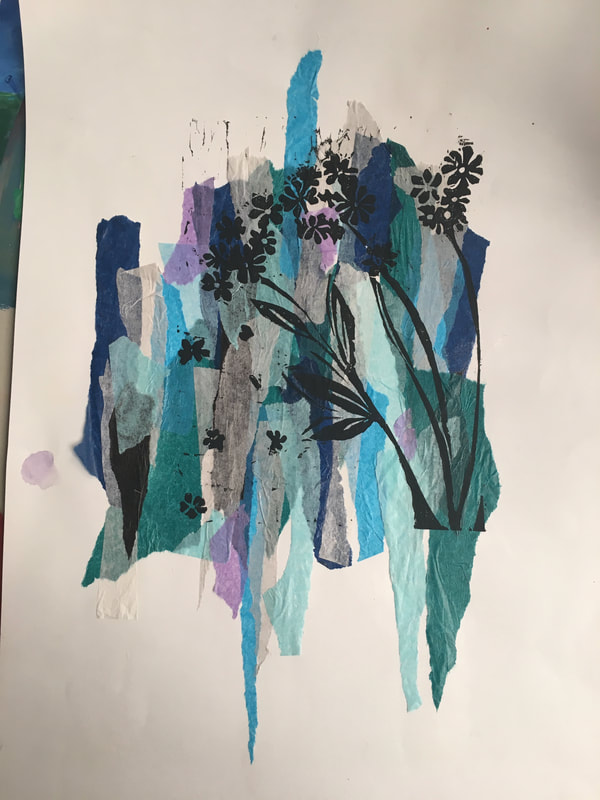
The first lino cut is to be inspired by a 'frottage' technique by creating various rubbings, see examples below...
Look around the classroom and make a note of things that have interesting textures.
Create some frottage samples
The SECOND lino cut is to be inspired from a picture of somewhere significant...
I chose a place in Space called Ronda.
I chose a place in Space called Ronda.
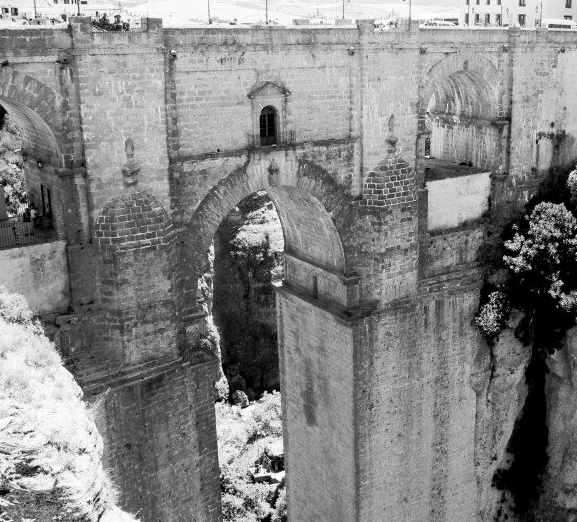
Photo I took in spain
ACTIVITY 3
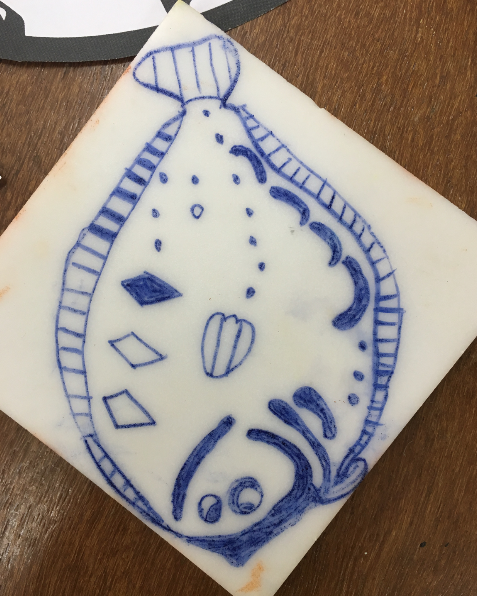
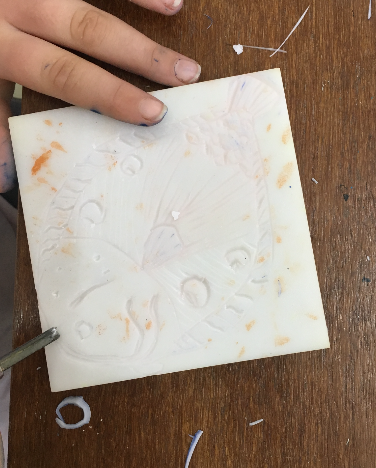
Transfer your image with carbon paper onto the lino block, then cut out sections you want to remove.
For tips on carbon tracing, see Weebly page:
DRAWING > CARBON TRACING
ALWAYS Check for safety.
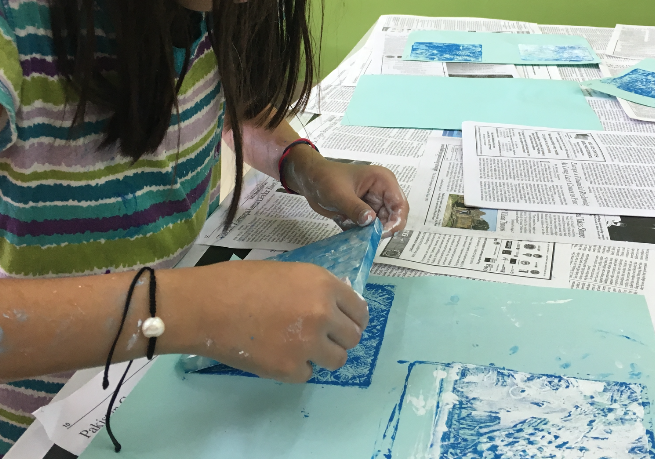
ACTIVITY 4
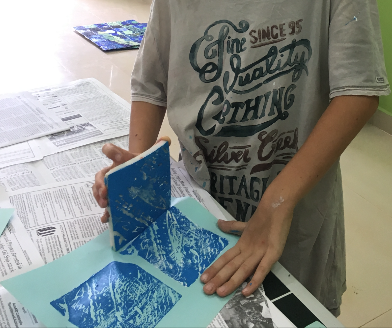
Use rollers to apply paint to your lino and do a first TEST PRINT.
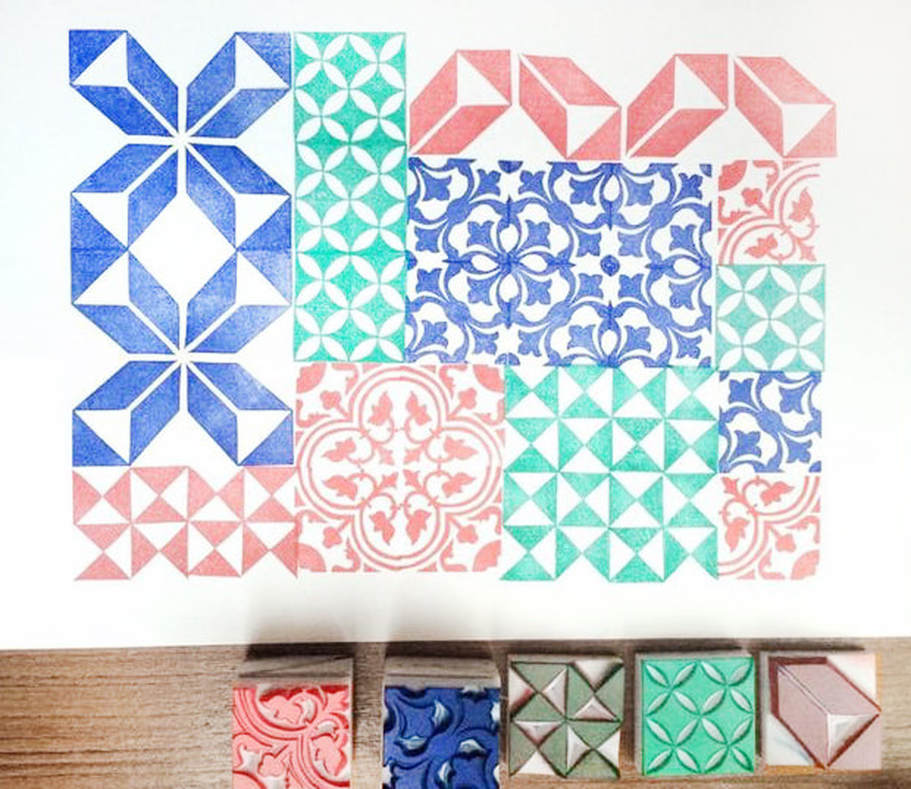
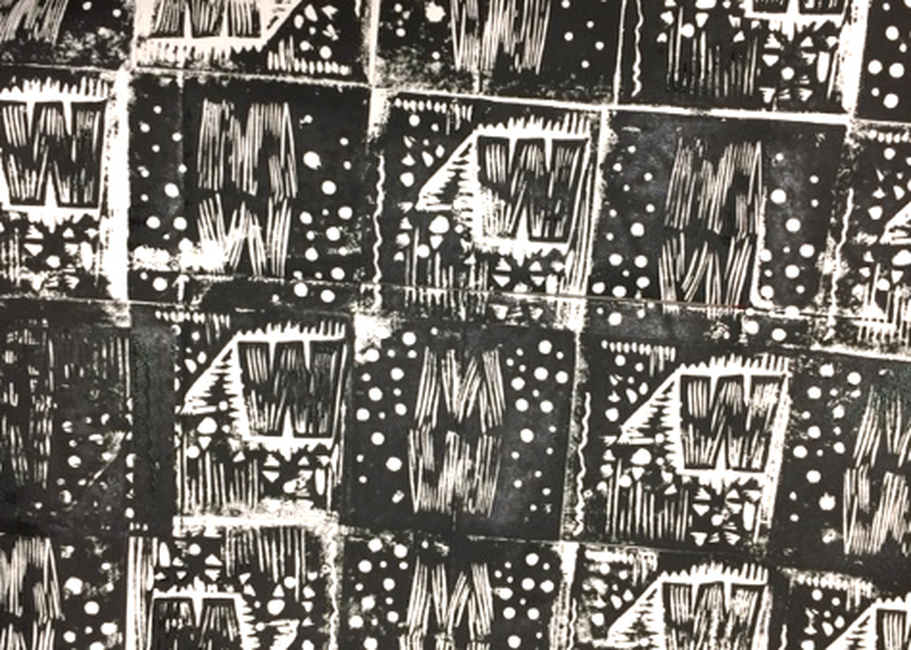
Students can also trial layering colours like the images below...
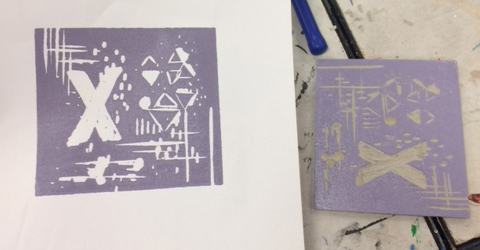
trial print with lino block
use of two overlapping colours to create design
|
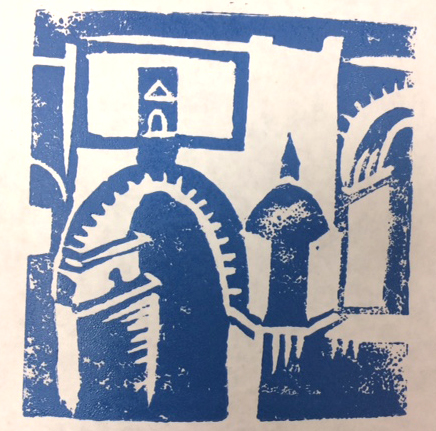
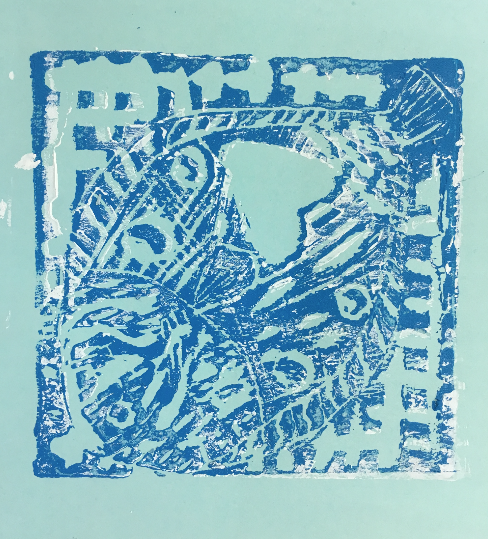
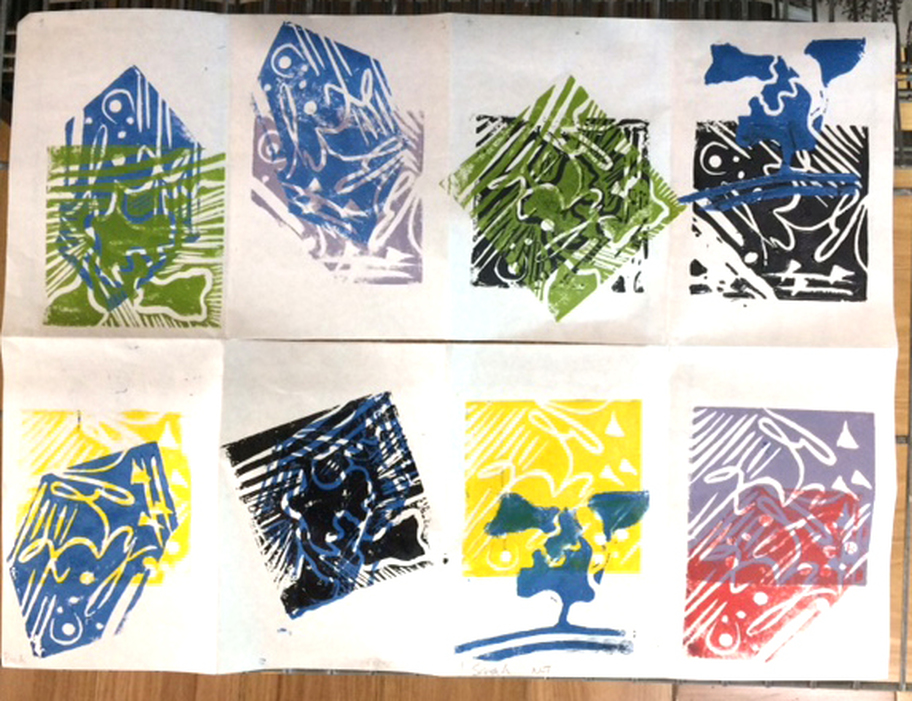
print created from photograph of bridge in Ronda, Spain
|
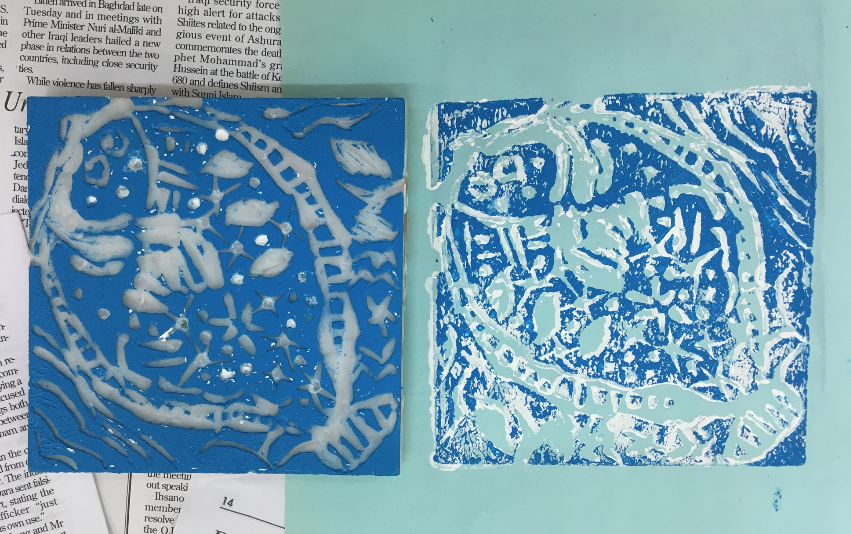
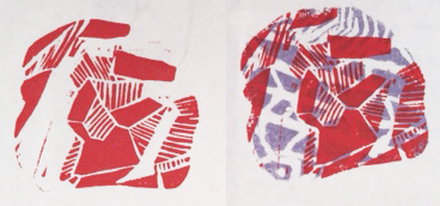
When printing, experiment with different
ways in which you can create the print...
SEE two prints below:
Clean print on left vs. sketchy print on right (uneven paint!)
ways in which you can create the print...
SEE two prints below:
Clean print on left vs. sketchy print on right (uneven paint!)
standard print
|

print with little link in areas
|
ACTIVITY 5
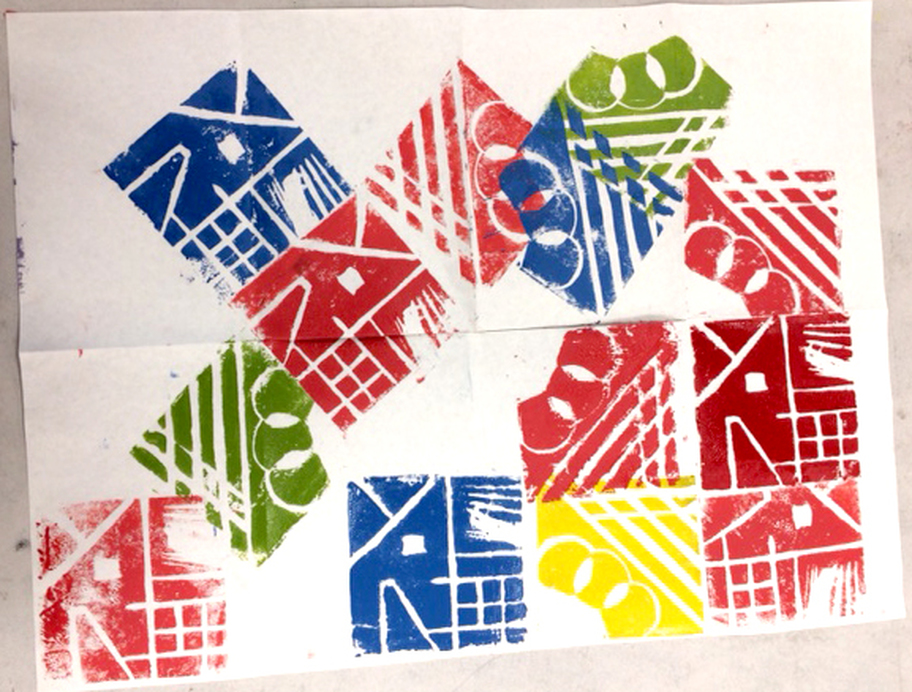
Create your second lino cut and then create your storyboard of prints...collaborate by prints with others!
You each have a A3 page divided into 8 sections which then can be folded to make a book...
See final examples below.

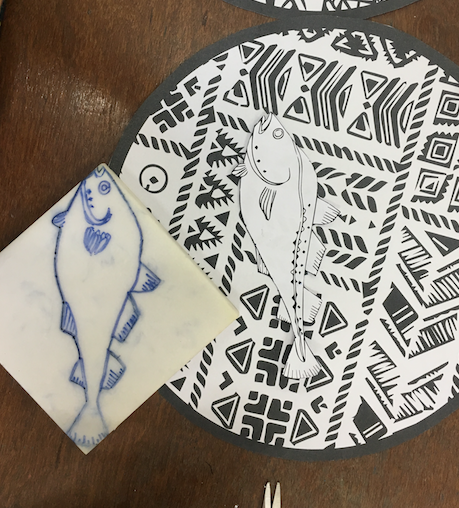
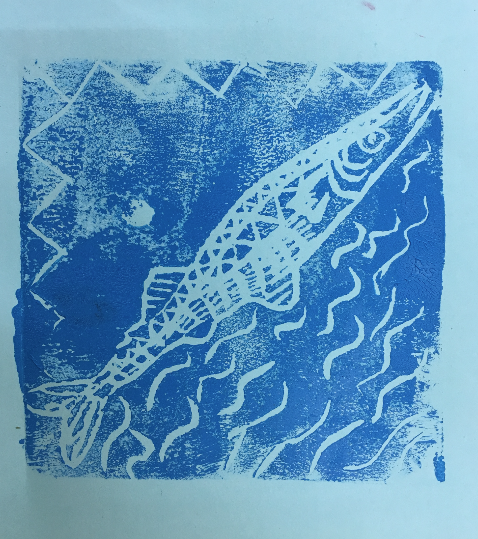
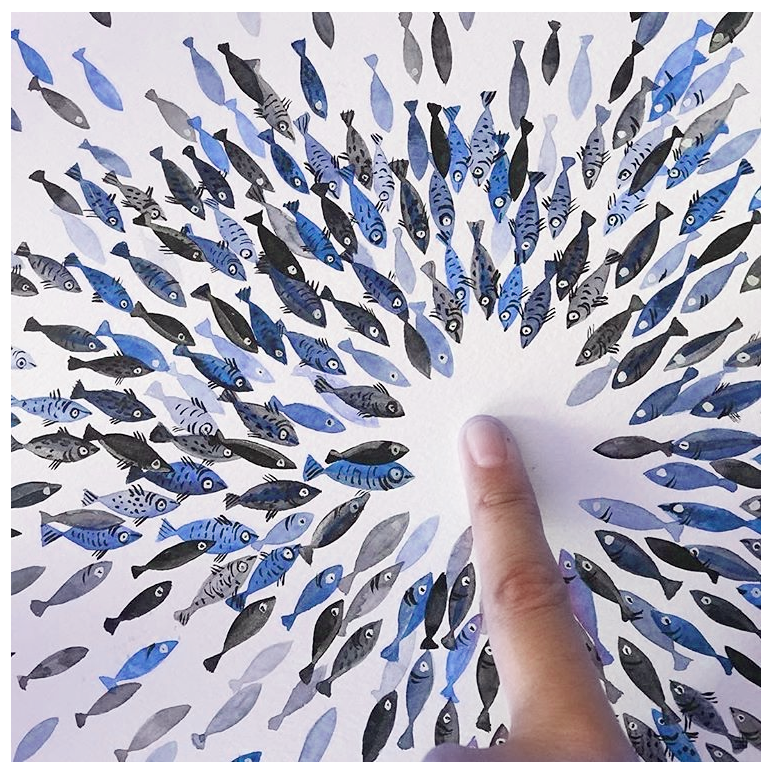
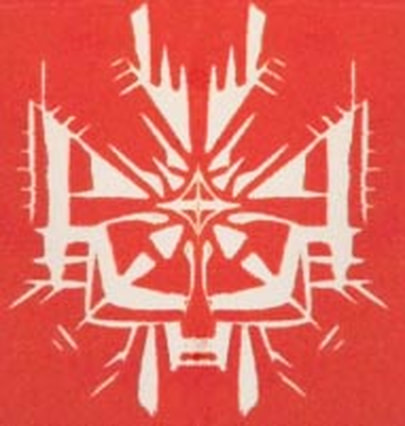
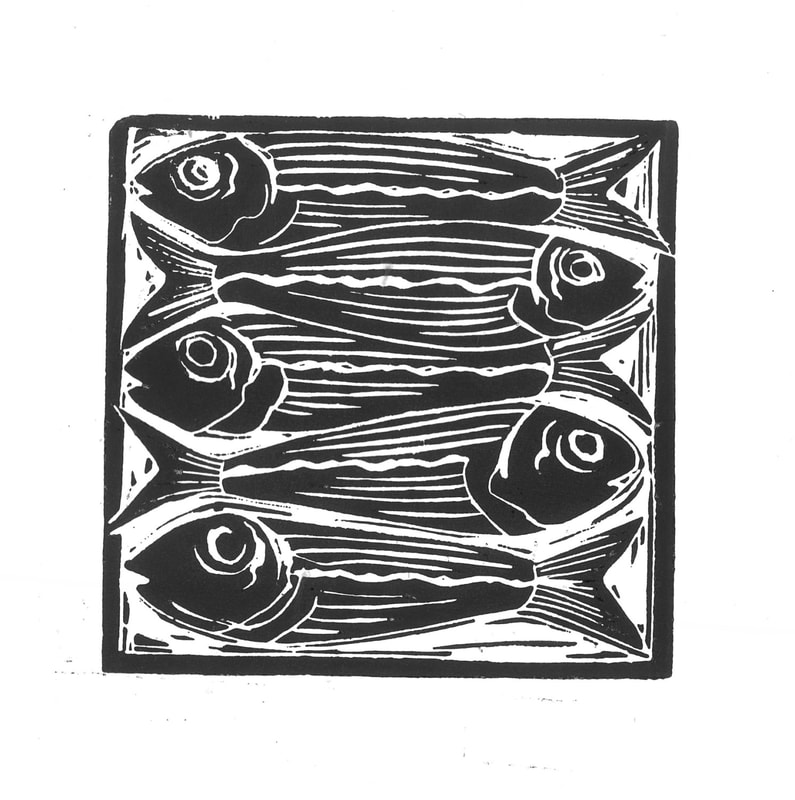
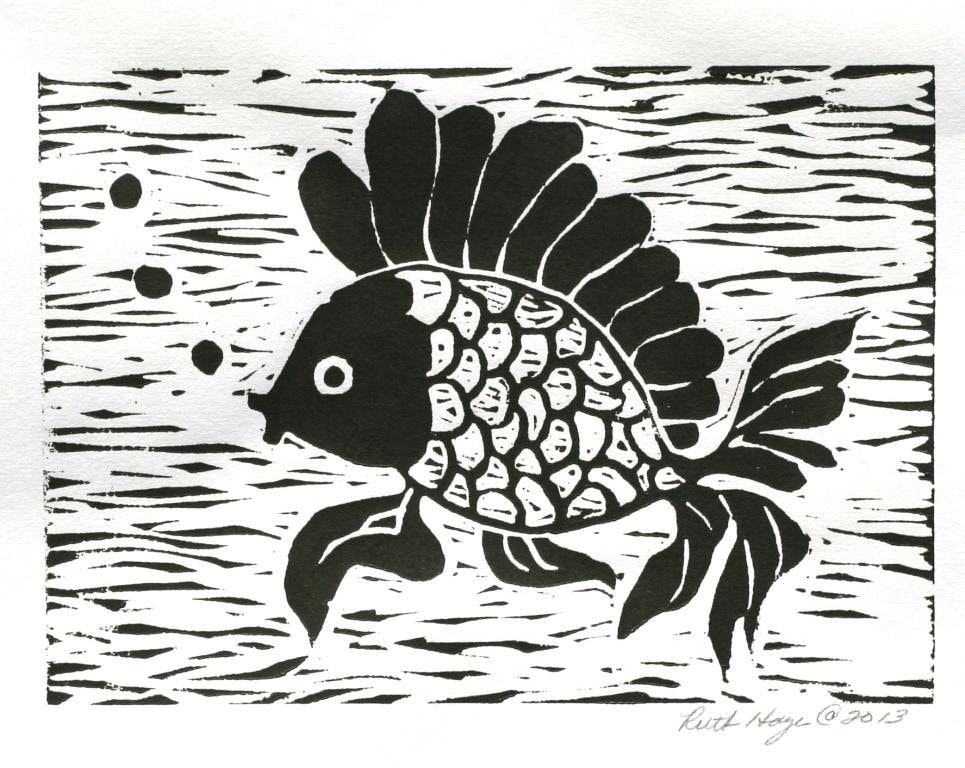
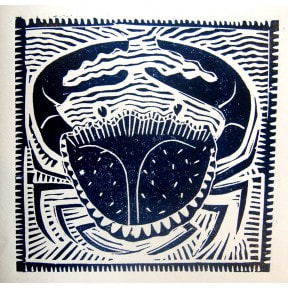
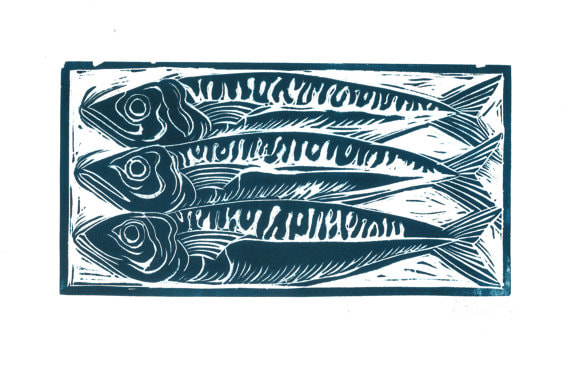
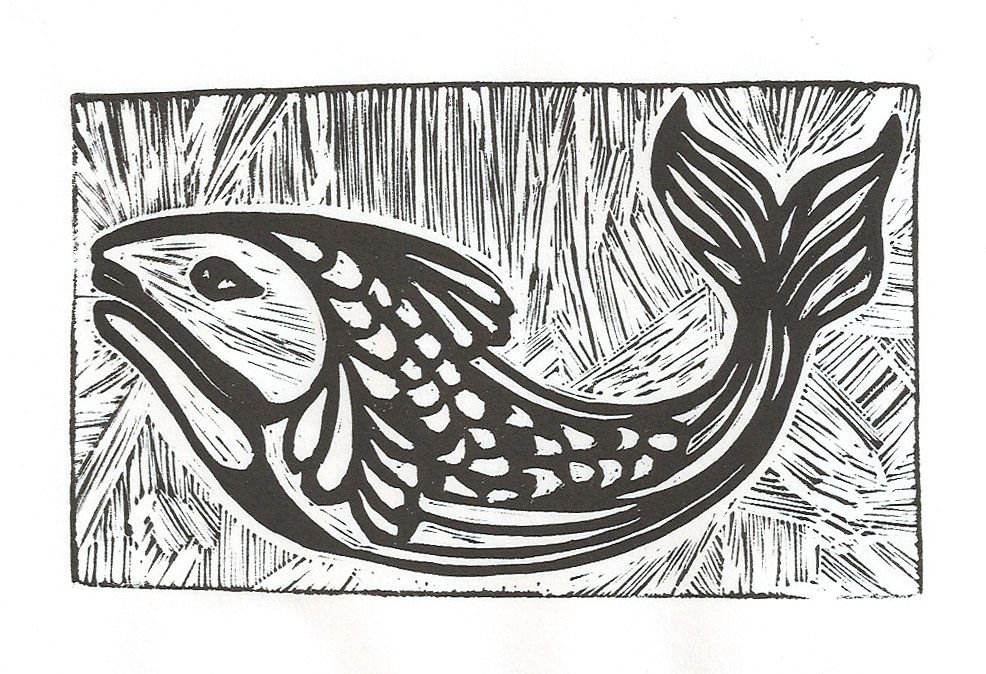
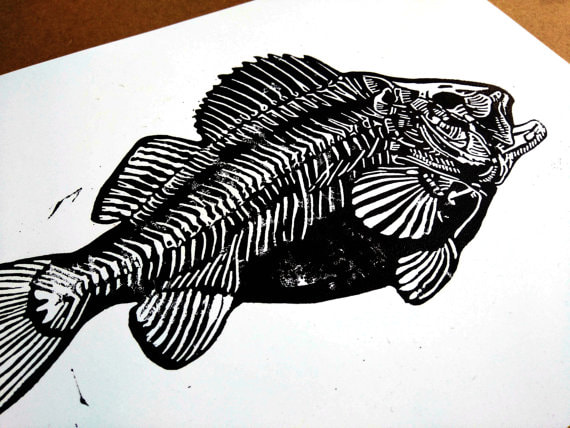
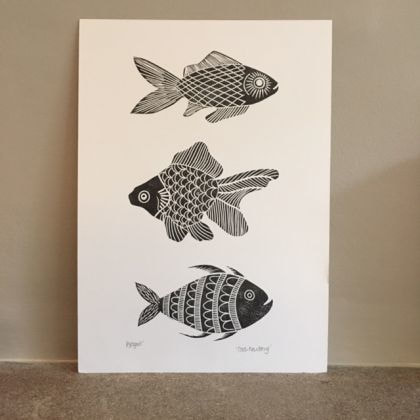
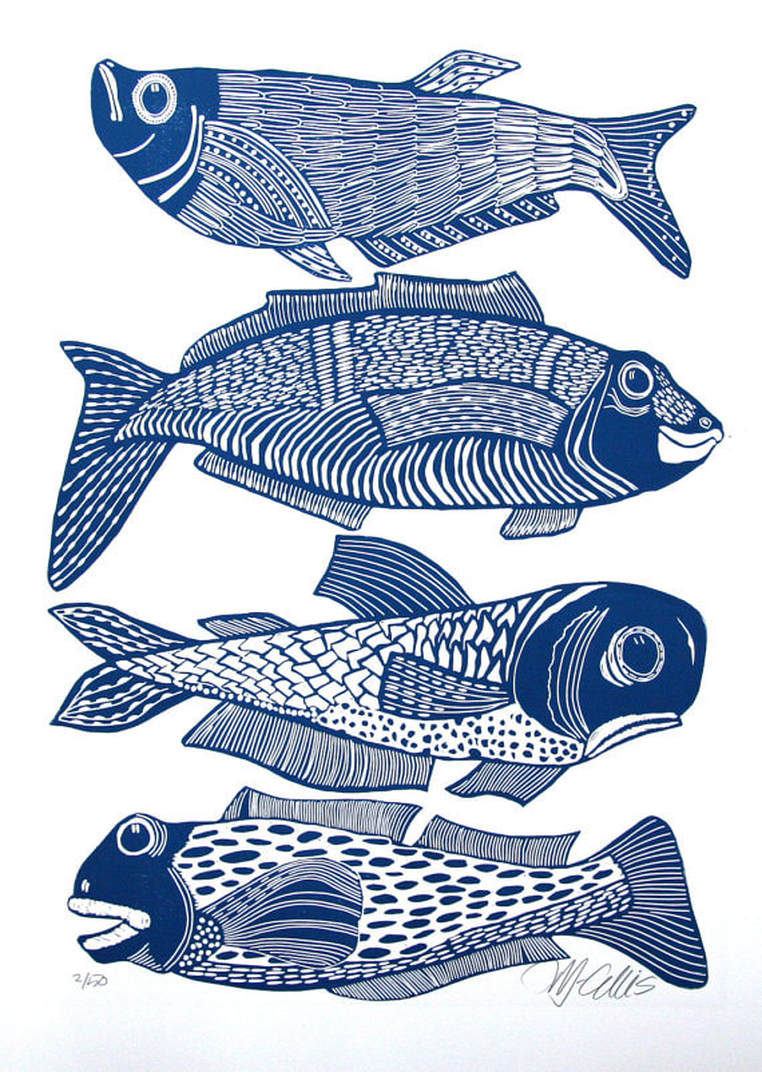
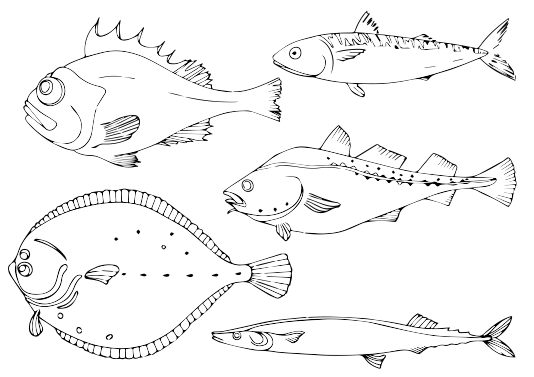
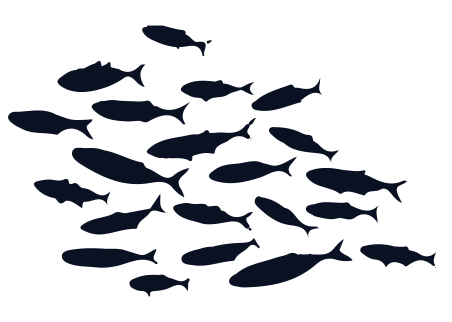
FISH DESIGN INSPIRATION

|
|
|
| ||||